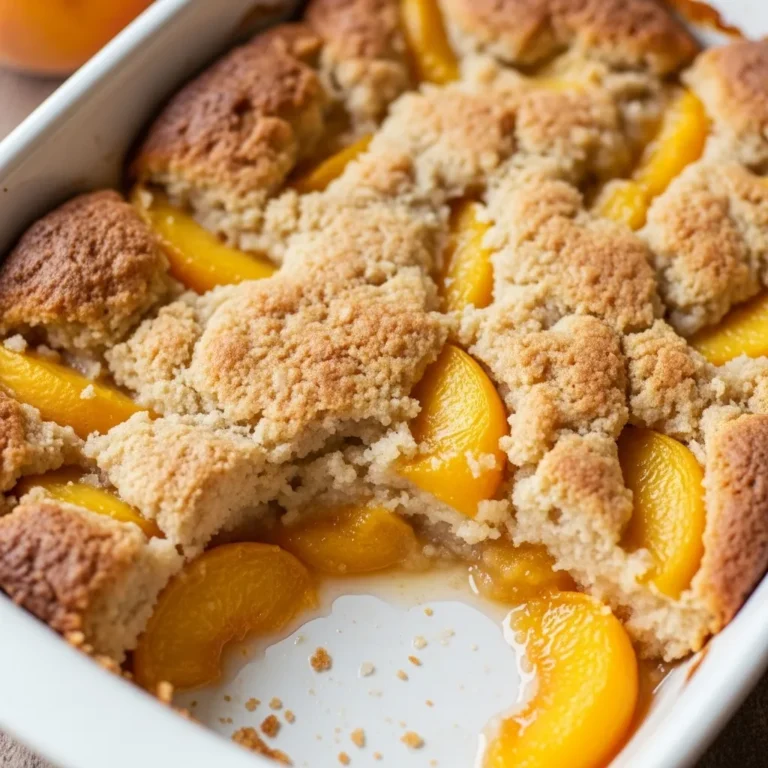
Peach Galette

Peach galette is basically the “lazy but fabulous” version of a pie. It’s rustic, free-form, and somehow always manages to look like you spent hours making it, even if you barely broke a sweat. I usually whip this up when I want dessert that tastes indulgent but doesn’t require me to worry about crimped edges or perfect layers. Galettes are perfect for casual baking days. They’re forgiving, cozy, and make your kitchen smell like summer in about 30 minutes. Ever wanted a dessert that’s easy, beautiful, and actually tastes as good as it looks? Peach galette checks all the boxes.
Why Peach Galette Works So Well
Peach galette works because it keeps things simple while letting the fruit shine. No fuss, no fancy pans, just juicy peaches and buttery crust in perfect harmony. I love that it doesn’t demand perfection. Even if your edges look messy, the flavor does all the heavy lifting. This dessert is rustic, approachable, and always a crowd-pleaser. IMO, desserts that forgive mistakes are the best desserts.
What Makes a Galette Different from Pie
Unlike traditional pies, galettes are free-form. You roll out the dough, pile on fruit, fold the edges over, and bake. No pie plate needed, no perfect crimping, no stress. Ever tried a pie that demanded absolute precision? Galette laughs at that. Here’s why galettes feel effortless:
- Rustic, free-form look that hides imperfections
- Quick to assemble compared to pies
- Less fussy crust-to-filling ratio
- Perfect for single servings or sharing
Ingredients You’ll Need

Peach galette keeps things simple. Nothing exotic, just a handful of pantry staples and fresh fruit. Everything here is simple and familiar, which makes this recipe super approachable. No mysterious ingredients hiding in your pantry needed.Here’s the full list:
For the Dough
- 1 ¼ cups all-purpose flour
- ¼ teaspoon salt
- 1 tablespoon sugar
- ½ cup unsalted butter, cold and cubed
- 3–4 tablespoons ice water
For the Filling
- 3–4 ripe peaches, peeled, pitted, and sliced
- 2 tablespoons sugar (adjust based on peach sweetness)
- 1 teaspoon cornstarch or flour
- ½ teaspoon cinnamon (optional)
- 1 teaspoon lemon juice
For the Topping
- 1 egg, beaten (for brushing crust)
- 1 tablespoon sugar for sprinkling
- Optional: sliced almonds or coarse sugar for extra crunch
Step-by-Step Instructions for Making Peach Galette
1. Preheat and prepare dough:
Preheat your oven to 400°F (200°C). Roll out the pie dough on a parchment-lined baking sheet into a roughly 12-inch circle. Keep the edges even but rustic-looking.
2. Prepare the peaches:
In a bowl, toss the sliced peaches with granulated sugar, flour, cinnamon, lemon juice, and vanilla extract until evenly coated. This mixture will thicken slightly while baking and add flavor.
3. Assemble the galette:
Arrange the peach slices in the center of the dough, leaving about a 2-inch border all around. Fold the edges of the dough over the peaches, pleating gently to form a rustic crust.
4. Add finishing touches:
Brush the folded dough with the beaten egg for a golden finish. Sprinkle a little extra sugar over the top for sparkle and crunch.
5. Bake the galette:
Bake in the preheated oven for 35–40 minutes, or until the crust is golden brown and the peaches are bubbling.
6. Cool and serve:
Let the galette cool slightly before slicing. Serve warm or at room temperature, optionally with a scoop of ice cream or dollop of whipped cream.
Tips for Perfect Peach Filling
- Use ripe but firm peaches for texture
- Toss evenly with sugar and thickener
- Adjust sweetness to your taste
- Keep cinnamon subtle so the peaches shine
Making the Dough

The dough should be flaky, buttery, and easy to handle. Cold butter is your secret weapon here, it creates pockets of air that turn into flaky layers when baked. Mix the flour, salt, and sugar first. Then cut in the butter until the mixture resembles coarse crumbs. Add ice water slowly until the dough just comes together. Overworking it? Big no. Ever rolled out dough that became tough? Don’t do that here.
Dough Tips
- Keep butter cold for flakiness
- Mix minimally
- Chill dough for 30 minutes before rolling (optional but ideal)
- Roll on a lightly floured surface to prevent sticking
Assembling the Galette
Roll the dough into a rough circle, about 12 inches in diameter. Don’t worry about perfection, the rustic look is part of the charm. Pile the peach filling in the center, leaving about a 2-inch border. Fold the edges up over the fruit, pleating gently. Brush the exposed dough with beaten egg and sprinkle sugar over the top. This gives the crust a beautiful golden finish.
Assembly Tips
- Leave a wide enough border for folding
- Fold edges loosely, don’t worry about uniformity
- Optional: sprinkle sliced almonds for texture
- Brush with egg wash for color and shine
Baking Your Peach Galette
Bake at 400°F (200°C) for about 35–40 minutes, or until the crust is golden and the peaches are bubbling. Keep an eye on it, the juices should thicken slightly while the crust browns beautifully. High heat helps set the crust quickly and caramelize the sugars in the fruit. Ever baked fruit desserts and ended up with soggy crust? This method avoids that.
Baking Tips
- Use a parchment-lined baking sheet
- Check halfway and rotate if needed
- Let it cool slightly before slicing
- Optional: drizzle with honey or glaze after baking
Serving Peach Galette
Galette tastes amazing warm or at room temperature. Vanilla ice cream is a classic companion, but whipped cream or Greek yogurt also works beautifully. I like to serve slices on simple plates, sometimes less is more. The rustic presentation of the galette means it looks elegant without fuss.
Serving Ideas
- Vanilla ice cream for creamy contrast
- Whipped cream for lightness
- Greek yogurt for tangy balance
- Dust with powdered sugar for extra flair
Storing and Reheating

Peach galette keeps well if covered and refrigerated. The crust softens slightly but the flavor stays strong. Reheat gently in the oven to restore crispiness. Microwaving works in a pinch but sacrifices texture. Personally, I like leftovers cold with a spoonful of yogurt. Ever had dessert that gets better after a day? Galette is close.
Storage Tips
- Room temperature: up to 1 day
- Refrigerator: 3–4 days
- Freezer: up to 1 month, wrapped tightly
- Reheat in oven for best texture
Common Mistakes to Avoid
Peach galette feels simple, but small errors can ruin it. Overmixing dough, underbaking, or skipping the thickener are all common pitfalls. Even with these mistakes, galette forgives more than pies. Rustic desserts are forgiving by design, which is why I love them.
Mistakes to Avoid
- Using overly soft peaches
- Overworking dough
- Skipping egg wash (less color)
- Cutting too soon (filling will run)
Conclusion
Peach galette is the perfect combination of rustic beauty and delicious flavor. It’s approachable, forgiving, and looks way more impressive than it is. If you want dessert that delivers summer flavor, buttery crust, and minimal stress, peach galette deserves a spot in your recipe rotation. Bake it once, and you’ll keep coming back, trust me. Rustic, sweet, and utterly satisfying, this dessert never disappoints.