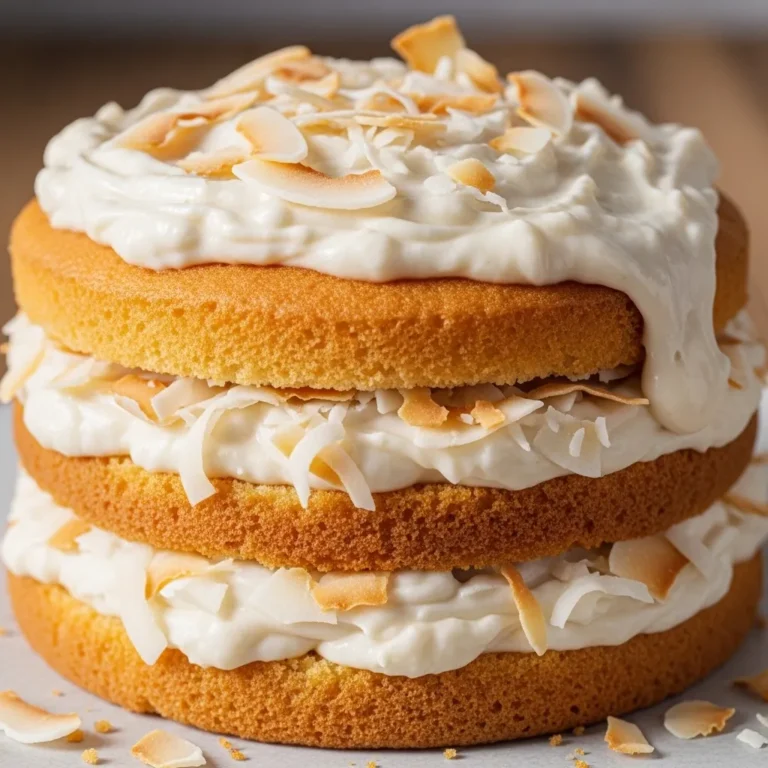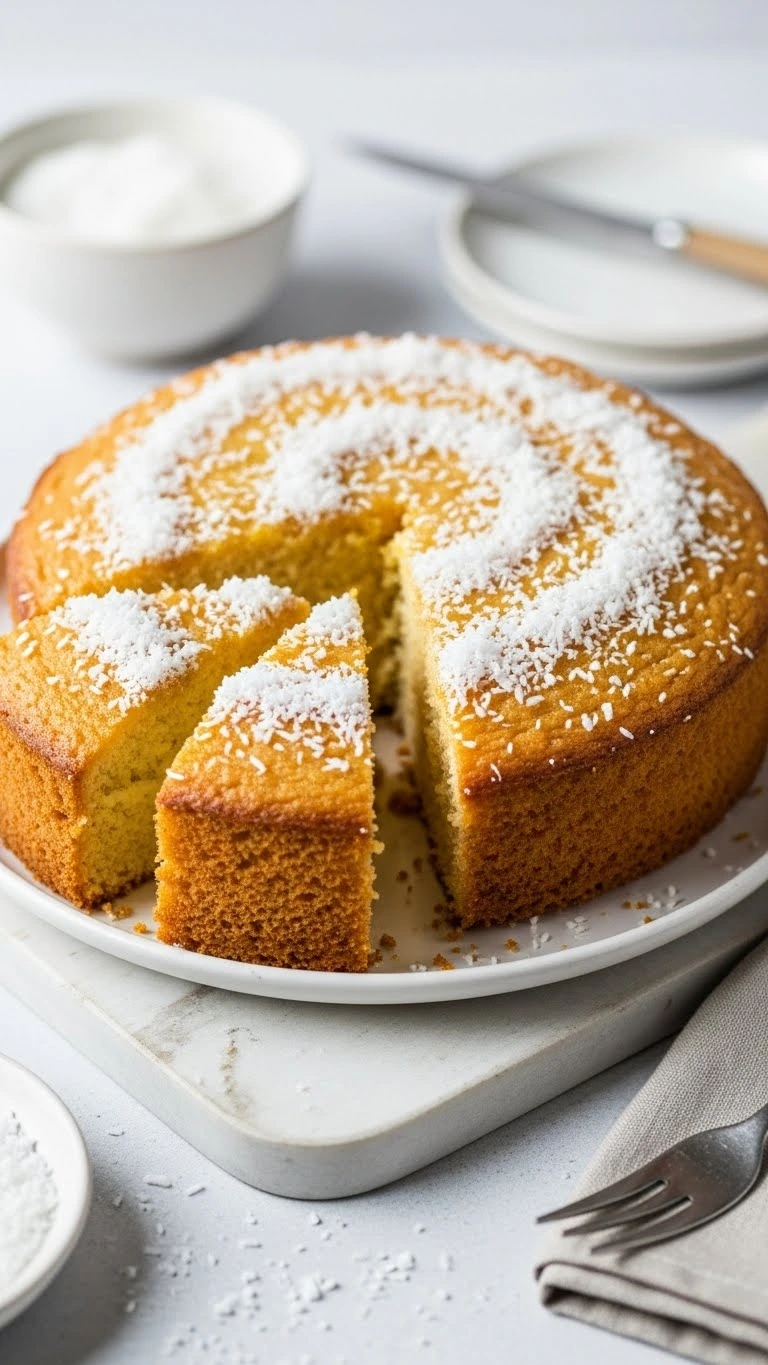
Fluffy Sun-Kissed Coconut Cake

Ever bitten into a cake so soft, fluffy, and coconutty that it instantly makes your day better? That’s exactly what a vegan coconut cake does. Honestly, I never thought a plant-based dessert could taste this indulgent, but boy, was I wrong. This cake proves you don’t need eggs or dairy to get moist, flavorful, and absolutely delicious results. Plus, it’s fun to bake! In this guide, I’ll show you why this cake works so well, the essential ingredients, flavor variations, common mistakes to avoid, storage tips, and serving ideas. Ready? Let’s dive in.
Essential Ingredients You’ll Need

Let’s keep it simple because simplicity doesn’t mean boring. Here’s what I always use:
- All-purpose flour: Provides structure and softness.
- Sugar (cane or coconut): Sweetness without overpowering.
- Shredded coconut: For that rich, tropical flavor.
- Coconut milk (full-fat): Moisture and creaminess magic.
- Plant-based milk (almond, oat, or soy): Helps the batter mix smoothly.
- Baking powder & baking soda: Ensures a light, airy texture.
- Neutral oil (coconut or vegetable): Keeps it tender.
- Vanilla extract: Adds warmth and rounds out flavors.
- Pinch of salt: Balances sweetness and enhances coconut flavor.
Step-by-Step Baking Guide
1. Prep & Preheat
- Preheat your oven to 350°F (175°C).
- Grease your cake pan and line it with parchment paper.
2. Mix Dry Ingredients
- Combine flour, sugar, baking powder, baking soda, shredded coconut, and salt in a large bowl.
3. Mix Wet Ingredients
- In a separate bowl, whisk coconut milk, plant-based milk, oil, and vanilla extract until smooth.
4. Combine & Fold
- Slowly mix wet ingredients into dry, folding gently until just combined. Don’t overmix; remember, fluffiness is key!
5. Bake & Cool
- Pour batter into your prepared pan. Bake for 35–40 minutes or until a toothpick comes out clean.
- Let it cool completely before frosting or slicing.
Pro tip: Slightly underbaking can actually make the cake extra moist, so keep an eye on it!
Flavor Variations to Try

Classic coconut is lovely, but experimenting makes life interesting:
- Chocolate Coconut: Fold in vegan chocolate chips for a melty surprise.
- Pineapple Coconut: Mix crushed pineapple into the batter for tropical vibes.
- Almond Coconut: Replace some flour with almond flour and add almond extract.
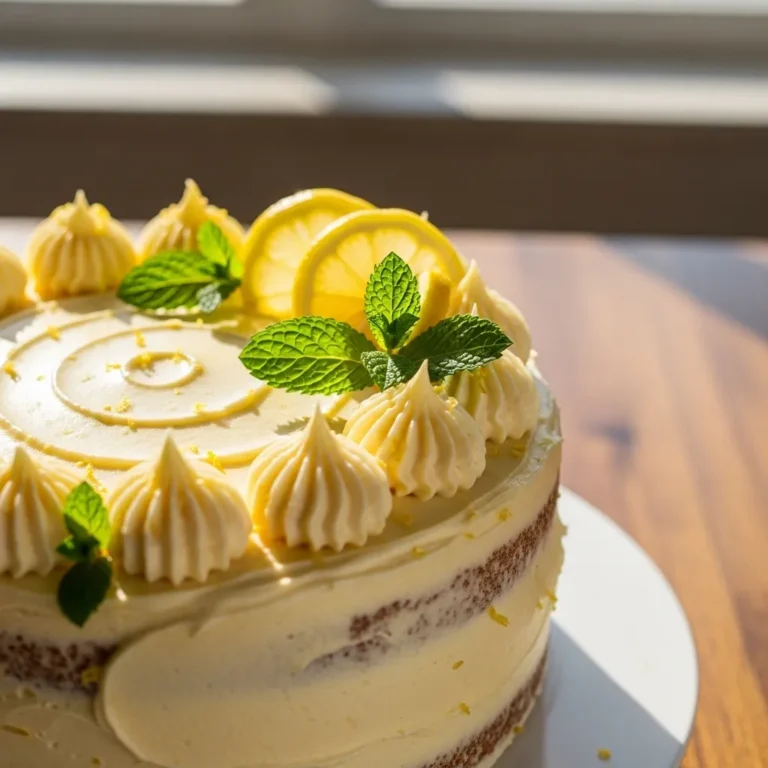
- Lemon Coconut: Add a teaspoon of lemon zest for a subtle citrus twist.
Common Cake Blunders & How to Fix Them
Let’s be real, vegan baking comes with its quirks. Avoid these pitfalls:
- Dry Cake: Often caused by overbaking or using low-fat coconut milk. Solution: Check a few minutes before the suggested time.
- Dense Texture: Overmixing is the culprit. Fold gently!
- Flat Cake: Not using enough leavening agents or forgetting vinegar can make the cake heavy.
Take it from me, these are mistakes I’ve learned the hard way, so you don’t have to.
How to Store Vegan Coconut Cake Properly

You baked it. You loved it. Now keep it fresh!
- Room Temperature: Airtight container, lasts 1–2 days. Perfect for quick snacking.
- Refrigerator: Up to 5 days. Let slices sit out for a few minutes before enjoying to regain softness.
- Freezer: Wrap slices individually and freeze for up to 2 months. Thaw at room temperature for the best experience.
Pro tip: I usually make a double batch and freeze half. Future-me always thanks me!
Serving & Presentation Tips
- Sprinkle toasted coconut flakes on top for a fancy touch.
- Drizzle with vegan chocolate ganache for extra indulgence.
- Serve with a scoop of coconut or vanilla vegan ice cream trust me, it’s a game-changer.
Conclusion
So there you have it, a moist, fluffy, and irresistible vegan coconut cake that proves plant-based desserts can be just as indulgent as traditional ones. With simple ingredients, easy steps, and a few creative twists, you can make a cake that delights everyone, vegans and non-vegans alike. Next time you want a tropical, sweet treat without eggs or dairy, you know exactly what to bake. Go ahead, try it, and don’t forget to share a slice (or two) with friends. Trust me, they’ll be impressed, and you’ll feel like a baking rockstar!