Oreo Icebox Cake
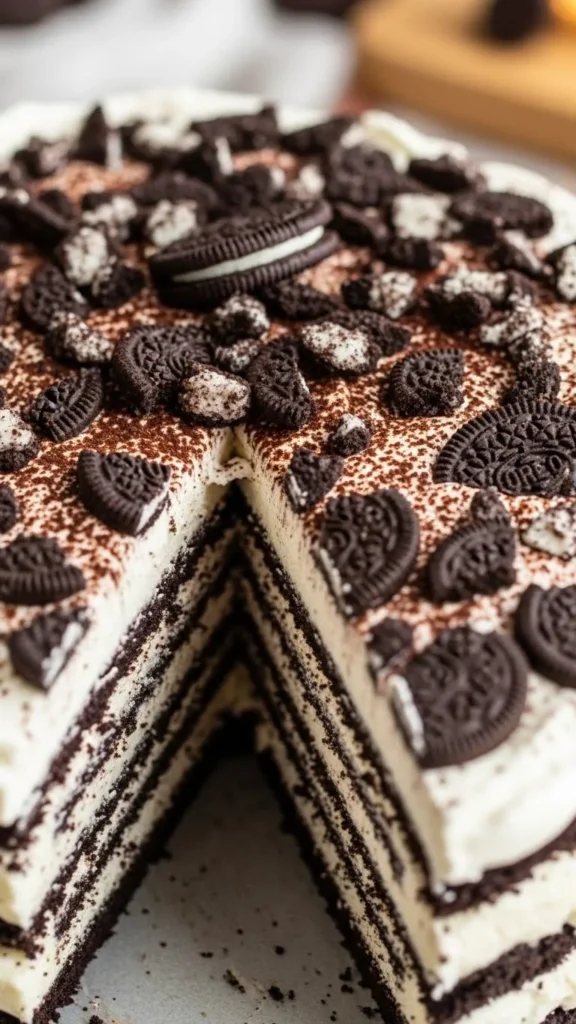
Oreo Icebox Cake is the ultimate no-bake dessert for Oreo lovers. It’s simple, indulgent, and looks impressive without requiring an oven. Layered with Oreos, whipped cream, and optional chocolate drizzle, this dessert transforms a handful of ingredients into a show-stopping treat. I love this cake because it’s nostalgic and easy to make. Each slice is creamy, chocolatey, and crunchy, bringing back childhood memories while satisfying any adult sweet tooth. Whether you’re hosting a party or craving a quick dessert, this cake delivers every time.
Why This Oreo Icebox Cake Works
This cake works because it relies on layers and chilling rather than baking. The Oreos soften slightly as they absorb moisture from the whipped cream, creating a cake-like texture. The contrast between crunchy cookie edges and soft, creamy layers is pure indulgence. Another reason it succeeds is its flexibility. You can use regular Oreos, flavored Oreos, or even gluten-free options. Adding chocolate drizzle, fudge, or even sliced bananas between layers enhances the flavor without complicating the recipe.
Choosing the Right Ingredients
The star ingredients are simple: Oreos, whipped cream, and optional chocolate. For best results, use full-fat heavy whipping cream whipped to stiff peaks. Freshly crushed Oreos give better texture than pre-packaged crumbs, and high-quality chocolate enhances flavor if you drizzle it over the top.
Base & Layers:
- 24 Oreo cookies (regular or flavored)
- 2 cups heavy whipping cream
- ¼ cup powdered sugar
- 1 teaspoon vanilla extract
Optional Toppings:
- ½ cup chocolate fudge sauce or chocolate syrup
- Extra crushed Oreos for garnish
- Sliced fruits like bananas or strawberries (optional)
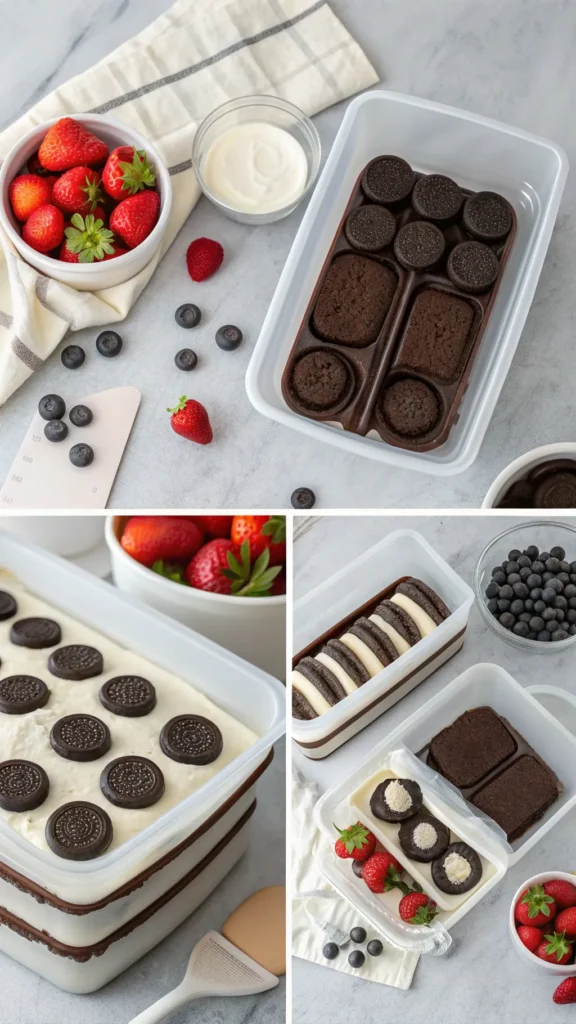
Instructions: Assembling the Icebox Cake
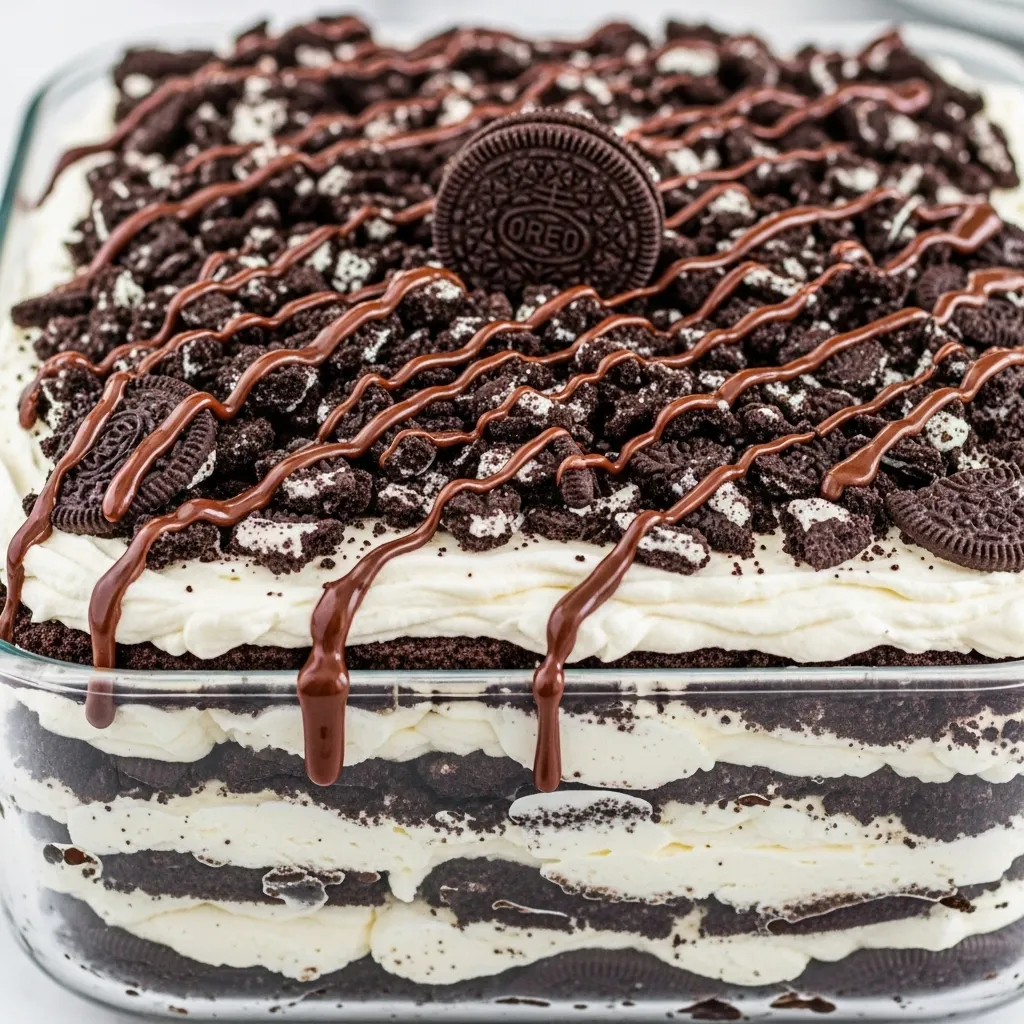
- Start with a rectangular or square pan lined with parchment paper for easy removal. Spread a thin layer of whipped cream at the bottom to prevent sticking. Arrange a single layer of Oreos on top. Add a layer of whipped cream, spreading it evenly, and repeat until the pan is filled, finishing with whipped cream.
- For extra flair, drizzle chocolate sauce on top or sprinkle with crushed Oreos. Cover the cake tightly with plastic wrap and refrigerate for at least 4–6 hours, preferably overnight. The chilling process allows the cookies to soften and absorb flavor, giving the cake its signature texture.
Texture and Flavor
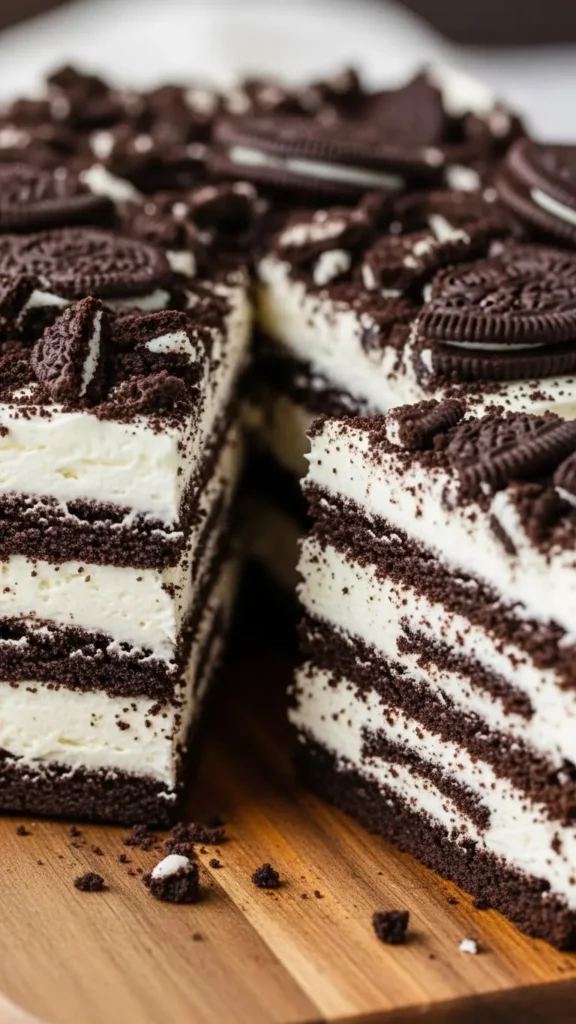
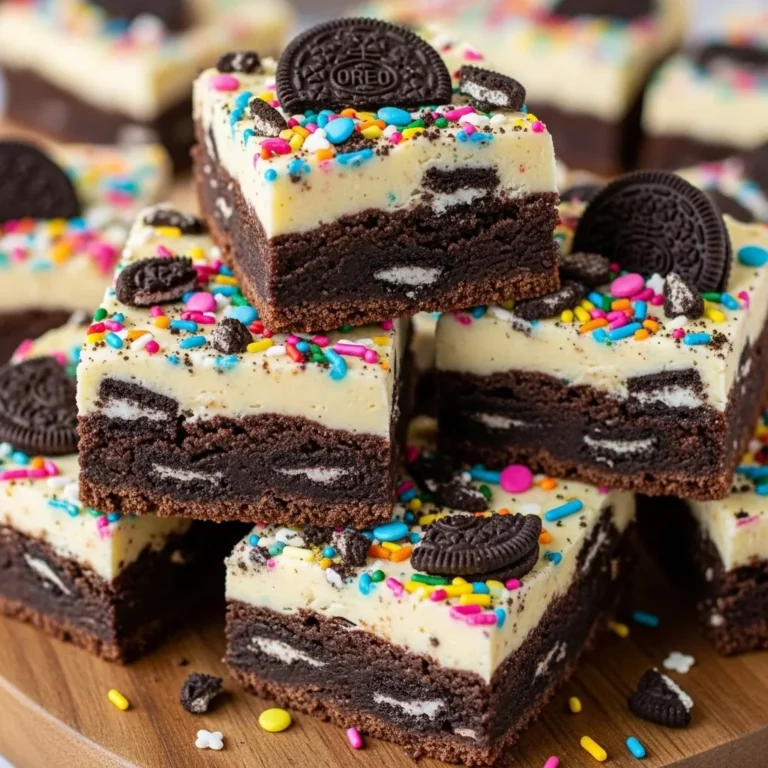
The texture of Oreo Icebox Cake is creamy, soft, and slightly crunchy. The Oreos soften to cake-like perfection while maintaining a gentle bite in the center. Whipped cream keeps each layer airy, and optional chocolate or fudge adds richness. Flavor-wise, it’s classic and comforting. Chocolatey Oreos paired with sweet whipped cream deliver familiar, nostalgic flavors everyone loves. The balance of sweet, creamy, and slightly crunchy keeps every bite satisfying.
Texture and Flavor Highlights:
- Soft, creamy whipped cream layers
- Slightly softened Oreos that mimic cake texture
- Crunchy edges for contrast
- Rich chocolate flavor, balanced sweetness
Serving Suggestions
Serve Oreo Icebox Cake chilled straight from the refrigerator. Slice carefully with a serrated knife for clean pieces. Letting the cake sit for a few minutes before slicing helps prevent the whipped cream from sticking to the knife. You can serve it as-is or garnish with extra crushed Oreos, chocolate drizzle, or fruit slices. Pairing it with milk or a cold coffee drink complements the flavors beautifully.
Serving Ideas:
- Slice after chilling for a few minutes
- Garnish with chocolate drizzle or crushed Oreos
- Add fruit like strawberries or bananas
- Pair with milk, coffee, or hot chocolate
Storing the Cake
Oreo Icebox Cake stores best in the refrigerator. Cover it tightly to prevent it from drying out or absorbing fridge odors. It keeps well for 3–4 days, and slices can be stored individually for convenience.
Storing Tips:
- Keep covered in the fridge
- Store individual slices for easy serving
- Consume within 3–4 days for best flavor and texture
- Avoid freezing, as whipped cream may separate
Variations to Try
This cake is easy to customize. Swap vanilla Oreos for chocolate, mint, or birthday cake flavors. Add layers of sliced bananas, strawberries, or chocolate chips between Oreos for extra indulgence. For a richer dessert, drizzle caramel or chocolate fudge over the top or fold cocoa powder into the whipped cream for a chocolatey twist. The options are endless while keeping the base simple.
Why This Cake Is So Comforting
Oreo Icebox Cake is comforting because it combines nostalgic flavors with a creamy, indulgent texture. It’s simple, familiar, and satisfying. Each bite brings back memories of childhood desserts while still feeling like a treat for adults. It doesn’t require baking or fancy techniques, making it stress-free and approachable for anyone. The combination of Oreos, whipped cream, and optional chocolate is timeless, which is why this cake is loved by all ages.
Conclusion
Oreo Icebox Cake proves that no-bake desserts can be both simple and impressive. With soft, creamy layers, slightly crunchy Oreos, and optional chocolate drizzles, it’s perfect for parties, summer gatherings, or casual dessert moments. Once you make it, it will likely become a go-to dessert because it’s easy, delicious, and guaranteed to impress with minimal effort.