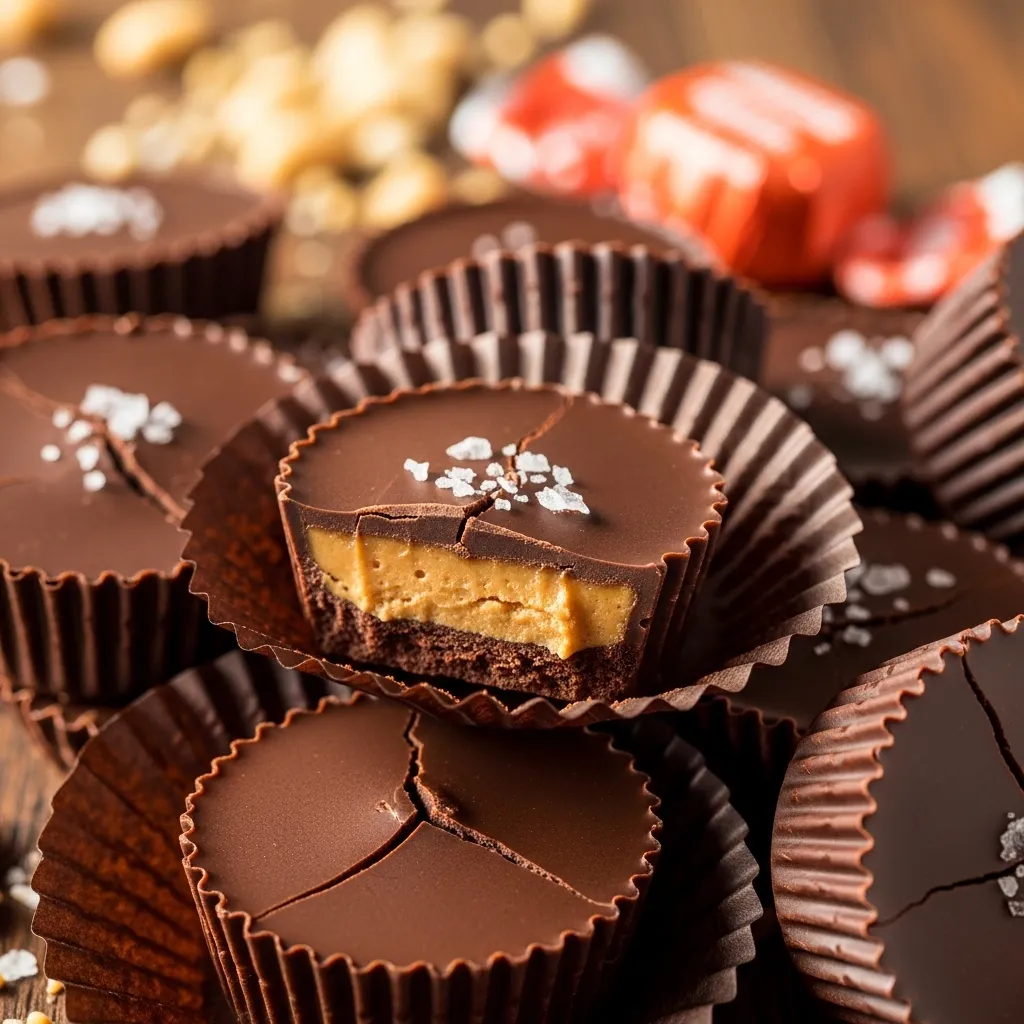
Chocolate Peanut Butter Cups
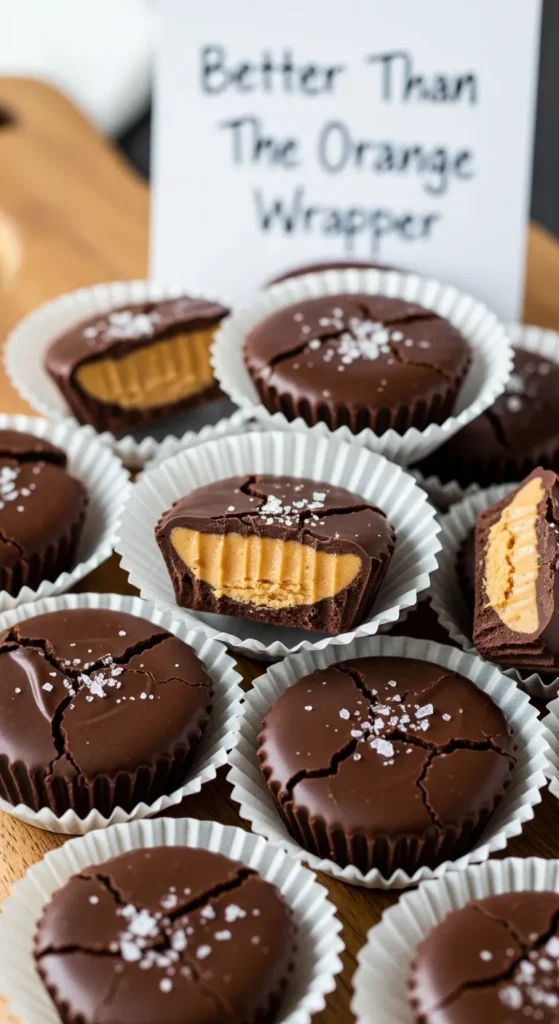
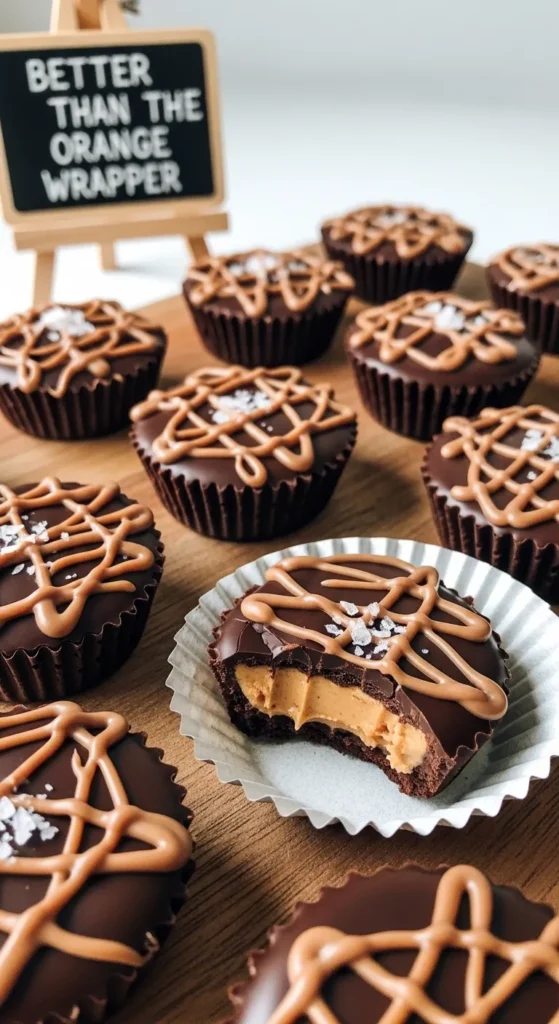
We’ve all been there, staring at the vending machine, debating if we really need that two-pack of peanut butter cups. The answer is always yes, but the reality is often a bit… waxy. What if I told you that you could make a version in your own kitchen that makes the store-bought stuff taste like flavored cardboard? These homemade peanut butter cups are the ultimate “flex” for anyone who loves the combination of salty, creamy nut butter and rich, snappy chocolate.
Why This Recipe is Awesome
This recipe is completely customizable. Want them extra salty? Throw in some flaky sea salt. Want them crunchy? Use chunky peanut butter. Want to feel like a fancy artisan? Use dark chocolate and a gold-leaf garnish (okay, maybe that’s a bit much, but you get the point). It’s also a great way to use up those muffin liners that have been sitting in your cupboard since that one time you thought you’d become a “cupcake person.”
Ingredients You’ll Need
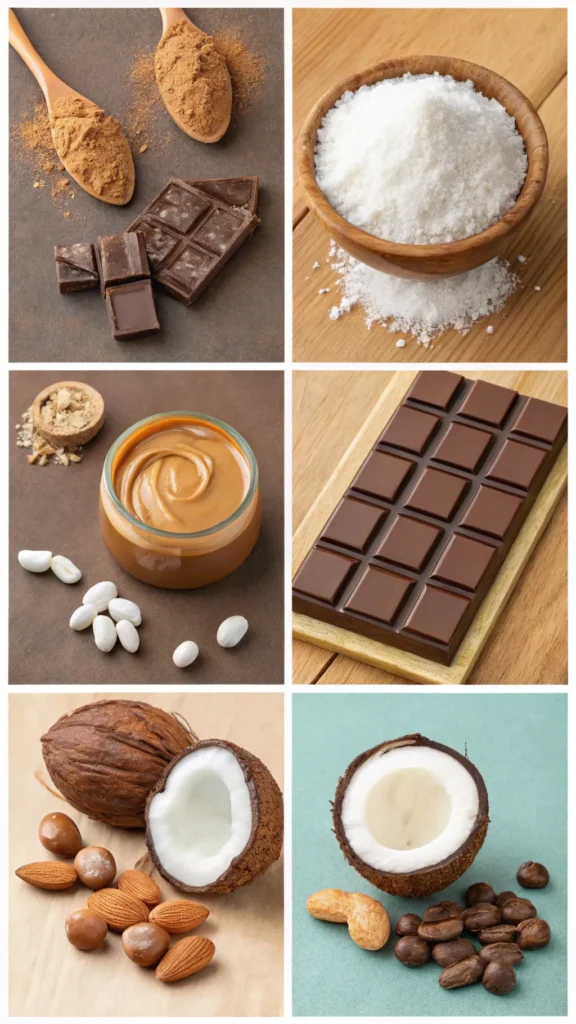
- 12 oz Semi-Sweet or Milk Chocolate: Use high-quality chips or chopped bars. This is the “shell” of your operation, so don’t be cheap!
- ¾ cup Creamy Peanut Butter: The classic choice. If you use the “natural” kind that separates, make sure you stir it really well first.
- ½ cup Powdered Sugar: This is the secret to getting that specific “Reese-like” texture in the filling.
- 2 tbsp Melted Butter: To make the peanut butter filling extra smooth and luxurious.
- ¼ tsp Salt: Even if your peanut butter is salted, a little extra makes the chocolate pop.
- 1 tsp Vanilla Extract: For that “homemade with love” aroma.
- 1 tsp Coconut Oil: Mixed with the chocolate to give it a nice sheen and a cleaner snap.
Step-by-Step Instructions
- Prep the Liners: Line a standard muffin tin with paper liners. If you want “snack-sized” versions, use a mini-muffin tin. This recipe makes about 12 regular or 24 mini cups.
- Melt the Base: Melt half of your chocolate with half of the coconut oil. You can do this in 30-second bursts in the microwave, stirring until smooth. Don’t burn it, or you’ll be sad.
- The Bottom Layer: Spoon about 1 to 2 teaspoons of melted chocolate into the bottom of each liner. Swirl it around a bit so it coats the bottom evenly. Pop the tray in the freezer for 5–10 minutes to set.
- The Magic Filling: While the base is freezing, mix the peanut butter, powdered sugar, melted butter, salt, and vanilla in a bowl. It should form a thick, pliable paste. If it’s too sticky, add a little more powdered sugar.
- The Centerpiece: Take the tray out of the freezer. Roll a small ball of the peanut butter mixture (about a teaspoon) and flatten it into a disc. Place it right in the center of each chocolate base. Pro tip: Leave a little space around the edges so the top layer of chocolate can seal everything in.
- The Top Coat: Melt the remaining chocolate and coconut oil. Spoon it over the peanut butter discs, smoothing it out to the edges of the liners. Give the tray a gentle tap on the counter to get rid of any air bubbles.
- The Cold Soak: Put the tray back in the fridge for at least 30 minutes, or until the chocolate is firm. Peel off the paper liners and prepare for a life-changing snacking experience.
Common Mistakes to Avoid
- Using cold peanut butter: If your filling is too cold, it won’t flatten out properly, and you’ll end up with “lumpy” cups. Room temperature is your friend here.
- Skipping the coconut oil: You can leave it out, but the chocolate might be a bit too hard to bite through comfortably. The oil gives it that perfect “give.”
- Not letting the layers set: If you pour warm chocolate over unset peanut butter, it’ll just mix together into a brown swirl. It’ll still taste good, but the “cup” aesthetic will be ruined.
- Ignoring the salt: Chocolate and peanut butter both love salt. Without it, the flavor can feel a bit “flat.” A tiny pinch goes a long way.
Alternatives & Substitutions
- The Nut-Free Version: Use sunflower seed butter or soy nut butter. It’s a great swap for school lunches or friends with allergies.
- The “Healthyish” Swap: Use dark chocolate (70% cocoa or higher) and maple syrup instead of powdered sugar in the filling. It’ll be less “candy-like” and more “sophisticated snack.”
- The Crunch Factor: Add a spoonful of crushed pretzels or Rice Krispies to the peanut butter mixture for an unexpected and delightful crunch. IMO, the pretzel version is a game-changer.
- The “Almond Joy” Twist: Use almond butter instead of peanut butter and sprinkle a bit of shredded coconut on top before the chocolate sets.
Final Thoughts
There you go! You’ve just bypassed the candy aisle and created something far superior. These Chocolate Peanut Butter Cups are so good that you might find yourself hiding them in the back of the freezer so you don’t have to share. No judgment here, I’ve done it too. They stay fresh for weeks in an airtight container, but let’s be real, they won’t last that long. Now, go ahead and peel off that paper liner and take a bite. You’ve officially earned the title of “Master of the Peanut Butter Cup.”