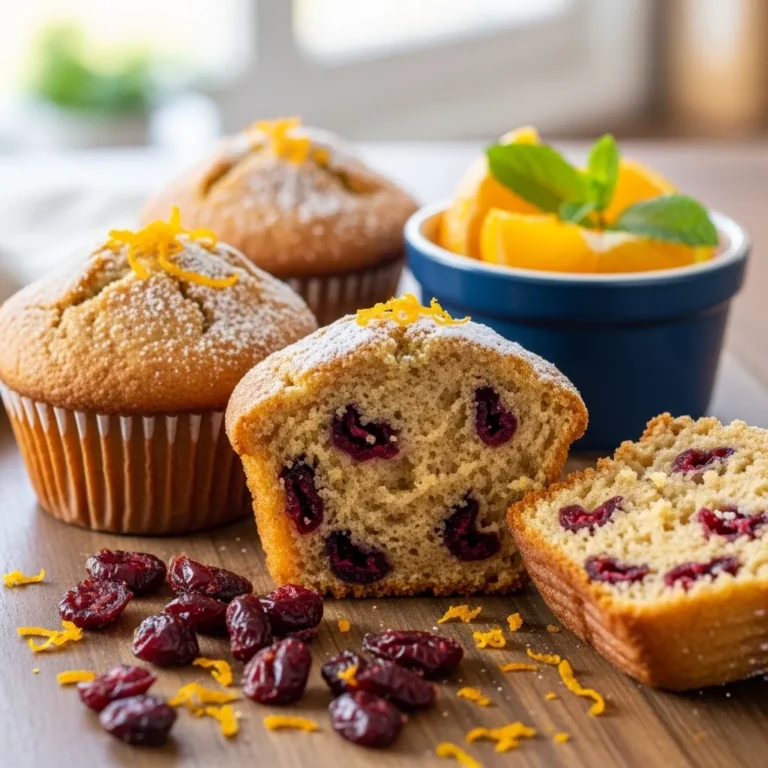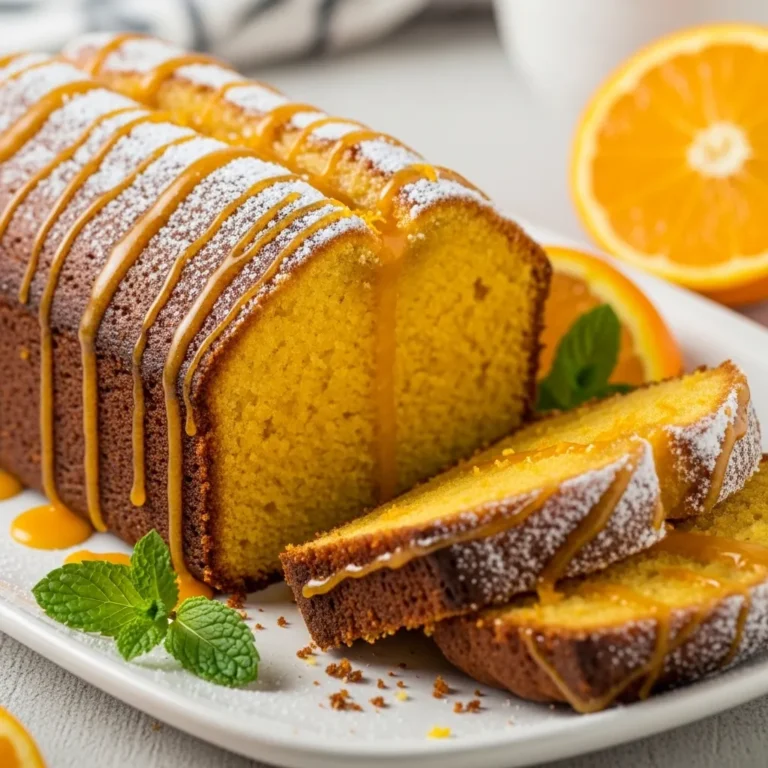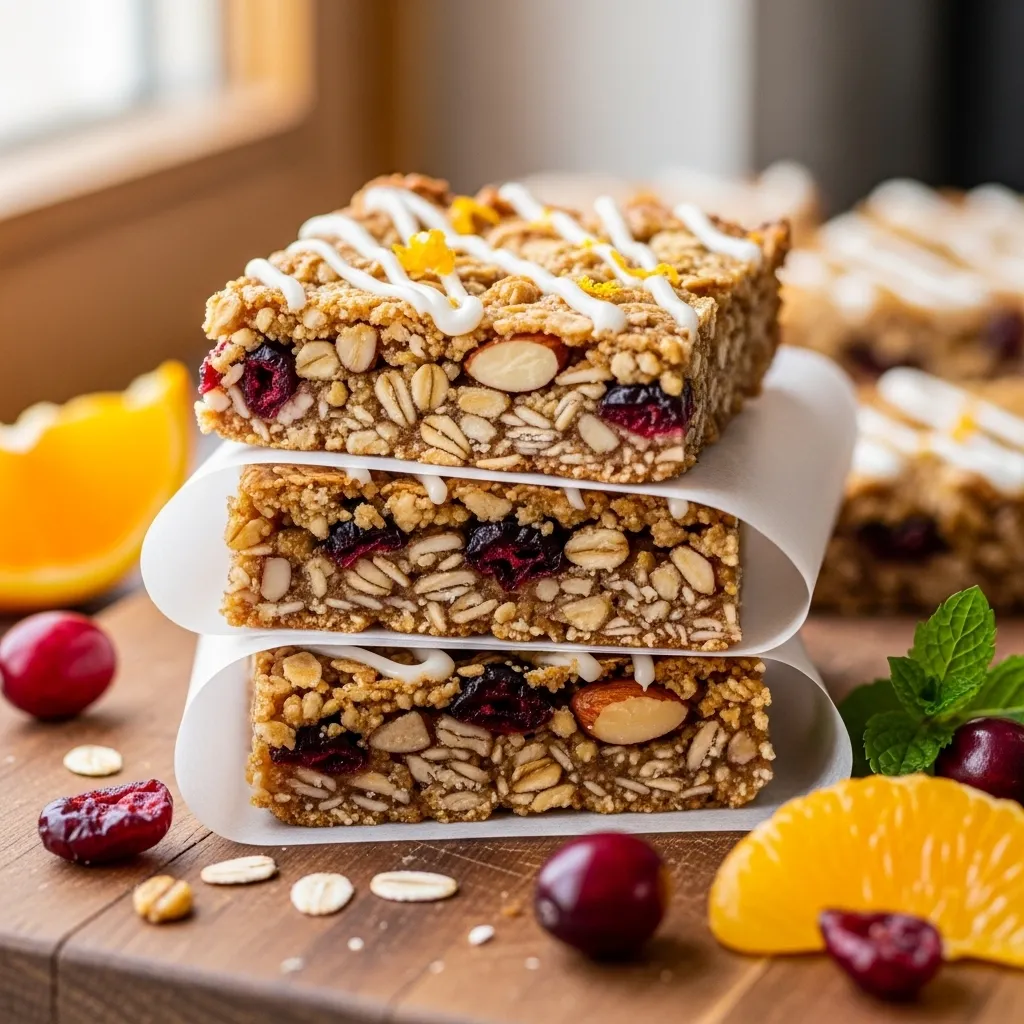
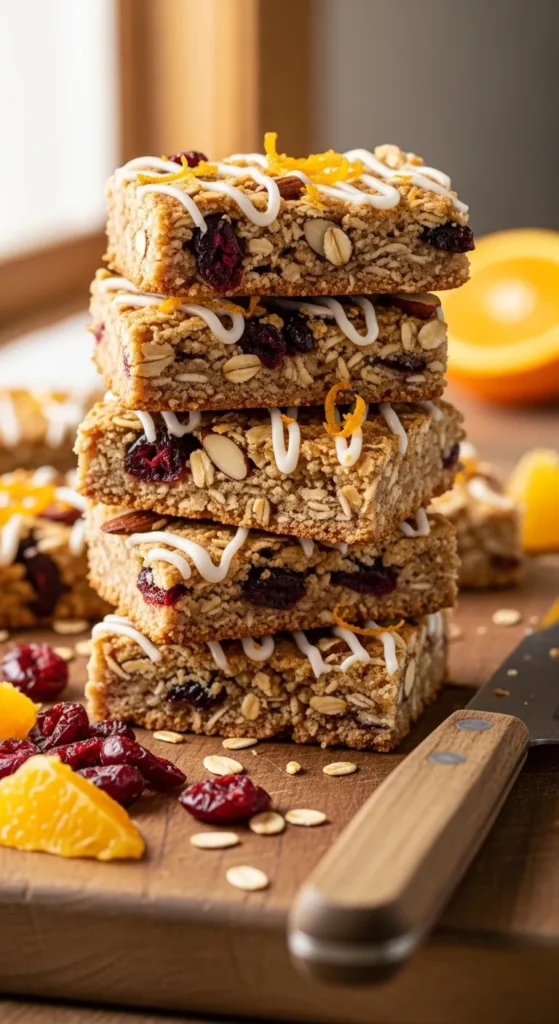
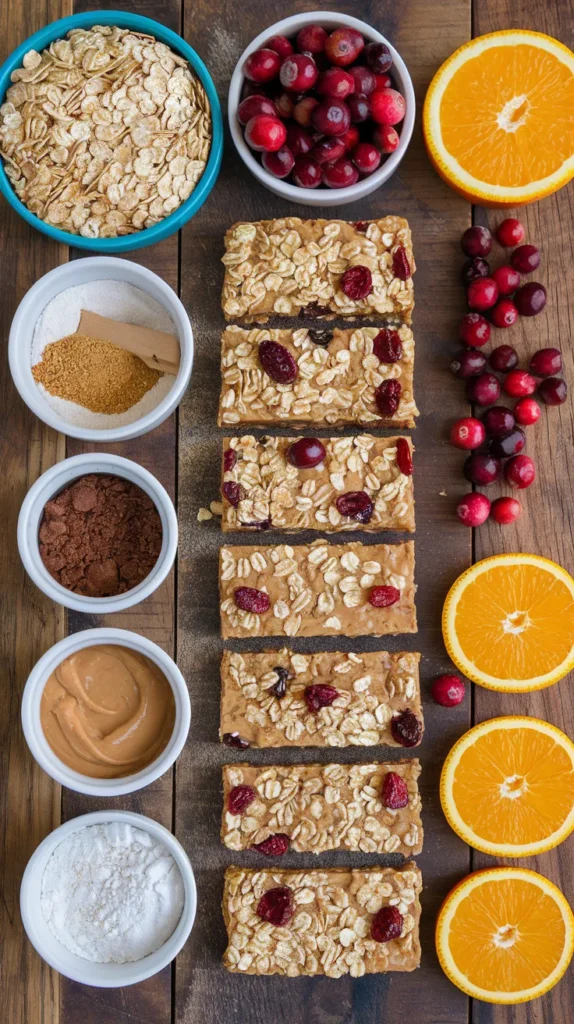
Cranberry Orange Granola Bars
So you’re craving something snacky, sweet, and vaguely healthy but you also don’t feel like ruining your kitchen or your mood?
Yeah. Same. That’s exactly why Cranberry Orange Granola Bars exist. They’re chewy, zesty, a little sweet, and feel way fancier than the effort required. These are the kind of bars you make once and then casually brag about like, “Oh these? Just something I whipped up.”
Grab a bowl. Preheat the oven. Let’s make snacks that feel like self-care but taste like dessert.
Why This Recipe Is Awesome
First of all, these granola bars actually hold together. No crumbly “oops it turned into granola cereal” situation here. That alone deserves applause.
Second, the cranberry + orange combo? Elite. Tart, bright, slightly sweet, and not boring in the slightest. It’s like your snack woke up and chose personality.
Third, this recipe is ridiculously forgiving. Forgot an ingredient? Swapped something questionable? Didn’t measure perfectly? Congrats—you’re still getting good bars. IMO, that’s the best kind of recipe.
And finally: these bars make you look like a functional adult. Meal prep vibes. Coffee shop energy. Zero judgment if you eat three in one sitting though. I won’t tell.
Ingredients You’ll Need
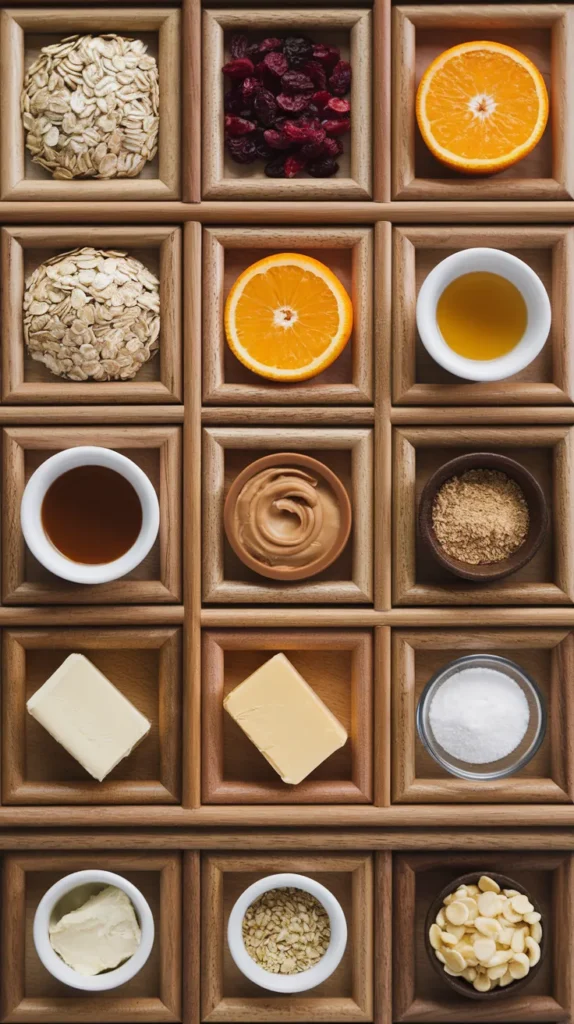
Nothing weird. Nothing pretentious. Just solid pantry players doing their job.
- Rolled oats – Old-fashioned oats only. Instant oats get weird and mushy.
- Dried cranberries – Tart, chewy, and dramatic in the best way.
- Orange zest – Fresh zest = non-negotiable flavor upgrade.
- Orange juice – Fresh if you can, bottled if you must. We’re not monsters.
- Honey or maple syrup – Pick your sweetener allegiance.
- Nut butter (almond or peanut) – This is the glue. Trust it.
- Butter or coconut oil – Because fat = flavor. Always.
- Brown sugar – Just a little, for that caramel-y depth.
- Vanilla extract – Makes everything feel finished.
- Salt – Tiny amount, huge impact.
- Optional add-ins – Chopped nuts, seeds, white chocolate chips (dangerously good).
Step-by-Step Instructions
- Preheat your oven to 350°F (175°C) and line an 8×8-inch pan with parchment paper. Leave some overhang so you can lift the bars out later like a pro. This step saves your sanity don’t skip it.
- Toast the oats by spreading them on a baking sheet and baking for about 8–10 minutes. Stir once halfway. You want them lightly golden and smelling like “oh yeah, this was a good idea.”
- Mix the dry stuff in a large bowl: toasted oats, dried cranberries, orange zest, and any optional add-ins. Give it a quick stir and admire how colorful your life suddenly is.
- Warm the wet ingredients in a small saucepan over low heat: nut butter, honey or maple syrup, butter (or coconut oil), brown sugar, and salt. Stir until smooth and glossy. Don’t boil this isn’t lava.
- Take it off the heat and stir in the vanilla and orange juice. It should smell ridiculously good at this point. If it doesn’t, check your life choices (or your zest).
- Pour the wet mixture into the dry and stir until everything is evenly coated. No dry patches allowed. Every oat deserves love.
- Press the mixture firmly into the pan. And I mean firmly. Use a spatula. Use your hands. Use determination. This is how you get bars, not crumbs.
- Bake for 20–25 minutes, until the edges are golden and the top looks set. Your kitchen will smell like a fancy bakery that also has their life together.
- Cool completely before cutting. Yes, completely. Walk away. Do not touch. This is the hardest step, but it’s crucial.
Common Mistakes to Avoid
- Not pressing the mixture hard enough. This is the #1 reason bars fall apart. Press like you’re mad at it.
- Skipping the oat-toasting step. You can skip it, but you’ll miss out on flavor. And regret is real.
- Cutting while warm. Warm bars lie to you. They promise structure and deliver chaos.
- Going overboard with add-ins. More is not always better. This isn’t a kitchen sink situation.
- Forgetting the salt. Sweet without salt is just… flat. Don’t do that to yourself.
Alternatives & Substitutions
Want to make these bars your own? Please do. Recipes love a little chaos.
- No cranberries? Swap in dried cherries, raisins, or chopped dates. Cherries are especially good here.
- No orange? Lemon works, but it’s sharper. Still great, just more zing.
- Nut-free? Sunflower seed butter is your best friend. Creamy, sturdy, and underrated.
- Vegan? Use maple syrup and coconut oil. Easy win.
- Gluten-free? Just make sure your oats are certified gluten-free. Done.
Personally, I love adding white chocolate chips once the mixture cools slightly. Is it necessary? No. Is it amazing? Absolutely.
Final Thoughts
These Cranberry Orange Granola Bars are the kind of recipe that quietly becomes part of your routine. You make them once, then suddenly you’re “the person who always has snacks.” Power move.
They’re easy, flexible, and way better than anything wrapped in plastic. Plus, that orange zest moment? Chef’s kiss.
So go ahead make a batch. Cut them into neat little bars or chaotic chunks. Eat one with coffee. Eat one standing in the kitchen at midnight. You earned it.
Now go impress someone. Or just impress yourself. Honestly? That counts more.