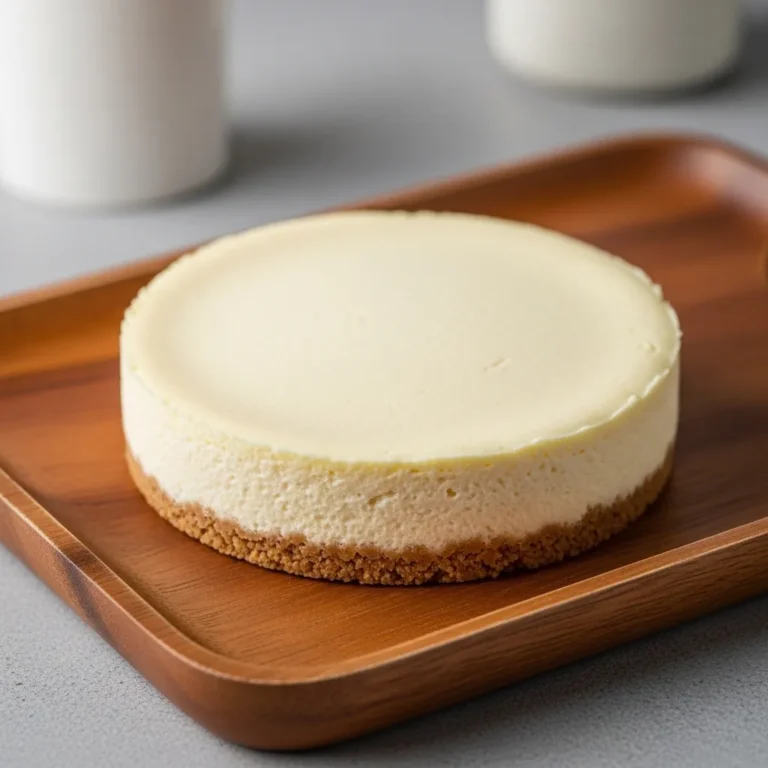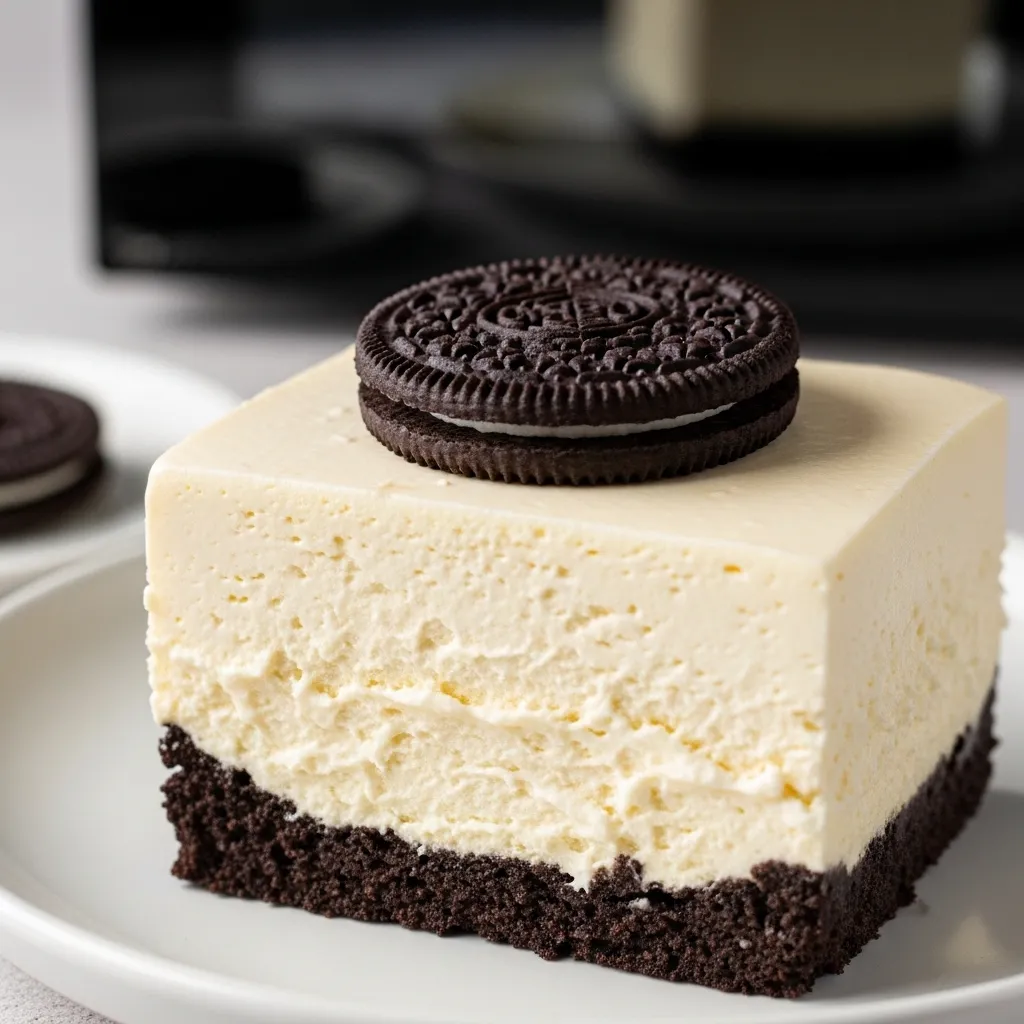
Microwave Oreo Cheesecake
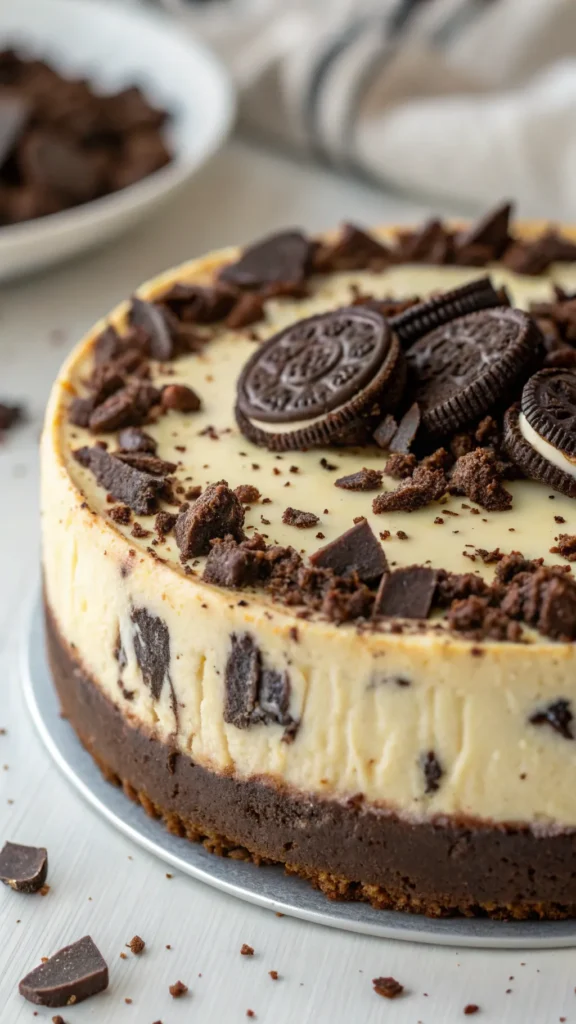
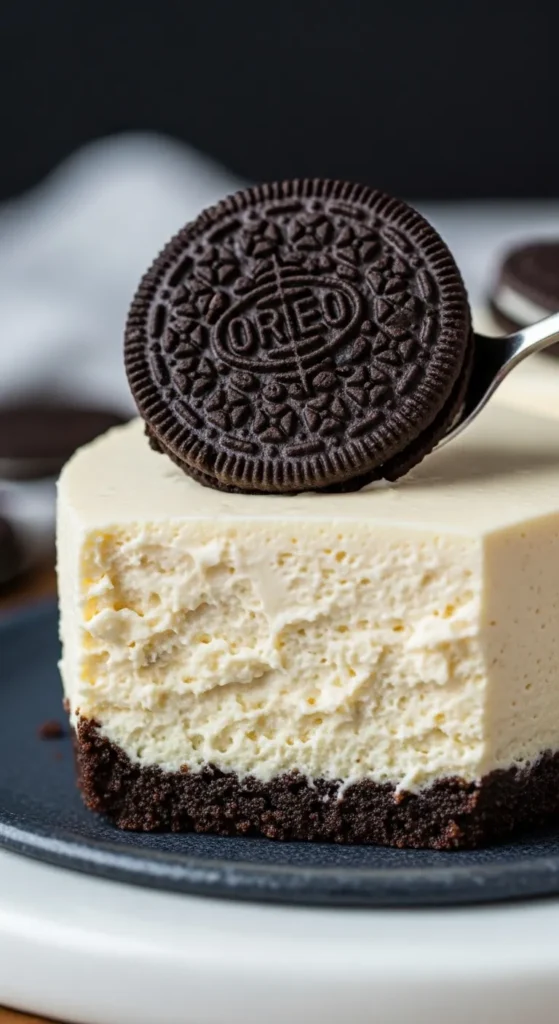
If the New York Cheesecake is the sophisticated elder of the dessert world, the Oreo Cheesecake is its fun, rebellious, and highly addictive younger sibling. It combines the tangy, velvety texture of a classic cheesecake with the dark, cocoa-rich crunch of everyone’s favorite sandwich cookie. The Microwave Oreo Cheesecake is a revelation because it solves the biggest problem with homemade cheesecake: the wait time. By using the microwave, we bypass the hour-long water bath and go straight to the “cookies and cream” bliss. The result is a dense, “mousse-like” cheesecake that is marbled with softened cookie bits and anchored by a buttery, chocolatey crust. It’s a single-serving (or sharing-size) masterpiece that looks and tastes like it came from a specialty bakery.
The Science of the “Oreo Infusion”
In this recipe, Oreos serve a double purpose.
- The Base: When crushed and mixed with butter, the high cocoa content of the cookie wafers creates a sturdy, bitter-sweet foundation that balances the heavy fats of the cream cheese.
- The Internal Moisture: Inside the cheesecake batter, the cookie pieces undergo a transformation. As the microwave heats the cream cheese and eggs, the steam softens the cookie wafers, turning them into soft, cake-like pockets of chocolate. This creates a multi-textured experience: the smooth cheesecake, the softened cookie bits, and the firm, crunchy crust.
Ingredients: The Essential Toolkit

- The Crust:
- 4-5 Oreo Cookies: Crushed into fine crumbs.
- 1 tbsp Unsalted Butter (Melted): To bind the cocoa crumbs.
- The Filling:
- 8 oz (1 block) Cream Cheese: Must be room temperature for a silky texture.
- ¼ cup Granulated Sugar: To sweeten the tang.
- 1 Large Egg: To set the structure.
- 1 tbsp Sour Cream (or Greek Yogurt): For that signature creamy “lift.”
- ½ tsp Vanilla Extract: To highlight the cream filling flavor.
- 3-4 Oreos: Coarsely chopped (for folding into the batter).
Step-by-Step Instructions
- The Foundation: Mix your 4-5 crushed Oreos with the melted butter. Press this mixture firmly into the bottom of a microwave-safe glass bowl, ramekin, or even a wide-bottomed mug. Microwave the crust alone for 30 seconds to lock it in place.
- The Creamy Core: In a medium bowl, beat the softened cream cheese and sugar together until no lumps remain. Add the egg, sour cream, and vanilla. Stir gently with a whisk or fork until just combined.Pro Tip: Do not over-beat the mixture once the egg is added. Excessive air will cause the cheesecake to puff up and then sink, creating a cratered look.
- The Cookie Fold: Gently fold in the 3-4 coarsely chopped Oreos. You want some “dust” and some “chunks” for the best marbling.
- The Fill: Pour the batter over your pre-set Oreo crust. Tap the dish against the counter to release any trapped air bubbles.
- The “Gentle Heat” Cook: Place the dish in the microwave. Cook on 50% power (Medium) for 3 ½ to 5 minutes.
- Why 50%? This prevents the edges from becoming rubbery while waiting for the center to cook.
- The Check: At the 3-minute mark, start checking every 30 seconds. The cheesecake is done when the edges look matte and firm, but the center still has a slight, jelly-like wobble.
- The Rest & Chill: Let it cool on the counter for about 30 minutes. Once it’s at room temperature, move it to the fridge for at least 3 hours.
Common Mistakes to Avoid
- The “Lumpy” Batter: If you use cold cream cheese, you’ll have tiny white spots of unmixed cheese. If you forgot to take it out of the fridge, zap the unwrapped block for 15-20 seconds before mixing.
- High Power Settings: If you cook on “High,” the eggs will “boil” and create a texture like a sponge instead of a cream. Always drop that power level to 50%.
- Over-Chopping the Internal Cookies: If you grind the internal Oreos into a powder, your cheesecake will just turn a murky grey color. Keep the pieces large enough to be distinct!
- Impatience: It is tempting to eat it warm. Don’t. Warm cheesecake tastes like sweet eggs; cold cheesecake tastes like heaven.
Creative Variations
- The “Mint Oreo” Twist: Use Mint Oreos for the crust and the filling for a refreshing, “grasshopper” style dessert.
- The “Golden” Version: Use Golden Oreos and a splash of extra vanilla for a “Birthday Cake” vibe.
- Chocolate Ganache Topping: Melt 2 tbsp of chocolate chips with 1 tbsp of heavy cream (microwave for 30 seconds) and pour it over the chilled cheesecake before serving.
- Peanut Butter Oreo: Swirl 1 tbsp of melted peanut butter into the cheesecake batter before cooking.
Final Thoughts
The Microwave Oreo Cheesecake is the ultimate “cheat code” for dessert lovers. It delivers the heavy, decadent satisfaction of a restaurant-style cheesecake in a fraction of the time. It is a visual stunner, a crowd-pleaser, and a testament to the fact that you can make high-quality treats with just a few pantry staples and a microwave. It’s the perfect end to a movie night or a quick way to impress a last-minute guest.