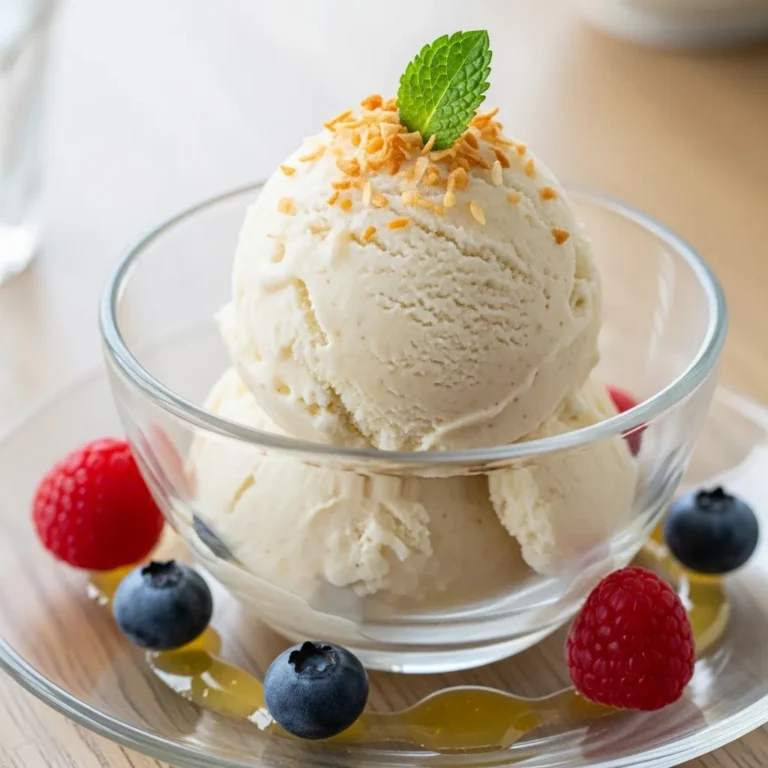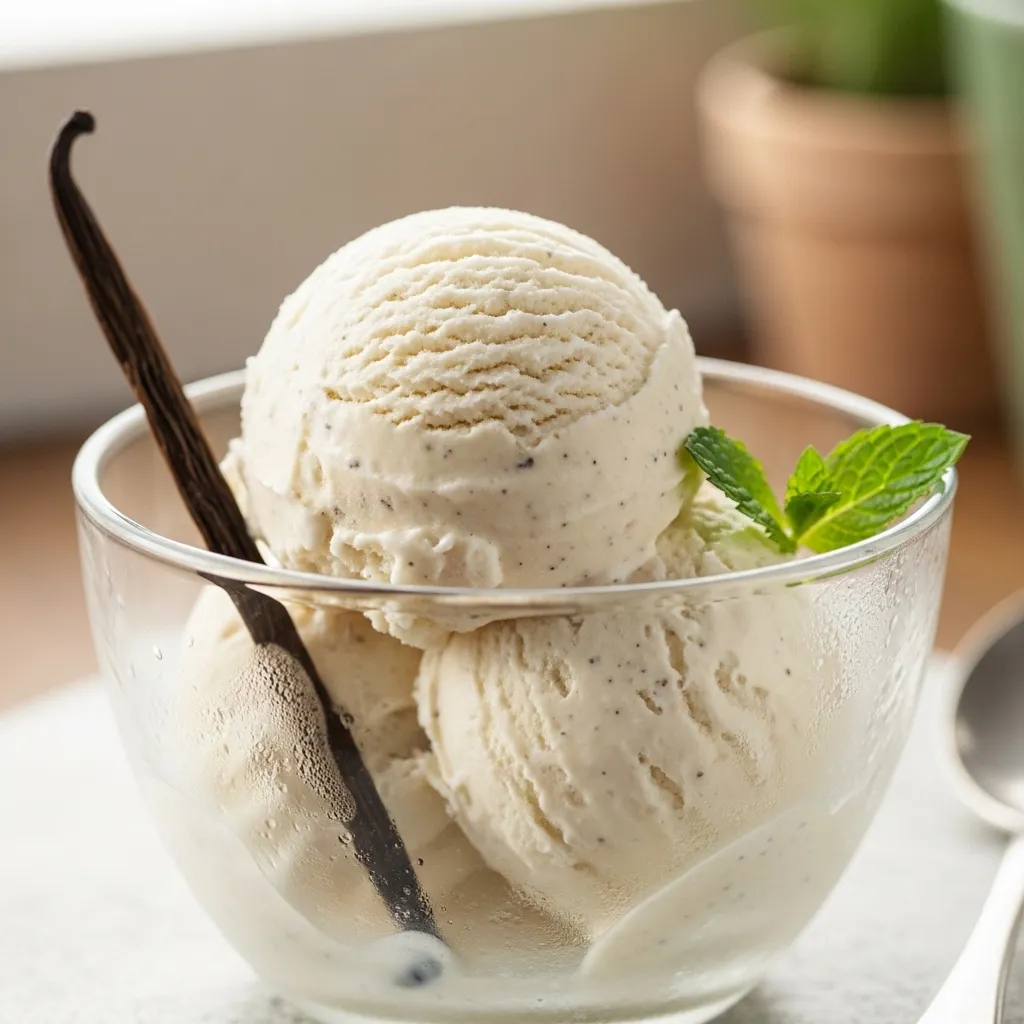
Vegan Vanilla Ice Cream No Coconut
So you want creamy, dreamy vanilla ice cream but without dairy or coconut? First of all, I respect the specificity. Second of all, same. Not everyone wants their vanilla tasting like it just came back from a beach vacation. Sometimes you just want classic, scoop-shop vibes minus the moo juice.
Good news: this vegan vanilla ice cream is smooth, rich, and shockingly legit. No coconut flavor. No weird aftertaste. Just pure vanilla goodness that makes you question why you ever needed heavy cream in the first place.
Let’s make frozen magic.
Why This Recipe Is Awesome
Let me count the ways.
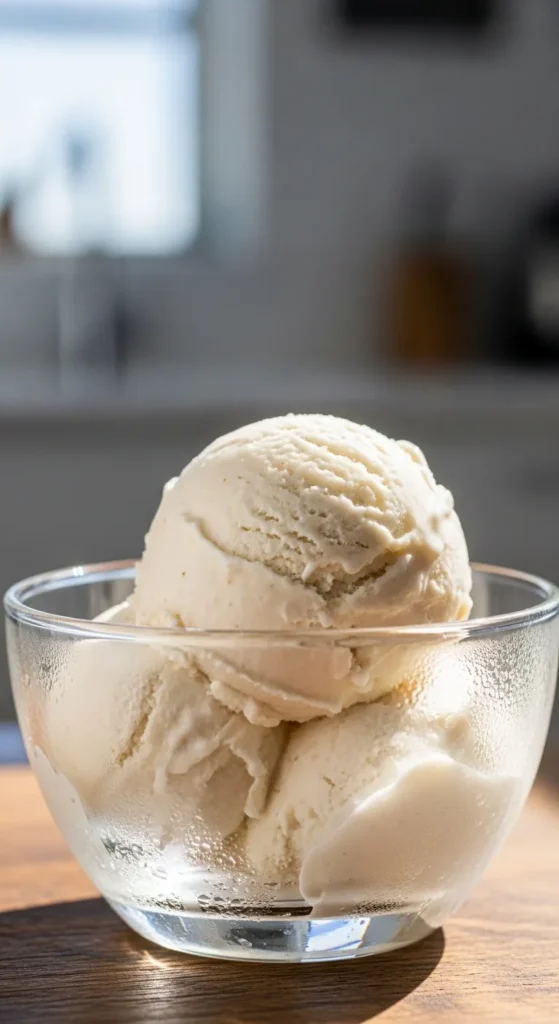
First, it’s actually creamy. Not “this is good for vegan” creamy. I mean close-your-eyes-and-do-a-happy-dance creamy. We use a smart combo of plant milk and cashews to create that luxurious texture.
Second, no coconut. None. Zero. Your vanilla tastes like vanilla not like it’s plotting a piña colada.
Third, it’s simple. Like, “don’t overthink it” simple. If you can operate a blender and remember to freeze something, you’re qualified. It’s basically foolproof. I didn’t mess it up, and that’s saying something.
And finally, it’s customizable. Add-ins? Swirls? Cookie chunks? Go wild.
Ingredients You’ll Need
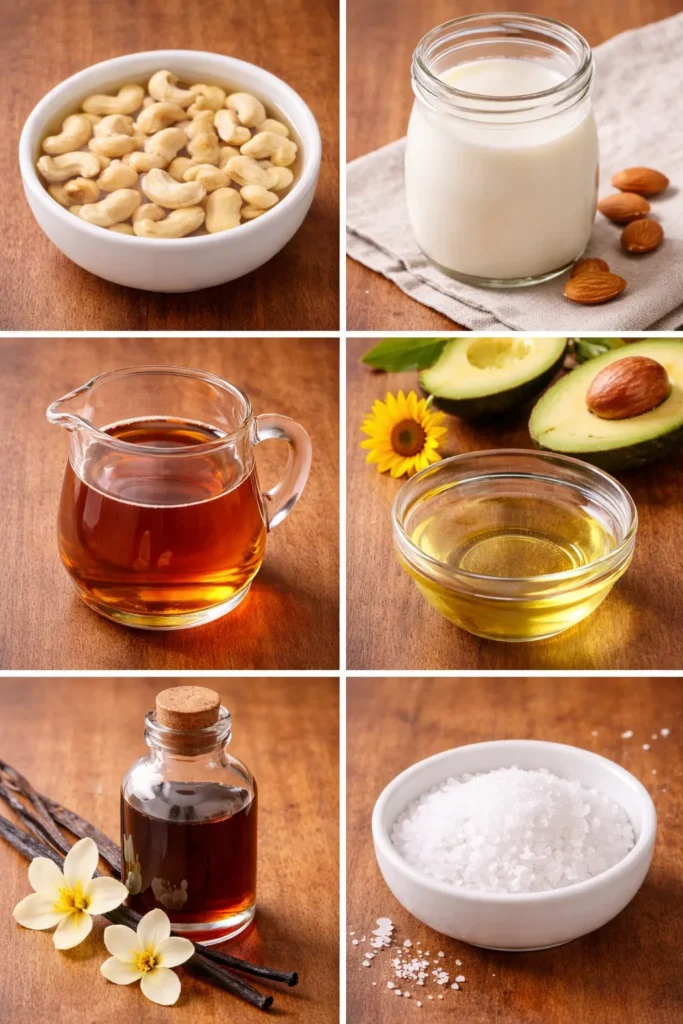
Here’s the lineup nothing too dramatic:
- 1 cup raw cashews (soaked at least 4 hours or overnight – yes, it matters)
- 1 ½ cups unsweetened almond milk (or oat milk for extra creaminess)
- ½ cup maple syrup (nature’s liquid gold)
- 2 tablespoons neutral oil (like avocado or refined sunflower – for richness)
- 1 tablespoon pure vanilla extract (don’t cheap out here)
- Pinch of salt (because vanilla without salt is just sad)
That’s it. No coconut milk. No mystery thickeners. No ingredients you have to Google.
Step-by-Step Instructions
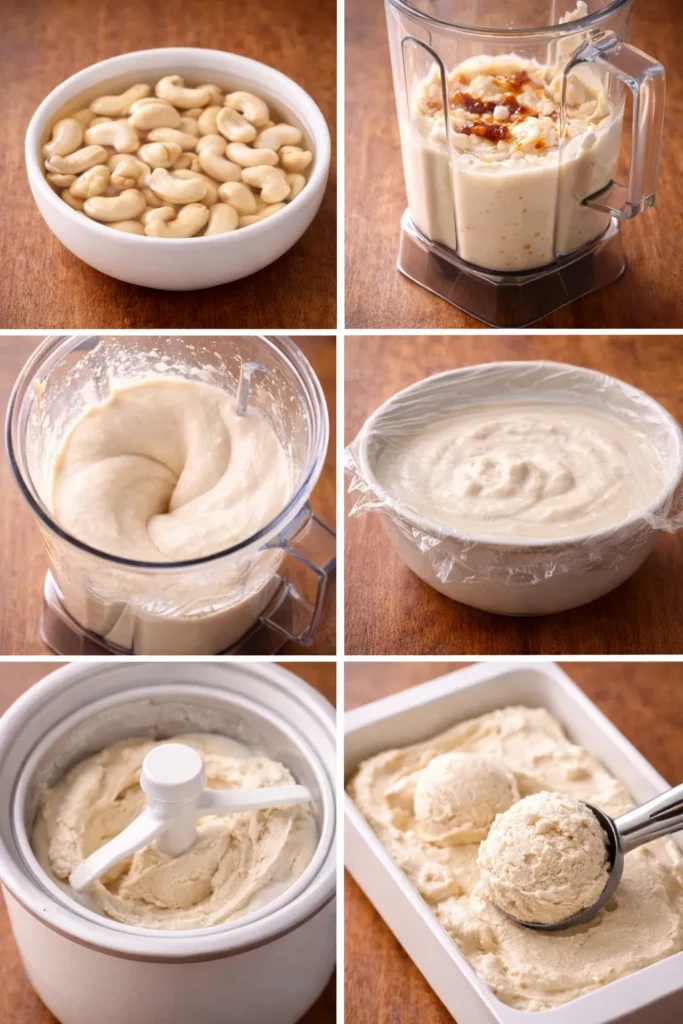
1. Soak the Cashews
Drain your soaked cashews and rinse them well. This step softens them so your blender doesn’t cry. If you’re in a rush, pour boiling water over them and soak for 30–60 minutes. Not ideal, but it works.
2. Blend Until Silky Smooth
Add cashews, almond milk, maple syrup, oil, vanilla, and salt to a high-speed blender. Blend for 1–2 minutes until completely smooth. I mean completely. No graininess allowed. If it feels gritty, keep blending.
3. Chill the Mixture
Pour the mixture into a bowl or container and refrigerate for at least 2–4 hours. Cold base = better texture. Don’t skip this unless you enjoy icy disappointment.
4. Churn It
Pour the chilled mixture into your ice cream maker and churn according to the manufacturer’s instructions (usually 20–25 minutes). It should look like soft serve when it’s done.
5. Freeze to Firm Up
Transfer to a freezer-safe container and freeze for 2–3 hours for scoopable texture. Pro tip: press parchment paper on top to prevent ice crystals. Future you will be grateful.
6. Scoop and Show Off
Let it sit at room temp for 5–10 minutes before scooping. Then act casual when people freak out over how creamy it is.
Common Mistakes to Avoid
Let’s save you from heartbreak.
Not soaking the cashews long enough. Crunchy ice cream? No thanks. If your blender struggles, that’s on you.
Using low-quality vanilla. This is vanilla ice cream. Vanilla is the star. Don’t sabotage it with artificial “vanilla-ish” syrup.
Skipping the chill step. Warm base into the machine = icy texture. Rookie move.
Overloading the ice cream maker. Follow the max fill line. It’s not a suggestion.
Expecting rock-solid perfection straight from the churn. It’s soft serve at first. Freeze it properly. Patience, my friend.
Alternatives & Substitutions
Want to tweak things? I support it.
- No cashews? Try blanched almonds or macadamia nuts. Texture will vary slightly, but it still works. IMO, cashews are the creamiest option.
- Nut-free version? Use full-fat oat milk plus 2 tablespoons cornstarch. Heat gently to thicken, cool, then churn.
- Sweetener swap? Agave works. Sugar works too just dissolve it fully before chilling.
- Oil-free option? You can skip the oil, but the texture won’t be as rich. It’s your call.
- Vanilla bean upgrade? Add seeds from one real vanilla pod. Fancy? Yes. Worth it? Also yes.
Feeling bold? Fold in crushed cookies, brownie chunks, or a berry swirl right before the final freeze.
Final Thoughts
This vegan vanilla ice cream proves you don’t need dairy or coconut to live your best frozen-dessert life. It’s creamy, customizable, and surprisingly simple. Once you nail the base, you’ll feel unstoppable. Like, “maybe I am an ice cream artisan now” unstoppable.
So grab that blender, soak those cashews, and make it happen. Then scoop yourself a generous bowl and enjoy the fact that you just made ridiculously good ice cream from scratch.
Now go impress someone or just stand in front of the freezer with a spoon. No judgment here.