Chocolate Bark with Nuts
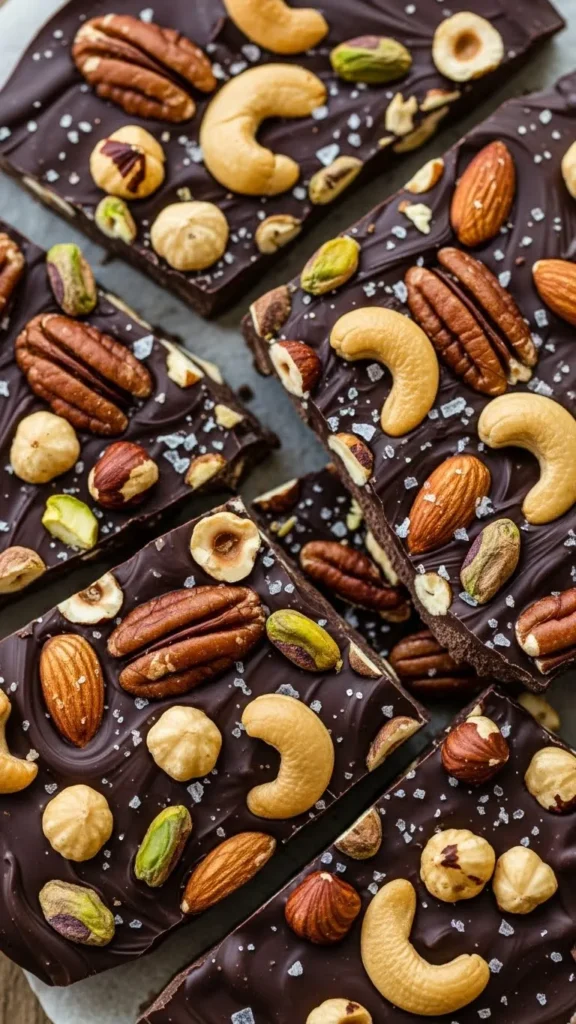
Chocolate bark with nuts is the kind of dessert that feels almost too easy for how good it tastes. It’s crunchy, chocolatey, customizable, and dangerously snackable. I make this when I want something homemade without committing to a full baking project. Ever grabbed “just one piece” and suddenly the tray looks suspiciously empty? The first time I made chocolate bark, I realized it’s basically controlled chaos in the best way. Melt chocolate, add nuts, let it set, done. No oven drama, no complicated steps, just solid chocolate satisfaction.
Why Chocolate Bark with Nuts Always Works
Chocolate bark sticks around because it respects simplicity. It doesn’t pretend to be fancy, but it still looks impressive. That balance makes it perfect for gifting, snacking, or last-minute desserts. I love how flexible it is. You can switch nuts, chocolates, and toppings without breaking the formula. It’s forgiving and generous like that.
What Makes It So Popular
- Crunchy nuts add texture
- Chocolate delivers richness
- Thin layers make it easy to snack
- Endless variations keep it interesting
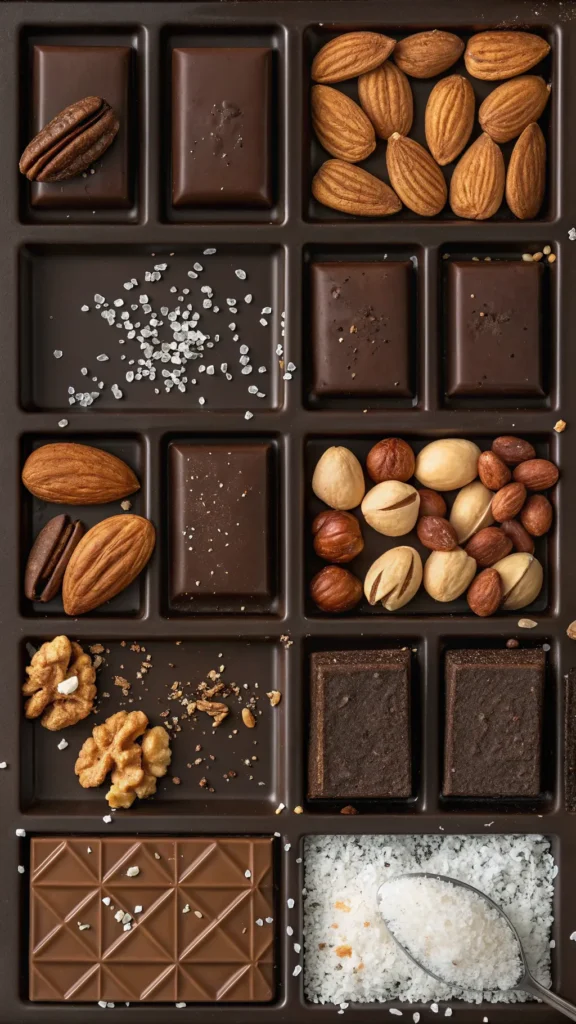
Ingredients You’ll Need
Chocolate bark doesn’t hide behind extras, so ingredients matter. I keep things simple and intentional. Quality shows immediately here.
Base Ingredients
- Dark chocolate, milk chocolate, or both
- Mixed nuts or single-type nuts
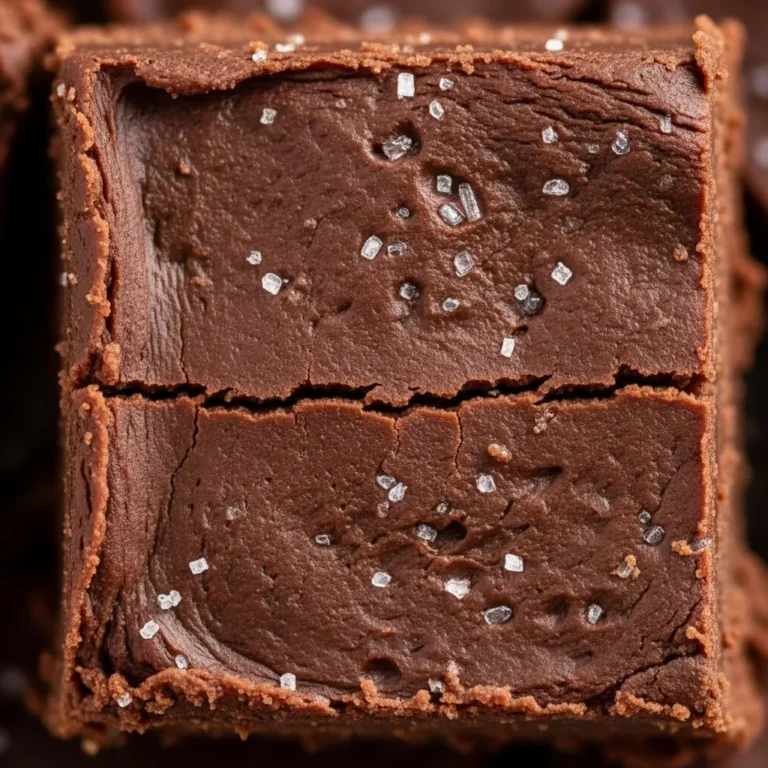
- Pinch of salt
Nut Options That Work Well
- Almonds
- Pecans
- Walnuts
- Hazelnuts
- Pistachios
Choosing the Right Chocolate
Chocolate is the star, so choose something you actually enjoy eating. I prefer dark chocolate because it balances sweetness and bitterness beautifully. Milk chocolate works if you want softer flavor. Ever had bark that tasted waxy? That’s low-quality chocolate doing damage.
Chocolate Tips I Trust
- Use real chocolate bars
- Avoid compound chocolate
- Aim for 60–70% dark chocolate
- Taste before melting
Prepping the Nuts
Nuts add crunch and contrast, but they need a little attention. I lightly toast them to wake up their flavor. Raw nuts work, but toasted nuts feel louder. Chopping matters too. Big pieces look great but can make snapping messy.
Nut Prep Basics
- Toast lightly for flavor
- Cool completely
- Chop into bite-size pieces
- Keep texture varied
Melting Chocolate Without Ruining It
Melting chocolate sounds simple, but overheating ruins everything fast. I use gentle heat and stir often. Slow and steady wins here. Once chocolate seizes, there’s no coming back. Ask me how I know.
Melting Tips That Matter
- Use a double boiler or microwave in short bursts
- Stir frequently
- Avoid water at all costs
- Stop heating before fully melted
Assembling Chocolate Bark
Assembly feels like the fun part. I spread melted chocolate thinly on parchment, scatter nuts generously, and gently press them in. No need for perfection. This is where creativity shines. Ever made something that looks rustic and somehow better for it? Bark lives there.
Assembly Basics
- Line a tray with parchment
- Spread chocolate evenly
- Add nuts generously
- Sprinkle salt lightly
Flavor Balance: Chocolate vs Nuts
Good bark balances chocolate richness with nutty crunch. Too many nuts overwhelm the chocolate. Too few feel boring. I aim for visible coverage without burying the chocolate. Balance keeps it addictive.
How I Keep It Balanced
- Even nut distribution
- Thin chocolate layer
- Light salt finish
- No overcrowding
Texture: What Good Chocolate Bark Feels Like

Chocolate bark should snap cleanly and melt smoothly. It shouldn’t feel thick, sticky, or crumbly. Texture tells you if you nailed it. I break it by hand instead of cutting. Natural edges feel right.
Ideal Texture Breakdown
- Clean snap
- Smooth melt
- Crunchy nuts
- No waxy aftertaste
Setting and Cooling the Bark
Letting bark set properly matters. I usually let it set at room temperature if my kitchen isn’t too warm. Fridge works, but it can dull shine. Ever rushed it and ended up with fingerprints everywhere? Patience helps.
Setting Tips
- Room temperature when possible
- Refrigerate only if needed
- Let fully harden before breaking
- Avoid touching while soft
Flavor Variations That Actually Work
Chocolate bark invites creativity, but restraint keeps it elegant. I add flavors that complement, not compete. Too many toppings turn it chaotic. FYI, espresso deepens chocolate without overpowering it.
Simple Add-Ins I Like
- Dried cranberries
- Orange zest
- Espresso powder
- Coconut flakes
Serving Chocolate Bark with Nuts
Chocolate bark works anywhere. I serve it as a snack, dessert, or edible gift. It never feels out of place. Presentation doesn’t need much. A simple stack looks great. Rustic beats polished here.
Serving Tips I Use
- Break into uneven pieces
- Serve at room temperature
- Pair with coffee or tea
- Use parchment for storage
Storage and Shelf Life
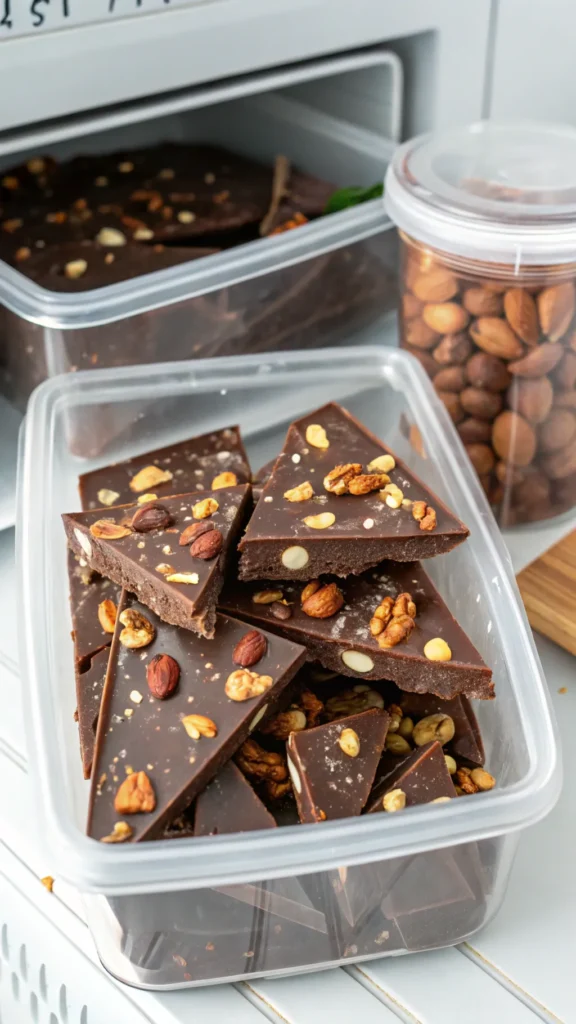
Chocolate bark stores surprisingly well. I keep it in an airtight container away from heat and light. Chocolate absorbs smells fast. Handled properly, it stays great for days.
Storage Basics
- Airtight container
- Cool, dry place
- Separate layers with parchment
- Consume within 1–2 weeks
Common Chocolate Bark Mistakes
Most bark problems come from overheating chocolate or overcrowding toppings. Rushing also shows immediately. I’ve learned to slow down. Ever wondered why store-bought bark tastes dull? Texture and balance.
What Really Matters
- Good chocolate
- Gentle heat
- Balanced toppings
- Proper setting
Is Chocolate Bark with Nuts Worth Making at Home?
Absolutely. Homemade chocolate bark tastes fresher, cleaner, and more customizable than store-bought versions. Plus, it’s fast. It’s also a confidence booster. You make one good batch, and suddenly you’re “the chocolate person.” Not bad.
Final Thoughts
Chocolate bark with nuts proves that great desserts don’t need complexity. With good chocolate, crunchy nuts, and a little patience, you get something deeply satisfying and endlessly snackable. Every bite delivers contrast and comfort. If you want a low-effort, high-reward chocolate treat, this is it. Melt the chocolate, grab the nuts, and let the bark do its thing.