Chocolate Swiss Roll Cake Recipe
Let’s be honest: the Swiss Roll (or Jelly Roll, or Ho-Ho, depending on where you grew up) is the ultimate flex in the baking world. It’s a dessert that looks like it requires a degree in structural engineering and the steady hands of a neurosurgeon. But here’s the secret, it’s actually just a very thin sponge cake that’s been convinced to take a nap in a spiral shape. While it looks incredibly sophisticated and “fancy French bakery,” it’s one of the most fun things you can make in your own kitchen once you get over the fear of the “Big Roll.”
Why This Recipe is Awesome
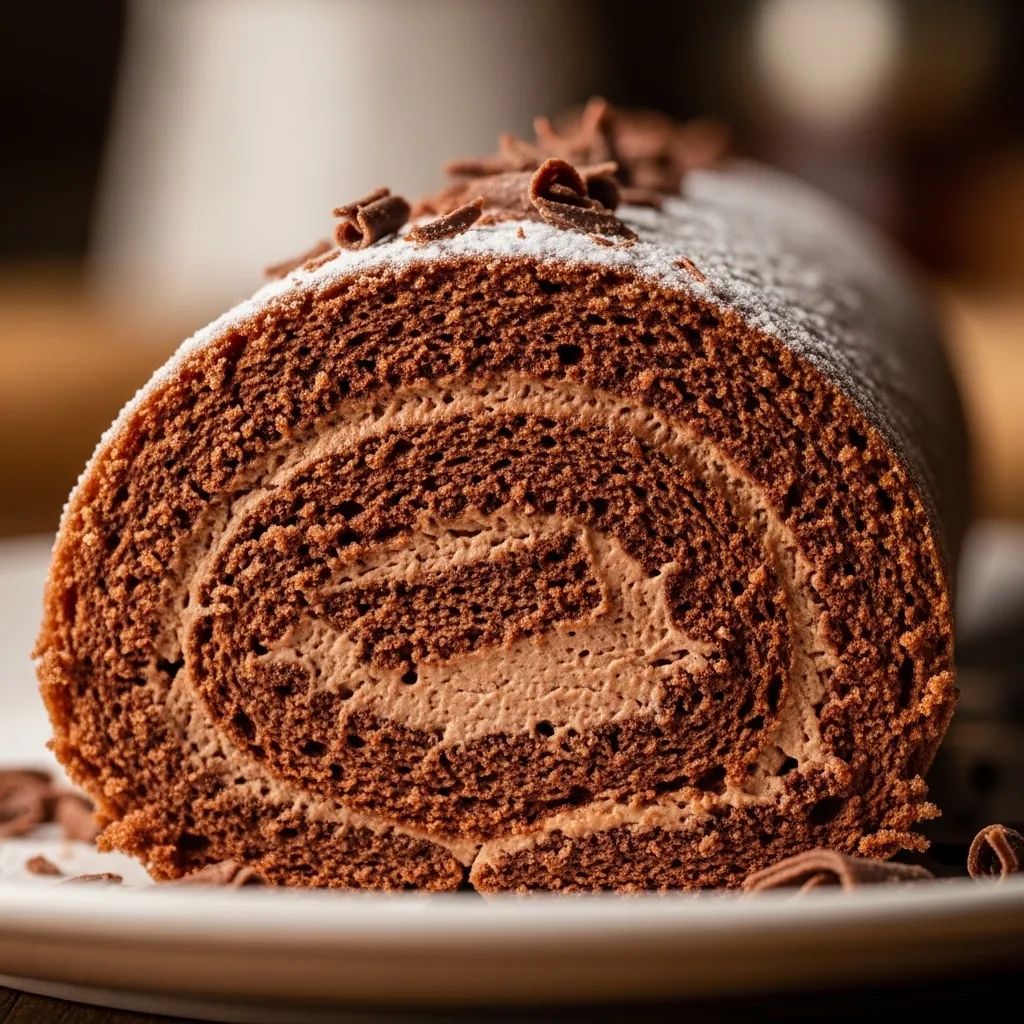
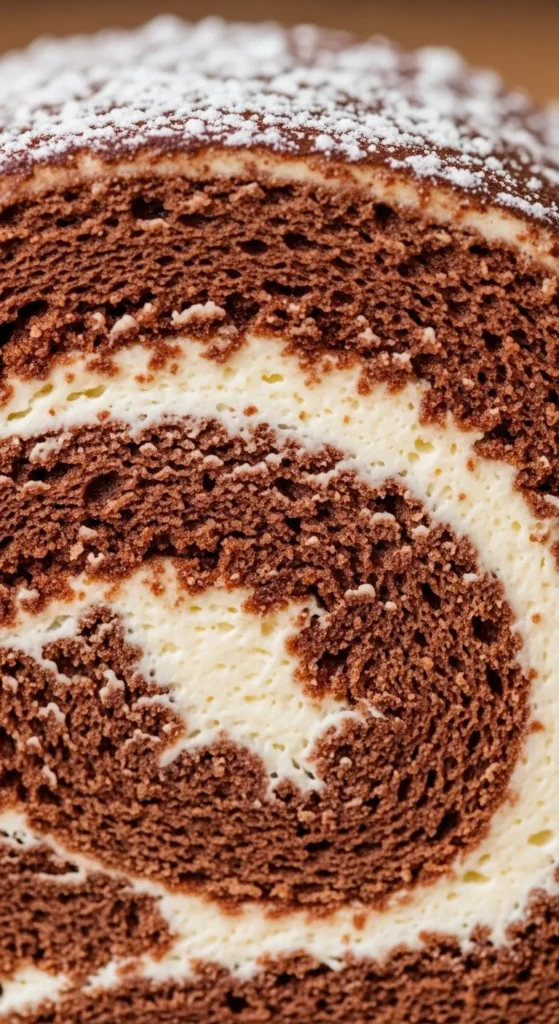
First off, it’s visually stunning. When you slice into this and reveal those perfect, concentric circles of chocolate and cream, the “oohs” and “aahs” are guaranteed. It’s also incredibly light. Unlike a dense fudge brownie or a heavy pound cake, the Swiss Roll uses an airy sponge that feels like eating a chocolate-flavored cloud. It’s the perfect dessert for when you’ve had a big meal but still have that tiny, persistent “dessert stomach” screaming for attention.
Ingredients You’ll Need
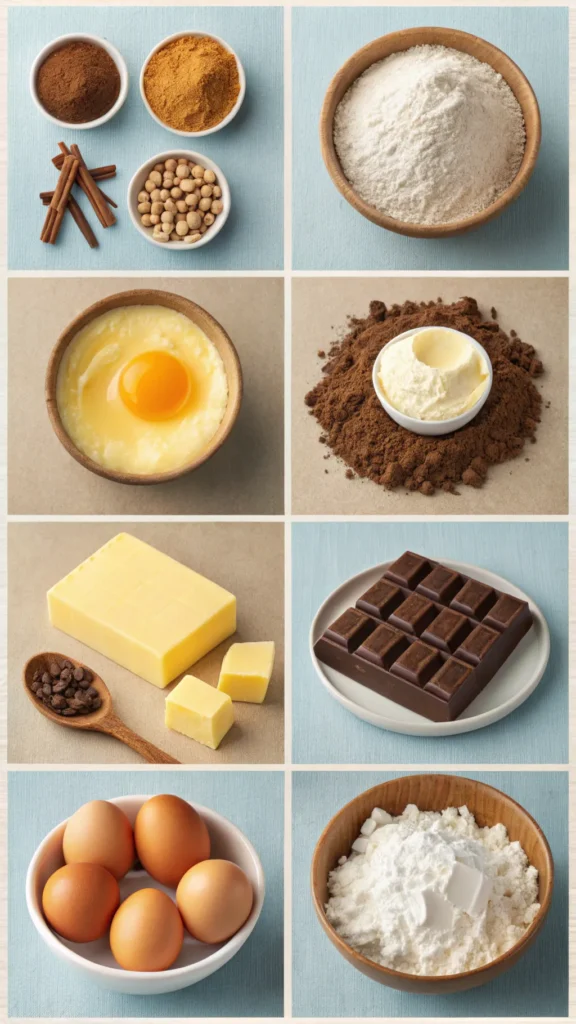
The Chocolate Sponge
- 4 Large Eggs: Room temperature is non-negotiable here. Cold eggs don’t whip, and if they don’t whip, your cake will have the texture of a flip-flop.
- ¾ cup Granulated Sugar: Divided into two parts for maximum fluff.
- 1 tsp Vanilla Extract: To bring out the depth of the cocoa.
- ½ cup All-Purpose Flour: Sifted, because lumps are the enemy of a smooth roll.
- 1/3 cup Unsweetened Cocoa Powder: Use a high-quality Dutch-processed cocoa for that deep, dark color.
- 1 tsp Baking Powder: For a little extra insurance on the lift.
- ¼ tsp Salt: To balance the sweetness.
- 2 tbsp Melted Butter: Just a touch to keep the sponge moist and flexible.
- Powdered Sugar: A generous amount for the “towel stage” (more on that later).
The Whipped Filling
- 1 cup Heavy Whipping Cream: Cold, straight from the fridge.
- ¼ cup Powdered Sugar: To sweeten the deal.
- 1 tsp Vanilla Extract: Or peppermint extract if you want that “winter wonderland” vibe.
- Optional: A handful of mini chocolate chips or crushed raspberries if you’re feeling spicy.
Step-by-Step Instructions
- The Prep Work: Preheat your oven to $350^\circ \text{F}$ ($175^\circ \text{C}$). Grease a 10×15 inch jelly roll pan (a rimmed baking sheet) and line it with parchment paper. Grease the paper too! We want this cake to slide out like it’s on an ice rink.
- The Egg Aeration: This is the most important part. Beat the eggs and sugar on high speed for about 5–7 minutes. You want the mixture to be thick, pale, and “ribbon-like.” If you lift the whisk and the batter stays on top of the surface for a few seconds before sinking, you’re ready. Stir in the vanilla and melted butter.
- The Dry Fold: Sift the flour, cocoa powder, baking powder, and salt together. Gently—and I mean gently—fold the dry ingredients into the egg mixture using a spatula. Do not use a whisk here; you’ve worked hard for those air bubbles, don’t kill them now.
- The Bake: Pour the batter into the prepared pan and spread it into the corners. Bake for 10–12 minutes. The cake is done when the top springs back when lightly touched. Do not over-bake, or it will turn into a giant chocolate cracker that will snap the moment you try to roll it.
- The Pre-Roll (The Secret Sauce): While the cake is baking, lay a clean kitchen towel on the counter and dust it heavily with powdered sugar. As soon as the cake comes out of the oven, flip it onto the towel. Peel off the parchment paper. While the cake is still piping hot, roll it up with the towel, starting from the short end.
- The Nap: Let the towel-wrapped cake cool completely on a wire rack. This “trains” the cake to stay in a spiral shape. If you let it cool flat, it will crack when you try to roll it later.
- The Filling: Whip your heavy cream, powdered sugar, and vanilla until stiff peaks form.
- The Final Assembly: Carefully unroll the cooled cake. It’s okay if it looks a bit wavy! Spread the whipped cream over the surface, leaving a small border at the edges. Roll the cake back up (this time without the towel).
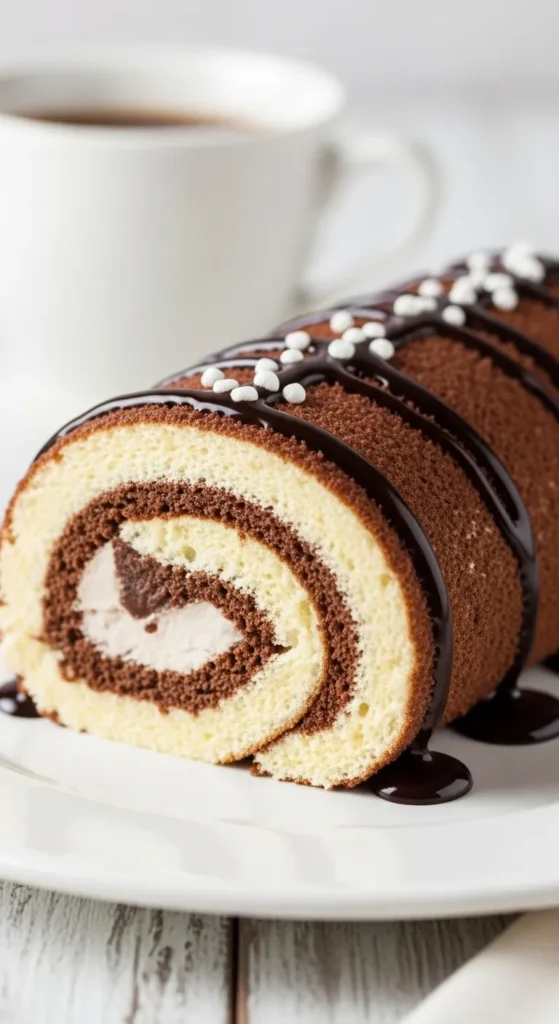
- The Finishing Touch: Wrap the roll in plastic wrap and chill it in the fridge for at least an hour to set. Dust with more powdered sugar or pour a chocolate ganache over the top before slicing.
Common Mistakes to Avoid
- Cold Eggs: I’ll say it again for the people in the back. Room temperature eggs are vital for volume. If your eggs are cold, the cake will be flat and dense.
- Waiting too long to roll: You have to roll that cake while it’s still steaming. If you wait even five minutes, the cake loses its elasticity. It’s a “drop everything and roll” situation.
- Over-mixing the flour: If you stir too vigorously, you’ll deflate the eggs and develop too much gluten. You want to fold with the grace of a swan, not the intensity of a blender.
- Using too much filling: It’s tempting to pile on the cream, but if the layer is too thick, it will all squirt out the sides when you try to roll it up. A nice, even half-inch layer is all you need. FYI, “more” is not always better when it comes to Swiss Roll physics.
Alternatives & Substitutions
- The Peppermint Twist: Swap the vanilla in the filling for peppermint extract and add crushed candy canes for a holiday-themed “Yule Log.”
- Mocha Dream: Add 1 tablespoon of espresso powder to the cake batter. It deepens the chocolate flavor and makes it taste like a fancy coffee shop treat.
- Fruit Filling: Instead of plain whipped cream, use a layer of strawberry jam or lemon curd before adding the cream. It adds a tartness that cuts through the rich chocolate perfectly.
- Gluten-Free: Use a 1:1 gluten-free flour blend. Since the structure of this cake mostly comes from the eggs, it actually works surprisingly well with GF substitutes. IMO, the texture is almost identical to the original.
Final Thoughts
You’ve done it. You’ve tackled the intimidation of the Swiss Roll and come out on top with a dessert that looks like it belongs in a museum (or at least on a very fancy plate). Remember, even if your cake has a tiny crack or two, a dusting of powdered sugar or a drizzle of chocolate hides a multitude of sins. The taste is what really matters, and let’s be real, chocolate and whipped cream are a winning combo no matter what shape they’re in. Now, go find your sharpest knife, cut yourself a perfect spiral slice, and enjoy the fruits of your labor. You’ve officially earned your baker’s stripes.