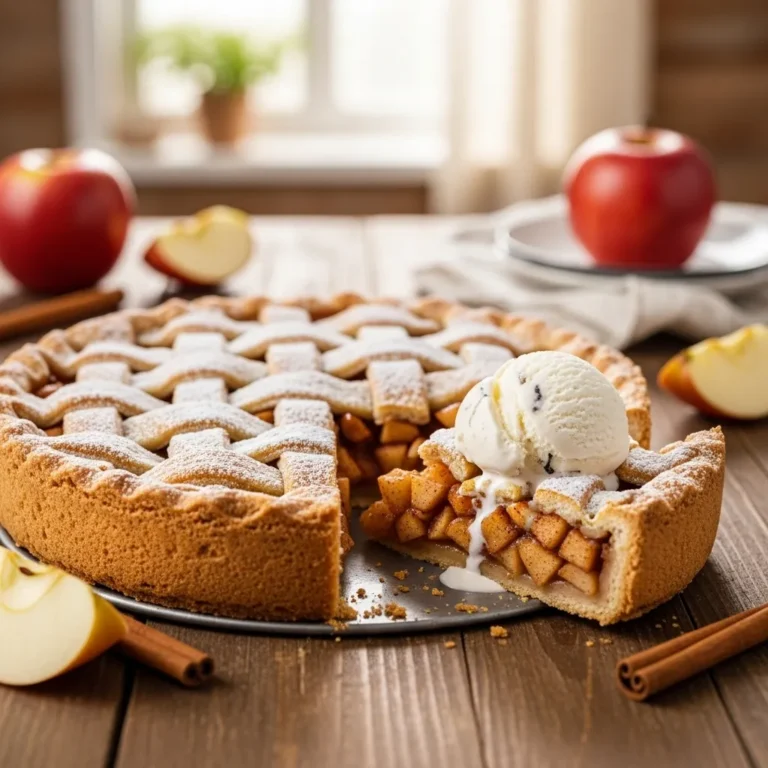
Classic Apple Pie with Flaky Crust and Spiced Filling

Classic apple pie feels like one of those recipes everyone thinks they know until they actually make it. I’ve baked enough pies to confidently say this one hits different when you slow down and respect the process. The flaky crust, the soft apples, and that warm spice aroma always make the kitchen feel calmer somehow. If comfort had a flavor, this would probably be it.
Why Classic Apple Pie Never Gets Old
Classic apple pie sticks around because it delivers every single time. It balances sweetness, warmth, and texture in a way that never feels outdated or boring. I’ve tried trendy twists, but I always come back to the original because it just works. Ever notice how some desserts feel nostalgic even on the first bite?
Choosing the Right Apples Matters More Than You Think
Apples carry this entire pie, so picking the right ones matters. Not all apples behave the same once heat hits them. Some turn mushy, while others stay firm and structured. The best classic apple pie uses a mix of apples. That combination gives you depth of flavor and better texture. I learned this after making a pie that tasted fine but felt like applesauce in a crust.
Best Apples for Apple Pie
- Granny Smith for tartness and structure
- Honeycrisp for sweetness and juiciness
- Braeburn for balanced flavor
- Golden Delicious for softness without mush
Ingredients
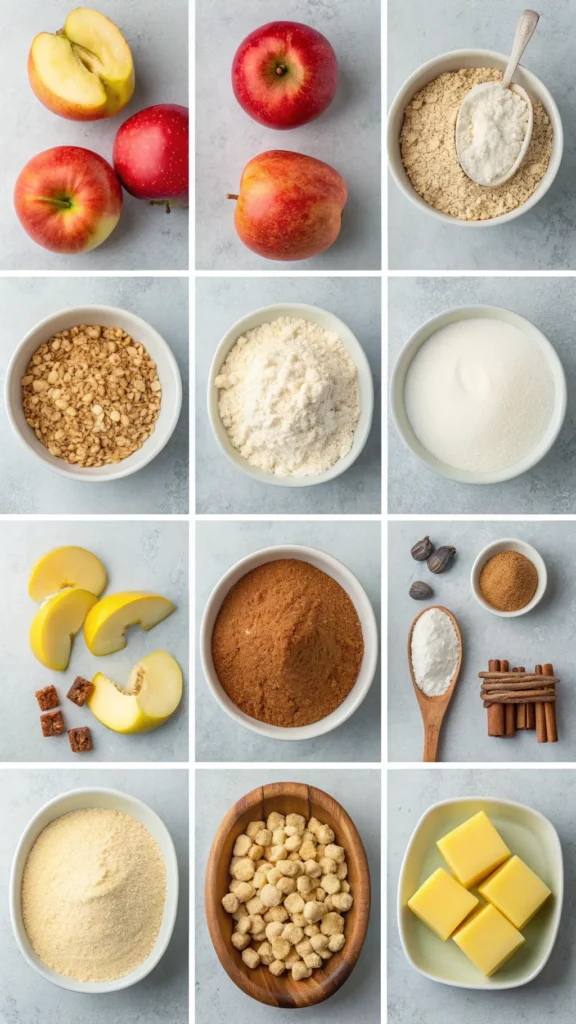
For the Crust (makes top and bottom crust):
- 2 ½ cups all-purpose flour
- 1 teaspoon salt
- 1 cup unsalted butter, cold and cubed
- ¼ cup granulated sugar (optional, for a slightly sweet crust)
- 6–8 tablespoons ice water
For the Filling:
- 6 cups peeled, cored, and sliced apples (Granny Smith or Honeycrisp recommended)
- ¾ cup granulated sugar
- ¼ cup brown sugar
- 2 tablespoons all-purpose flour
- 1 teaspoon ground cinnamon
- ¼ teaspoon ground nutmeg
- ¼ teaspoon ground allspice (optional)
- 1 tablespoon lemon juice
- 1 teaspoon vanilla extract
For Assembly and Topping:
- 1 egg, beaten (for egg wash)
- 1 tablespoon granulated sugar, for sprinkling
Step-by-Step Instructions for Classic Apple Pie
1. Prepare the pie crust:
In a large bowl, mix flour, salt, and sugar. Cut in cold cubed butter using a pastry cutter or your fingers until the mixture resembles coarse crumbs. Gradually add ice water, 1 tablespoon at a time, until the dough comes together. Divide into two discs, wrap in plastic, and refrigerate for at least 1 hour.
2. Prepare the filling:
In a large bowl, combine sliced apples, granulated sugar, brown sugar, flour, cinnamon, nutmeg, allspice, lemon juice, and vanilla extract. Toss until apples are evenly coated.
3. Roll out the dough:
On a lightly floured surface, roll out one disc of dough into a circle slightly larger than your 9-inch pie pan. Carefully transfer to the pan, pressing it gently into the bottom and sides.
4. Add the filling:
Spoon the spiced apple mixture evenly into the crust, mounding slightly in the center.
5. Top crust:
Roll out the second disc of dough and place over the filling. Trim any excess dough, then crimp edges to seal. Cut a few small slits in the top to allow steam to escape.
6. Apply egg wash:
Brush the top crust with beaten egg and sprinkle with granulated sugar. This will give a golden, slightly glossy finish.
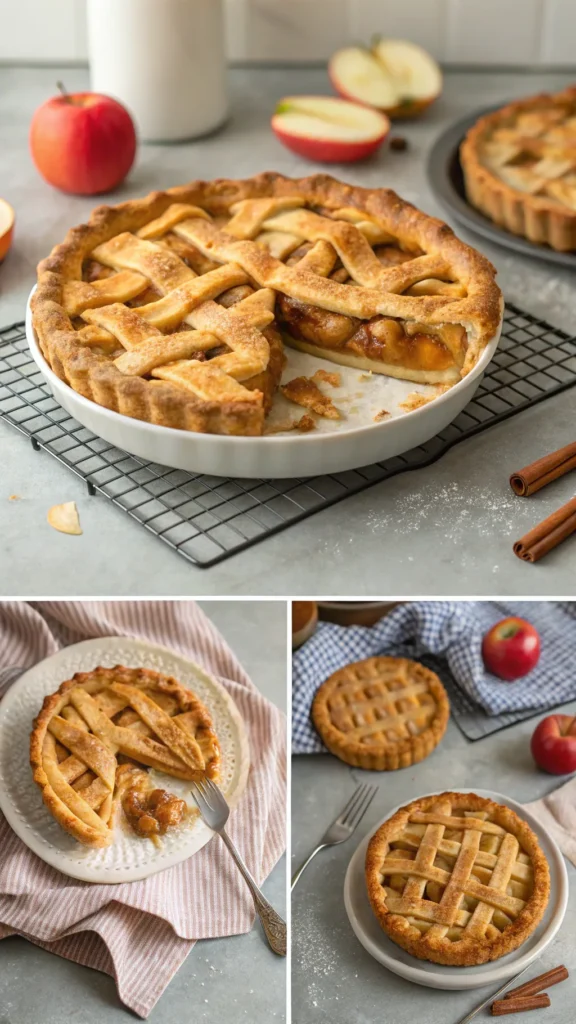
7. Bake the pie:
Preheat oven to 425°F (220°C). Bake for 20 minutes at this temperature, then reduce to 375°F (190°C) and bake for an additional 35–40 minutes, or until the crust is golden brown and the filling is bubbly. Cover edges with foil if they brown too quickly.
8. Cool and serve:
Allow the pie to cool for at least 2 hours before slicing to let the filling set. Serve warm or at room temperature, optionally with vanilla ice cream or whipped cream.
The Role of Spices (Less Is More)
Spices should support the apples, not drown them. Cinnamon leads the way, but it shouldn’t shout. Nutmeg and cloves step in quietly and add warmth. I used to overdo spices thinking more meant better. Turns out, restraint creates a cleaner apple flavor. The goal is cozy, not overwhelming.
Classic Spice Choices
- Cinnamon for warmth
- Nutmeg for depth
- Cloves for subtle intensity
- Allspice as an optional backup
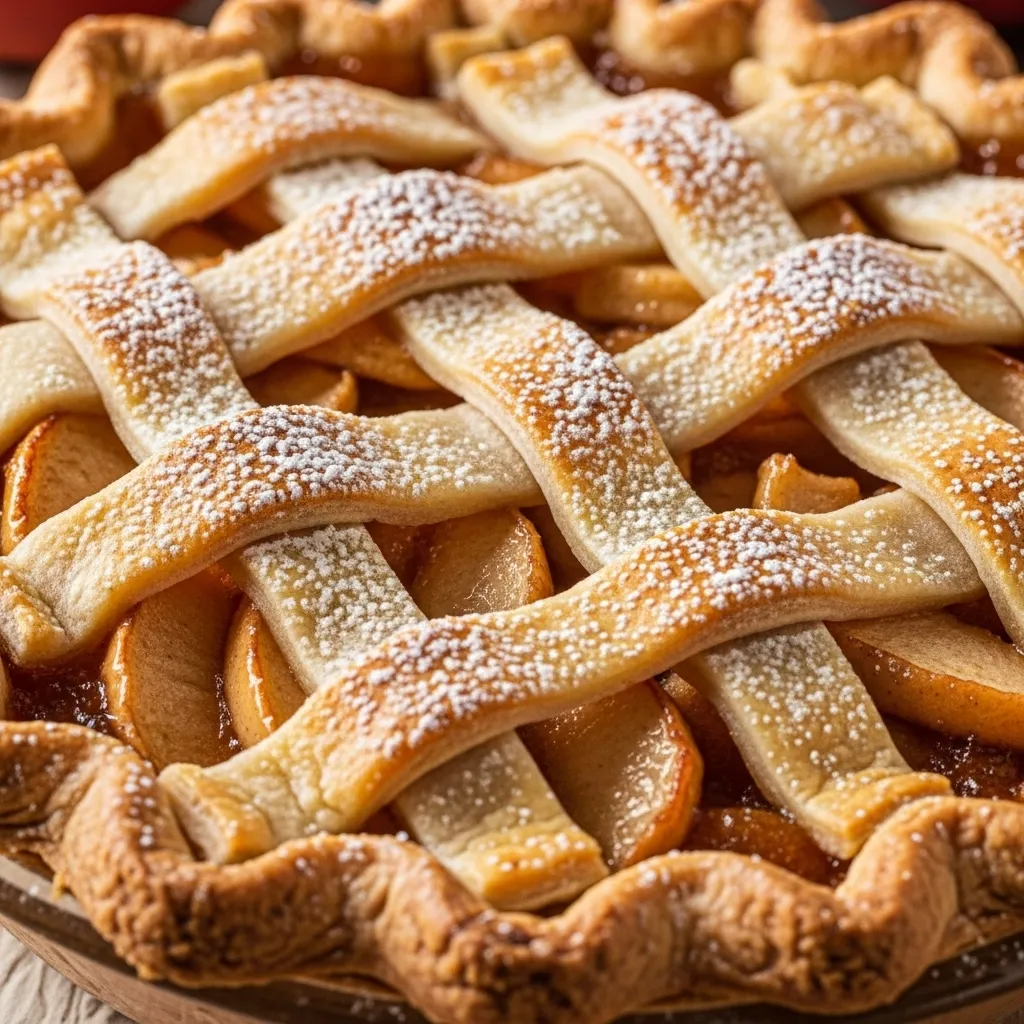
Let’s Talk About the Crust (Yes, It Matters)

A classic apple pie deserves a crust that flakes instead of crumbles. The crust should hold the filling while still feeling delicate. When it cracks cleanly under a fork, you know you nailed it. I always chill my dough longer than I think I need to. Cold butter equals flaky layers, and flaky layers equal happiness. Ever cut into a pie and heard that soft crackle? That’s the goal.
Crust Basics That Actually Work
- Cold butter, always
- Ice water, not room temperature
- Minimal handling to avoid toughness
- Chilling time before rolling
Why Thickener Choice Changes Everything
The thickener controls whether your pie slices clean or collapses. I learned this after cutting into a beautiful pie that instantly flooded the plate. Taste was great, structure was not. Cornstarch creates a glossy, clean slice. Flour gives a softer, more rustic texture. Both work, but they behave differently.
Thickener Comparison
- Cornstarch for clean slices
- Flour for softer filling
- Tapioca starch for clear texture
Assembling the Pie Without Stress
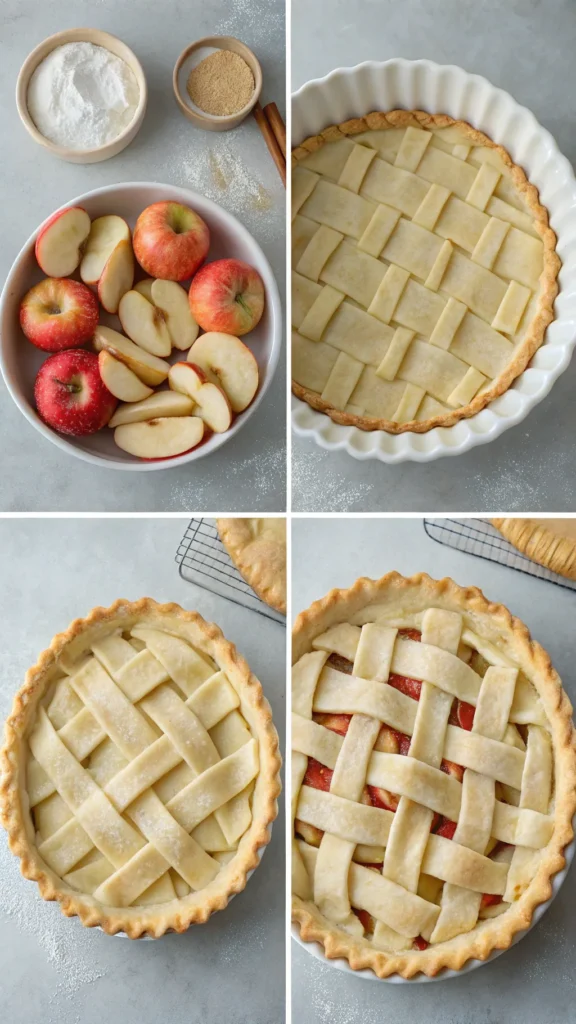
Pie assembly feels intimidating until you realize it doesn’t need perfection. I roll out the bottom crust, add the filling, then gently place the top crust. That’s it. I crimp edges casually and cut a few slits for steam. Those slits matter more than fancy edges. Steam needs an exit, unless you enjoy soggy crusts :/
Assembly Basics
- Roll bottom crust evenly
- Add filling without packing it down
- Place top crust gently
- Cut steam vents
Baking Time and Temperature Explained Simply
Apple pie needs enough heat to cook apples and set filling. Too hot and the crust burns. Too low and the filling stays loose. I bake hot first, then lower the temperature. That approach sets the crust early and finishes gently. It’s simple but effective.
Baking Approach
- Start at 425°F (220°C)
- Reduce to 375°F (190°C)
- Bake until filling bubbles
Cooling Is Not Optional
I know it’s tempting to slice immediately. I’ve done it. I regretted it. Cooling allows the filling to set fully. I let the pie rest for at least two hours. That wait feels long, but it pays off. Ever cut too early and watched everything slide out? Exactly.
Cooling Tips
- Let rest on wire rack
- Avoid cutting early
- Serve warm, not hot
Serving Ideas That Keep It Classic
Classic apple pie doesn’t need much help. A scoop of vanilla ice cream always works. Whipped cream keeps things lighter. I avoid overpowering sauces because the pie already does the job. Simple pairings respect the flavor.
Serving Options
- Vanilla ice cream
- Light whipped cream
- Sharp cheddar cheese
Storage and Leftovers
Apple pie stores surprisingly well when handled right. I usually cover it loosely and keep it at room temperature for short periods. Refrigeration extends life but firms the filling. Reheating brings everything back. A warm slice always feels intentional.
Storage Basics
- Room temperature for 2 days
- Refrigerate up to 5 days
- Reheat gently before serving
Common Apple Pie Mistakes to Avoid
A few mistakes can sabotage even good ingredients. I’ve made all of these, so learn from me. Overfilling causes spills, underbaking causes soup, and skipping cooling causes regret. None of those feel great. Small changes make big differences.
Mistakes to Watch For
- Using one apple variety only
- Overloading spices
- Cutting too soon
- Baking too short
Why Classic Apple Pie Is Always Worth It
Classic apple pie earns its place every time. It feels familiar without feeling boring. Each slice delivers warmth, texture, and comfort. I keep coming back to it because it never disappoints. When a dessert works across generations, it deserves respect.
Conclusion
Classic apple pie doesn’t chase trends or shortcuts. It relies on balance, patience, and simple ingredients working together. That’s what makes it special. Bake it once, and you’ll understand why people guard their pie recipes so closely. Some classics don’t need improving, they just need baking.