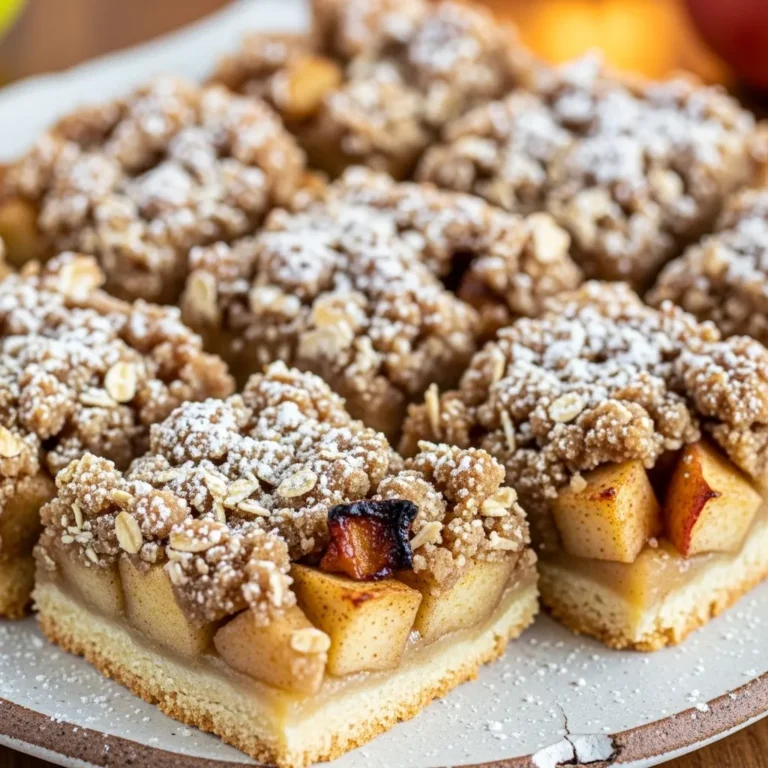
Easy Homemade Oven-Baked Apple Pie with Flaky Cinnamon Crust
Homemade apple pie feels like a warm hug you can eat. It smells like comfort, tastes like nostalgia, and somehow makes the whole house feel calmer. I started making apple pie because store-bought versions never hit the same emotional note. Ever noticed how homemade pie just feels more honest? This recipe stays classic, reliable, and deeply satisfying. No weird twists, no trendy shortcuts, just a pie that actually tastes like apples.
Why Homemade Apple Pie Always Wins
Homemade apple pie gives you control over everything that matters. You decide the sweetness, the spice, and how soft or structured the filling feels. Store pies often drown apples in sugar or turn them into mush. At home, you keep the balance where it belongs. I also love how forgiving apple pie feels. It doesn’t demand perfection, just attention. A slightly uneven crust still tastes incredible, which feels reassuring.
- Full control over sweetness and spice
- Real apple texture, not filling sludge
- Fresh-baked flavor that store pies can’t fake
Choosing the Right Apples Matters More Than You Think
Not all apples behave the same once heat gets involved. Some turn into applesauce instantly, while others stay stubbornly crunchy. The magic happens when you mix varieties. That blend gives you structure and softness in one bite.
- Granny Smith for tartness and structure
- Honeycrisp for sweetness and juiciness
- Fuji or Braeburn for balance
Ingredients That Keep It Classic
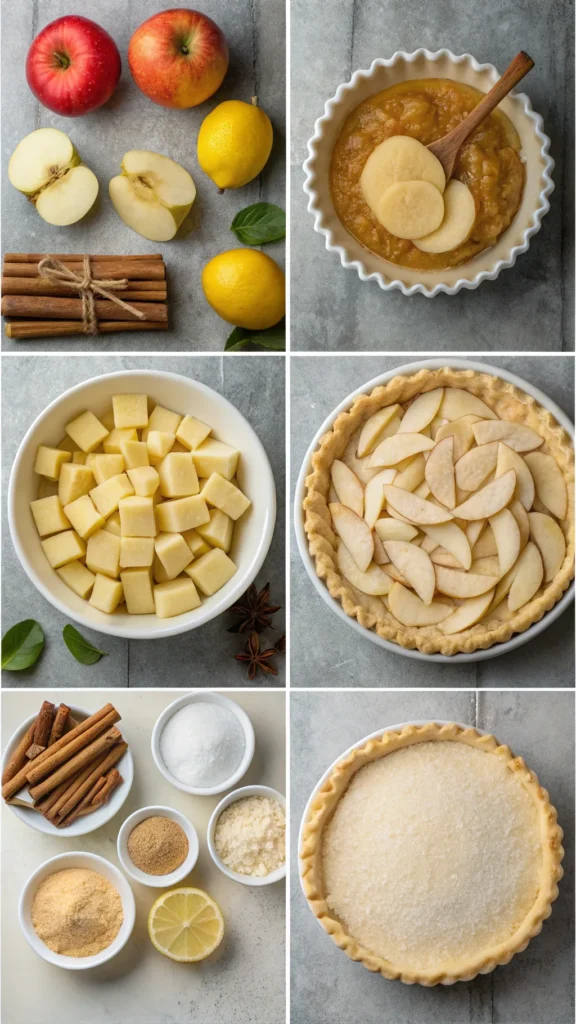
Apple pie doesn’t need drama. Simple ingredients shine when you let them do their thing. Each one plays a clear role, and skipping or swapping carelessly shows fast. I stick to pantry staples and let the apples do the heavy lifting. That approach never disappoints.
- Fresh apples, peeled and sliced
- Granulated sugar and brown sugar
- Cinnamon and nutmeg
- Lemon juice for brightness
- Cornstarch or flour for thickening
- Unsalted butter
- Salt for balance
- Pie crust, homemade or store-bought
The Pie Crust: Homemade or Store-Bought
I’ve done both, and honestly, both work. Homemade crust feels extra special and flaky when done right. Store-bought crust saves time and still delivers solid results. IMO, stress-free baking tastes better anyway. What matters most is keeping the crust cold. Warm butter equals sad crust. Cold dough equals flaky layers.
- Keep dough chilled before rolling
- Avoid overworking the dough
- Chill again after shaping
Preparing the Apple Filling Without Overthinking It
I toss sliced apples with sugar, spices, lemon juice, and thickener in a large bowl. I mix gently to coat everything evenly without breaking the apples. Letting the mixture sit briefly helps draw out juices. That resting time matters more than people realize. It helps the filling thicken properly during baking. Skip it, and your pie may turn soupy.
- Slice apples evenly for consistent cooking
- Toss gently to avoid bruising
- Let filling rest for flavor development
Balancing Sweetness and Spice
Apple pie should taste like apples first. Sugar supports the flavor, not dominate it. I balance white and brown sugar for depth. Cinnamon leads, nutmeg whispers. Too much spice masks the apples. Too little feels flat. Finding that middle ground makes all the difference.
- Use cinnamon as the main spice
- Add nutmeg lightly
- Taste filling before baking
Assembling the Pie Without Stress
I roll out the bottom crust and place it gently into the pie dish. Then I fill it generously with apples, mounding slightly in the center. Apples shrink as they bake, so don’t panic about height. I dot the filling with butter before adding the top crust. Butter melts into the apples and adds richness you can’t fake later.
- Press crust gently into the dish
- Fill slightly higher in the center
- Dot butter evenly
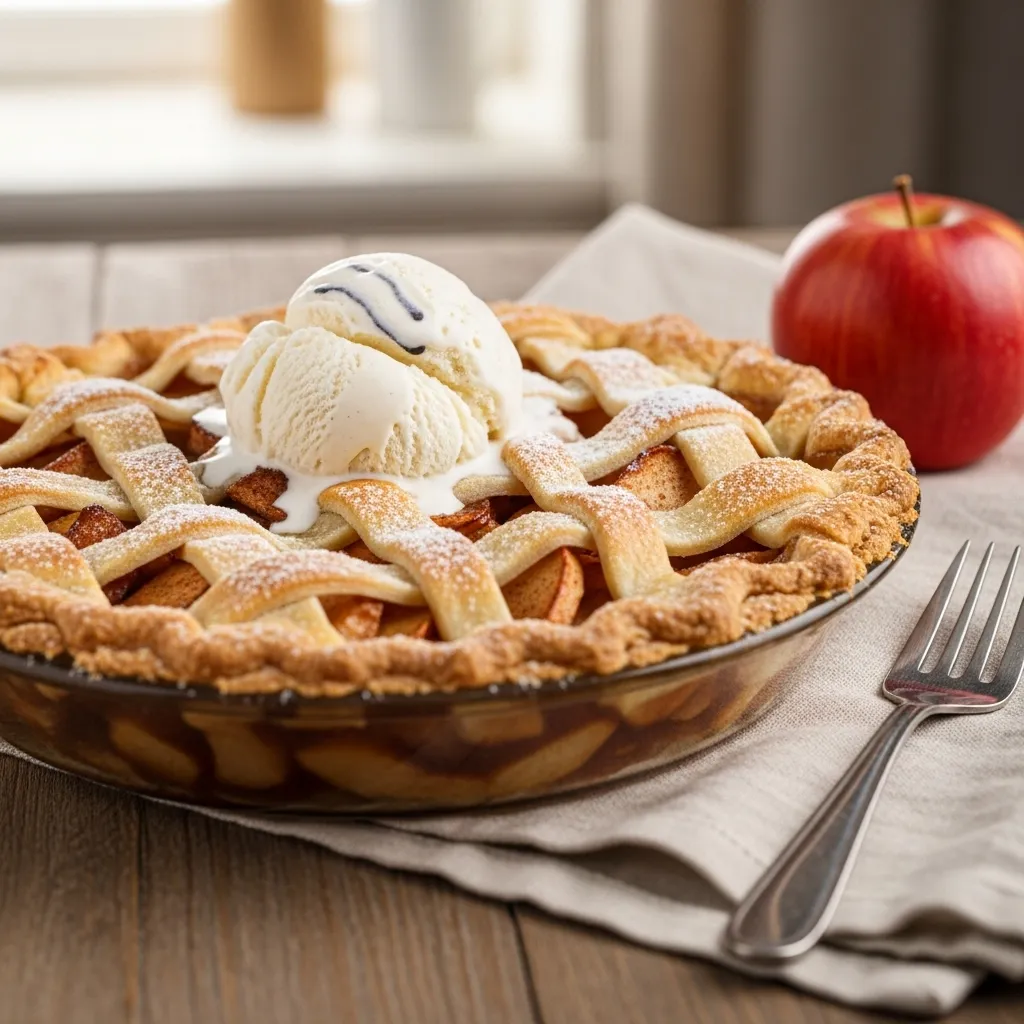
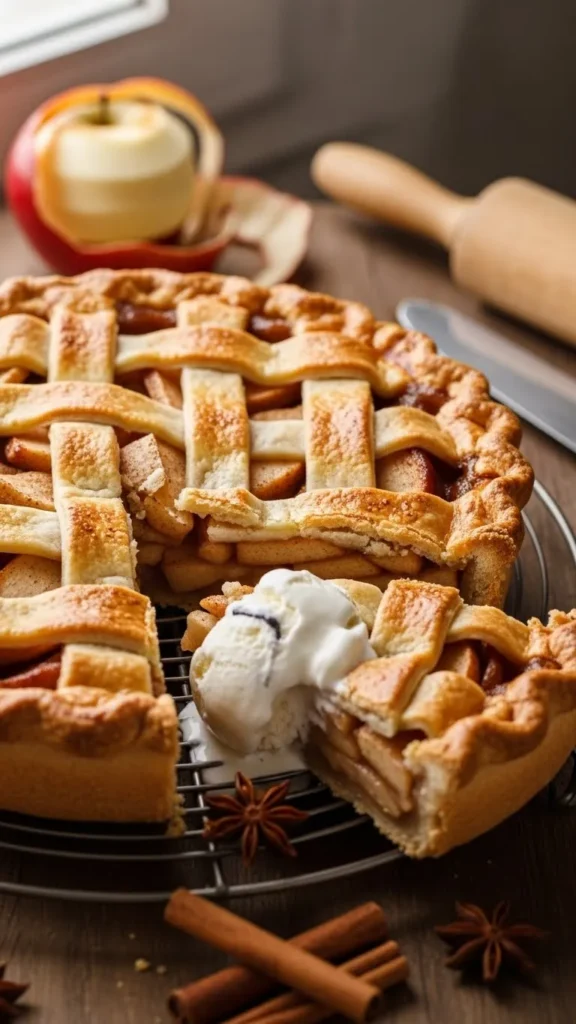
Top Crust Styles That Actually Work
You can keep it classic or have fun here. A full crust seals in moisture and flavor. A lattice lets steam escape and looks impressive. Both work beautifully. I choose based on mood, not rules. Apple pie doesn’t judge.
- Full crust with slits for steam
- Lattice crust for visual appeal
- Decorative cutouts for fun
Sealing and Finishing the Crust
I crimp the edges firmly to prevent leaks. Then I brush the top with egg wash for color. A light sprinkle of sugar adds crunch and shine. These small details change the final look dramatically. They take seconds but feel worth it every time.
- Crimp edges securely
- Brush with egg wash
- Sprinkle sugar lightly
Baking the Pie to Perfection
I bake apple pie hot at first to set the crust, then lower the heat to cook the filling evenly. Covering the edges prevents over-browning. The pie tells you when it’s ready by bubbling thick juices. If it doesn’t bubble, it isn’t done. That rule saves lives, or at least desserts.
- Start hot, then lower temperature
- Shield crust edges if needed
- Look for bubbling juices
Cooling Time Is Not Optional
This part tests patience. Cutting too early turns the filling runny. Cooling allows everything to set properly. I wait at least two hours, even though it feels cruel. The reward comes when slices hold their shape beautifully. Worth the wait every single time.
- Cool at least two hours
- Avoid refrigeration immediately
- Slice with a sharp knife
Texture and Flavor Expectations
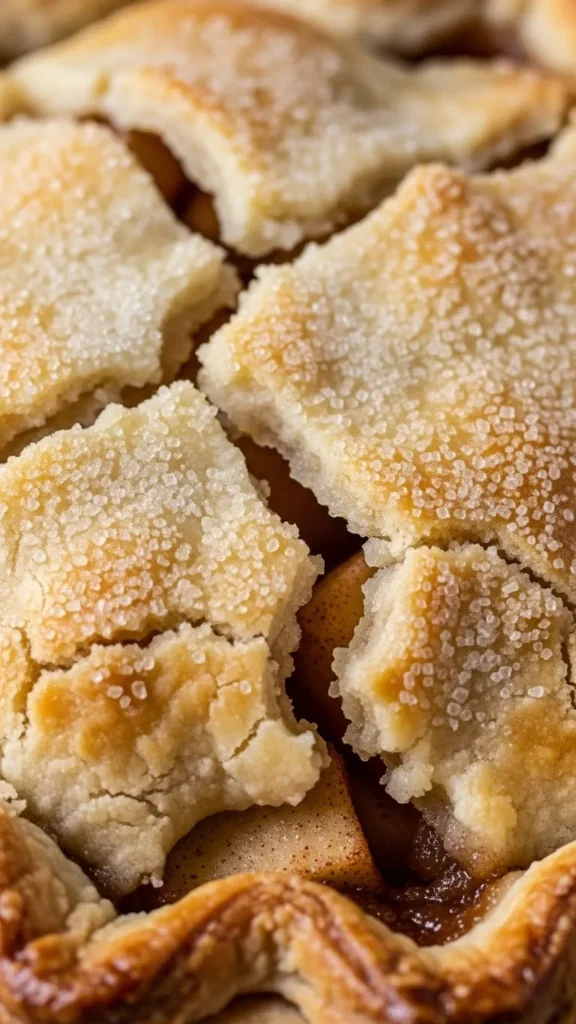
A good homemade apple pie balances soft apples with slight bite. The filling feels thick but juicy. The crust flakes gently without crumbling apart. Every bite should feel warm, spiced, and comforting. If it tastes flat, something went missing.
- Tender apples with structure
- Thick, glossy filling
- Flaky but sturdy crust
Common Apple Pie Mistakes to Avoid
Most apple pie disasters come from rushing. Undercooked filling, soggy crust, and bland flavor all trace back to skipped steps. Patience fixes almost everything here. I learned these the hard way, so you don’t have to.
- Skipping filling rest time
- Cutting pie too early
- Using only one apple variety
Storage Tips That Keep It Fresh

Apple pie stores surprisingly well. I keep it covered at room temperature for a day or two. For longer storage, refrigeration works fine. I always reheat slices gently before serving. Cold apple pie tastes fine, but warm apple pie tastes correct.
- Cover loosely at room temperature
- Refrigerate after two days
- Reheat slices before serving
Who This Apple Pie Is Perfect For
Homemade apple pie fits nearly every occasion. Holidays, family dinners, casual weekends, or “I just felt like baking” moments all qualify. It’s comforting without being boring. If you want a dessert that makes people pause mid-bite, this is it. Ever seen someone rush through good apple pie? Exactly.
- Holiday gatherings
- Family desserts
- Comfort baking days
Conclusion
Homemade apple pie stays timeless for a reason. It balances flavor, texture, and comfort without trying too hard. Each slice feels familiar yet special. Once you make it from scratch, store-bought versions lose their appeal fast. Bake it once, and it quietly becomes part of your tradition.