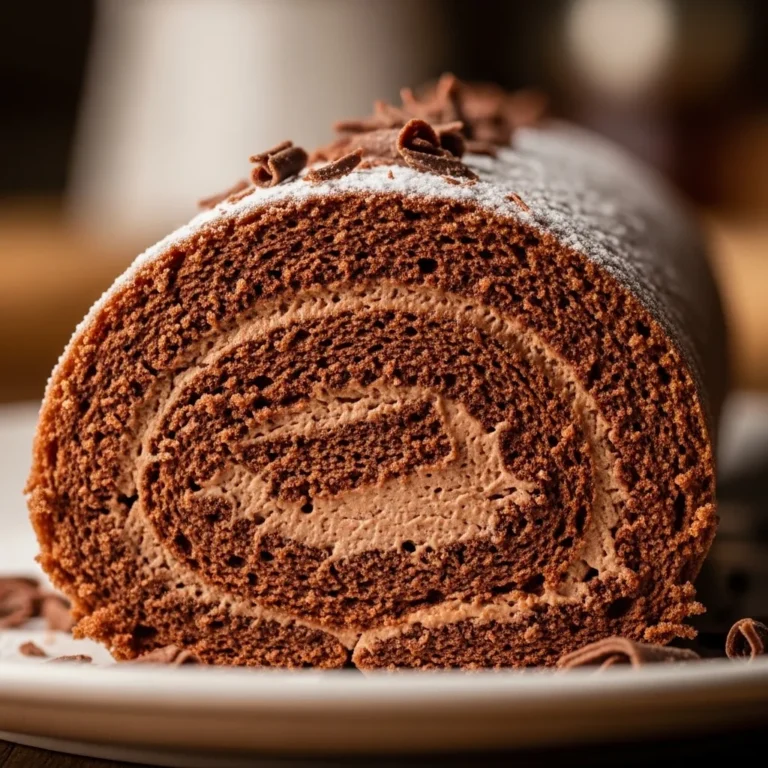
Easy Chocolate Mousse Cake Filling Recipe

So you’re craving something deeply chocolatey, silky, and luxurious but you don’t feel like turning your kitchen into a stress zone? Same. Enter this easy chocolate mousse cake filling: rich, fluffy, and fancy enough to make people think you tried really hard (you didn’t). It’s the kind of recipe that makes you whisper, “Wow, I did that,” while licking the spoon like a champion.
Why This Recipe Is Awesome
Let’s be real this filling is the personality hire of desserts.
- No baking required. Zero oven politics.
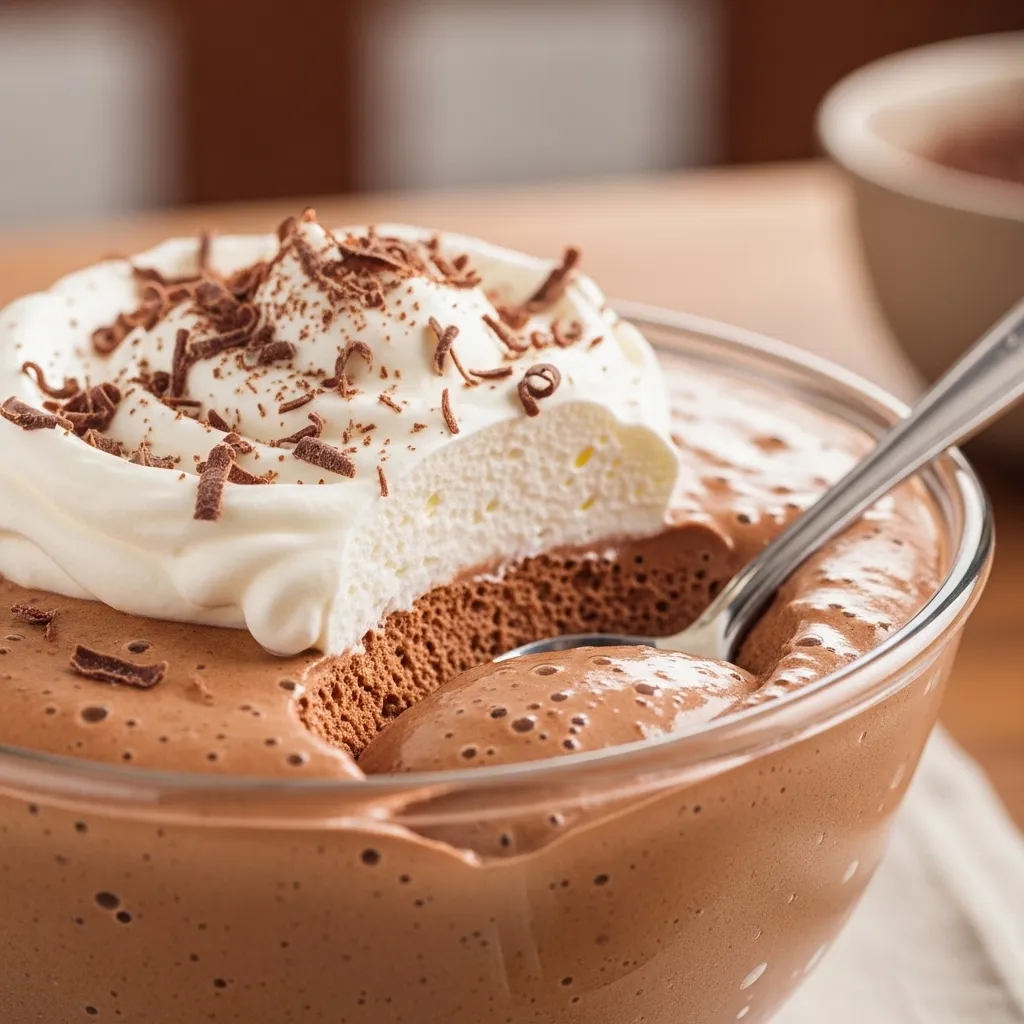
- Ridiculously smooth and airy. Like chocolate clouds, if clouds loved you back.
- Beginner-friendly. Honestly, it’s almost idiot-proof (I say almost, because life).
- Versatile AF. Cake filling? Cupcake center? Spoon-straight-from-the-bowl situation? All valid.
FYI: This mousse filling holds its shape beautifully, so your cake layers won’t slide around like they’re on ice skates. IMO, that alone deserves applause.
Ingredients You’ll Need
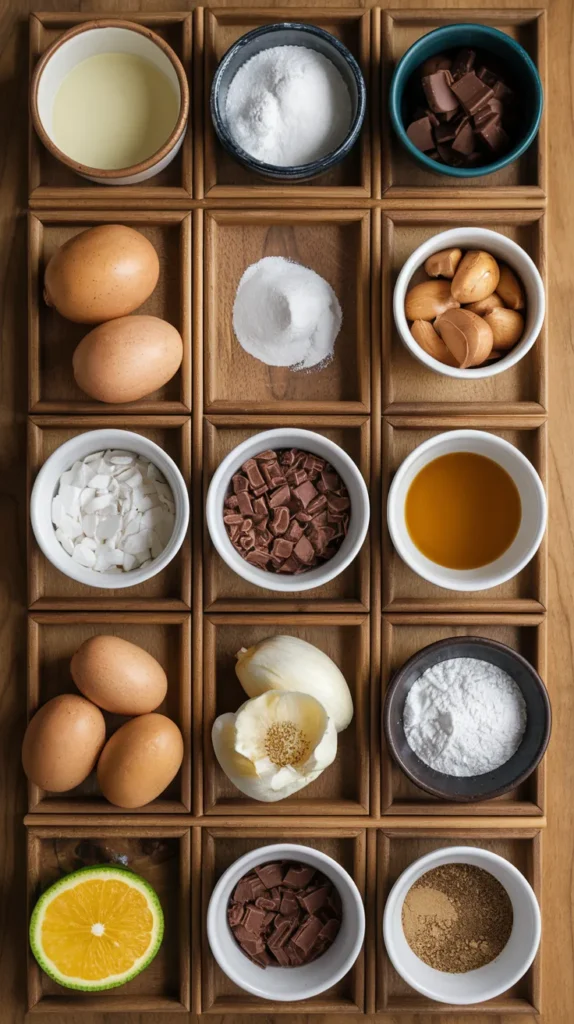
Nothing wild here. No mystery powders. No “aged cacao harvested at dawn.” Just good stuff.
- 200g dark chocolate (60–70%) – The star of the show. Use decent chocolate. Cheap chocolate = sad mousse.
- 1 cup heavy whipping cream (cold) – Cold cream whips better. Science.
- 2 tbsp powdered sugar – Sweet, smooth, and dissolves easily.
- 1 tsp vanilla extract – Because chocolate likes friends.
- Pinch of salt – Tiny amount, huge glow-up.
Optional but nice:
- 1 tbsp cocoa powder – For extra chocolate drama.
Take a breath. This is easy. You’ve got this.
Step-by-Step Instructions

- Melt the chocolate.
Chop it up and melt gently using a double boiler or microwave (short bursts, stir often). Don’t rush it. Burnt chocolate is unforgiving and will judge you. - Let it cool slightly.
Warm is good. Hot is chaos. If it’s too hot, it’ll melt the whipped cream later and nobody wants chocolate soup. - Whip the cream.
In a chilled bowl, whip the heavy cream with powdered sugar and vanilla until soft peaks form. Not stiff. Not runny. Soft and dreamy. - Add salt (and cocoa powder, if using).
Just a pinch. Stir it into the whipped cream gently. This is flavor magic, trust me. - Fold chocolate into cream.
Add the melted chocolate in two batches. Fold gently with a spatula. No aggressive stirring this isn’t a workout. - Stop when it’s smooth and fluffy.
Once everything looks unified and mousse-like, STOP. Overmixing kills the fluff. Let it live. - Chill briefly if needed.
If the mousse feels too soft, chill it for 20–30 minutes before filling your cake.
Boom. Chocolate mousse cake filling, done.
Common Mistakes to Avoid
Let’s save you from heartbreak.
- Using hot chocolate.
Hot chocolate + whipped cream = melted mess. Let it cool. Be patient. - Overwhipping the cream.
If it looks grainy, you’ve gone too far. Congrats, you made butter-adjacent sadness. - Stirring like a maniac.
Folding ≠ stirring. Gentle motions keep the mousse airy. - Using low-fat cream.
Just don’t. This is not the time for shortcuts. - Skipping the salt.
“It’s just a pinch” yes, and it matters. A lot.
Alternatives & Substitutions
Because flexibility is sexy.
- Milk chocolate instead of dark?
Sure, but reduce the sugar. Milk chocolate is already sweet and a little clingy. - Dairy-free version?
Use full-fat coconut cream (chilled). It works surprisingly well and adds a subtle coconut vibe. - Want it extra stable?
Add 1 tsp dissolved gelatin (optional). Great for hot weather or tall cakes. - No powdered sugar?
Regular sugar works, but make sure it’s fully dissolved when whipping. - Flavor twist?
Add espresso powder, orange zest, or a splash of coffee. Chocolate loves bold friends.
Final Thoughts
This easy chocolate mousse cake filling is proof that you don’t need complicated steps or fancy tools to make something seriously impressive. It’s smooth, rich, and just fluffy enough to feel indulgent without being heavy. Perfect for cakes, cupcakes, or those “I deserve dessert” moments.
So go on fill that cake, lick the spatula, and enjoy the compliments.
You earned them.