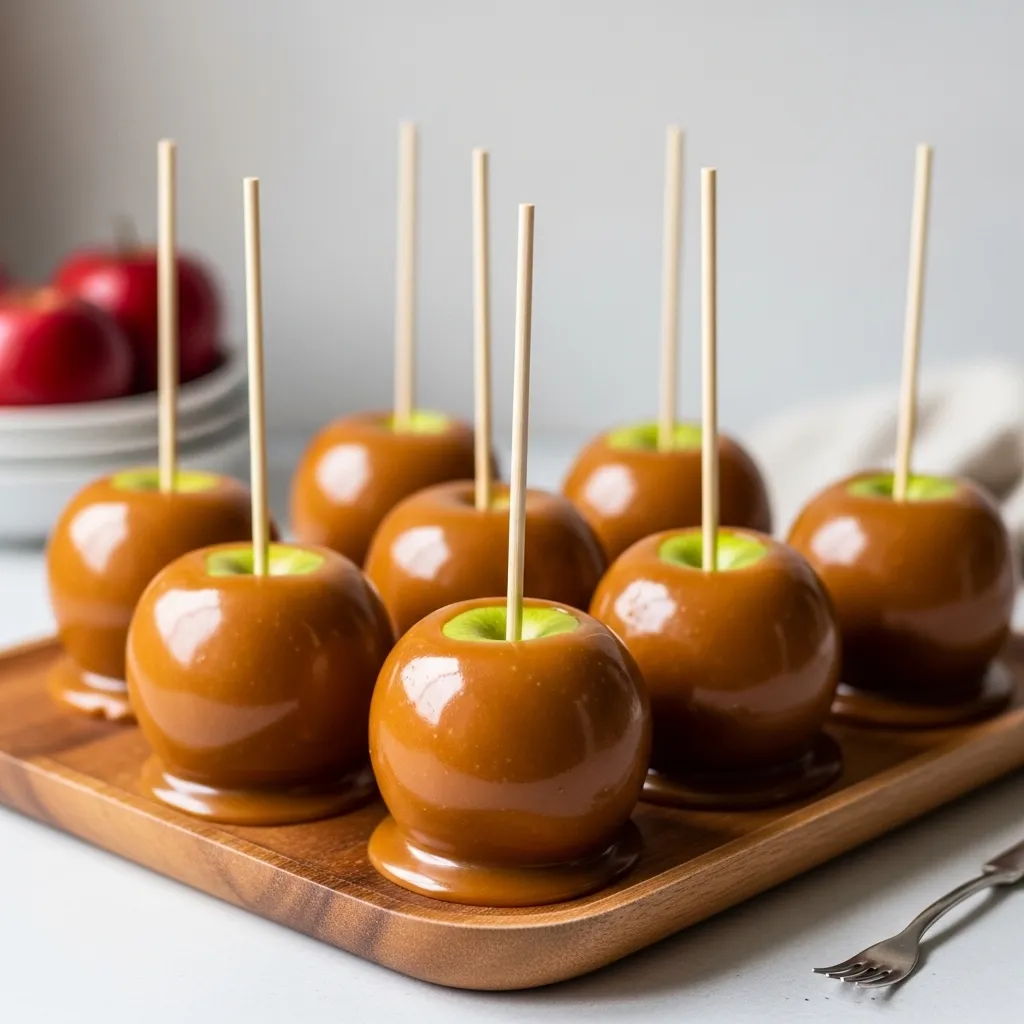
Homemade Caramel Apples
So you want something sweet, sticky, and slightly dramatic to make? Perfect. Homemade caramel apples are basically edible arts and crafts. They’re nostalgic, a little messy, and wildly satisfying. Plus, stabbing fruit with a stick and dunking it in molten sugar? Therapeutic. Let’s make your kitchen smell like a fall festival minus the overpriced tickets.
Why This Recipe is Awesome
First of all, it looks impressive. Like, “Oh this? I just casually made gourmet caramel apples” impressive. Second, it’s way easier than it sounds. Caramel has a reputation for being fussy, but relax. We’re not auditioning for a baking show. You follow the steps, you stir, you dip. Boom. Caramel apples. Third, they’re customizable. Want nuts? Go wild. Chocolate drizzle? Obviously. Sprinkles? Live your best life. And lastly, they feel fancy but require basic ingredients. It’s basically fruit wearing a sugar coat. We love low effort glam.
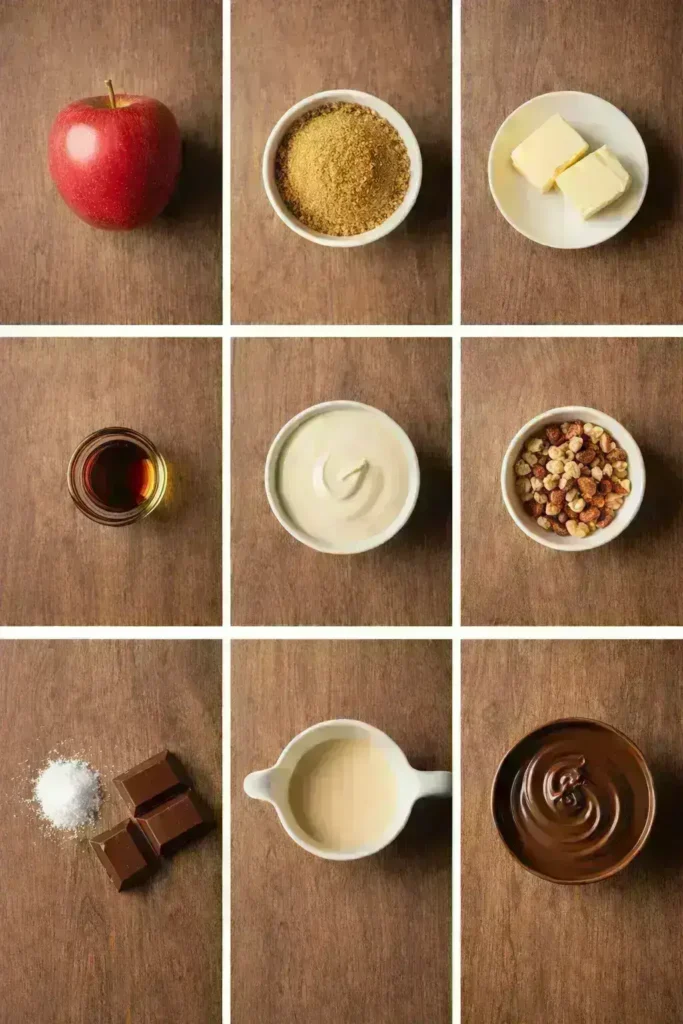
Ingredients You’ll Need
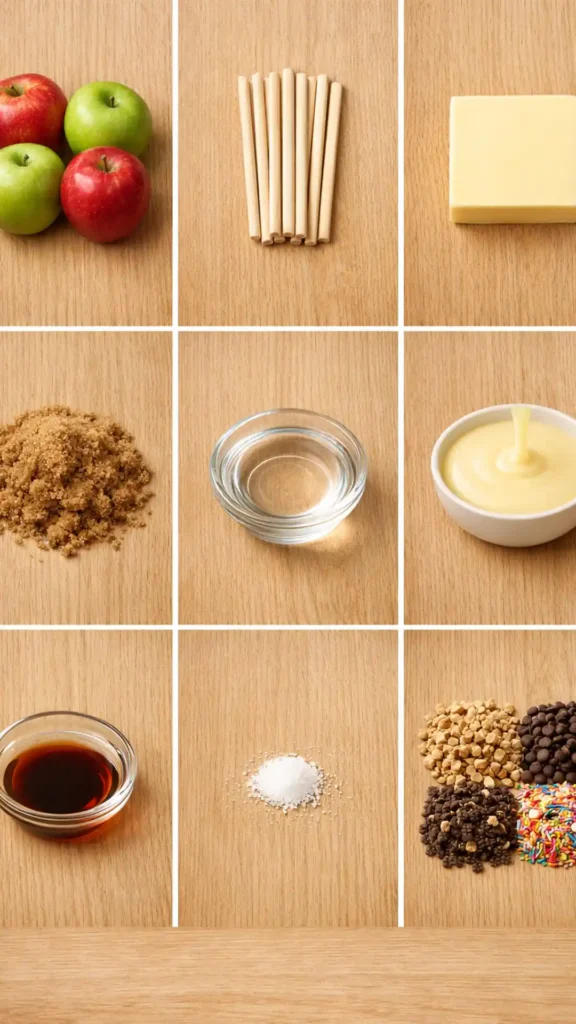
Keep it simple. No weird mystery stuff.
- 6 medium apples (Granny Smith are classic because that tartness balances the sweet but use what you love)
- 6 wooden sticks (Popsicle sticks or skewers we’re not picky)
- 1 cup unsalted butter (Yes, a whole cup. This is not the time to count calories.)
- 2 cups brown sugar (Packed. Don’t be shy.)
- 1 cup light corn syrup (Keeps things smooth and glossy)
- 1 can (14 oz) sweetened condensed milk (This is where the magic happens)
- 1 teaspoon vanilla extract (For that warm, cozy vibe)
- Pinch of salt (Balances the sweetness trust me)
Optional toppings if you’re feeling extra:
- Chopped nuts
- Mini chocolate chips
- Crushed cookies
- Sprinkles
- Melted chocolate for drizzling
Step-by-Step Instructions
1. Prep Your Apples
Wash your apples thoroughly. Like, really scrub them. Grocery store apples have wax on them, and caramel hates wax. Dry them completely. If the apples are wet, the caramel will slide off and betray you. Insert your sticks firmly into the tops and set aside.
2. Make the Caramel
Grab a medium saucepan. Add butter, brown sugar, corn syrup, and sweetened condensed milk. Turn the heat to medium and stir constantly. Don’t walk away. This is not the moment to scroll on your phone. Bring the mixture to a gentle boil. Keep stirring for about 8–10 minutes until it thickens. It should look smooth and glossy, not grainy.
3. Add Flavor
Remove the pan from heat. Stir in vanilla and that pinch of salt.
Let the caramel cool for 2–3 minutes. Not too long just enough so it thickens slightly. If it cools too much, it turns into a stubborn blob.
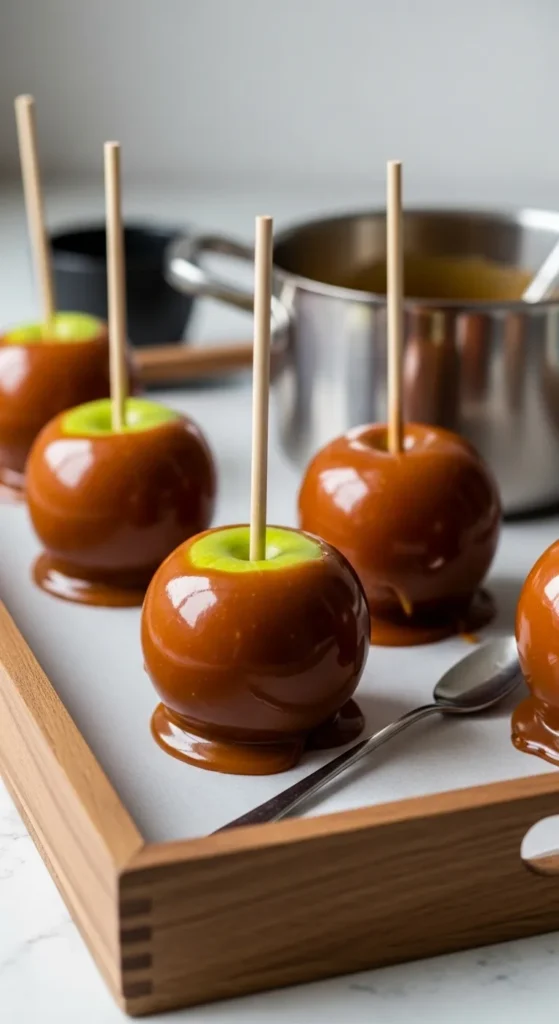
4. Dip the Apples
Hold an apple by the stick and dip it into the caramel. Tilt the pan and rotate the apple to coat it fully. Let the excess drip off. Twirl it slightly for that smooth finish. Place it on parchment paper. Repeat with the rest. Work fairly quickly before the caramel thickens too much.
5. Add Toppings (Optional but Fun)
If you’re adding toppings, do it while the caramel is still warm and sticky. Roll the apples in chopped nuts or sprinkle on toppings by hand. Feeling dramatic? Drizzle melted chocolate over the top once the caramel sets.
6. Let Them Set
Let the apples sit at room temperature until firm. You can speed things up in the fridge for about 20–30 minutes. Once set, they’re ready to bite into. Or admire. Or photograph like a proud parent.
Common Mistakes to Avoid
1. Not removing the wax from apples.
If you skip washing, the caramel will slide right off. It’s not being dramatic it just won’t stick.
2. Not stirring constantly.
Caramel burns fast. One minute it’s golden perfection, next minute it’s bitter sadness.
3. Cooking on high heat.
Slow and steady wins here. Cranking the heat won’t make it cook better it’ll just scorch.
4. Letting caramel cool too long before dipping.
Too hot? It runs off. Too cool? It thickens into cement. You want that sweet spot.
5. Storing them uncovered in the fridge.
They can get sticky and weird. Wrap individually once set if you’re storing them.
Alternatives & Substitutions
Not everything goes according to plan. No stress.
- No corn syrup? You can use honey. It slightly changes the flavor, but honestly, it’s kind of amazing.
- Want a dairy-free version? Use plant-based butter and coconut condensed milk. It works surprisingly well.
- Prefer softer caramel? Cook it slightly less. Keep an eye on thickness rather than obsessing over exact timing.
- Want crunch? Dip the bottom half in crushed peanuts or toffee bits. Texture makes everything better.
- Chocolate lover? Dip the apple in caramel first, let it set, then dip halfway in melted chocolate. Double coat, double joy.
IMO, tart apples like Granny Smith give the best balance. But hey, if you love sweet-on-sweet, go for Fuji or Gala. You’re in charge here.
Final Thoughts
Homemade caramel apples are messy, nostalgic, and ridiculously satisfying to make. They look like you put in heroic effort, but honestly? It’s just stirring and dipping. Don’t overthink it. Don’t panic about perfection. Even slightly lumpy caramel still tastes incredible. Now go stab some apples, make your kitchen smell like sugar heaven, and impress literally anyone including yourself. You’ve officially unlocked fall dessert energy.