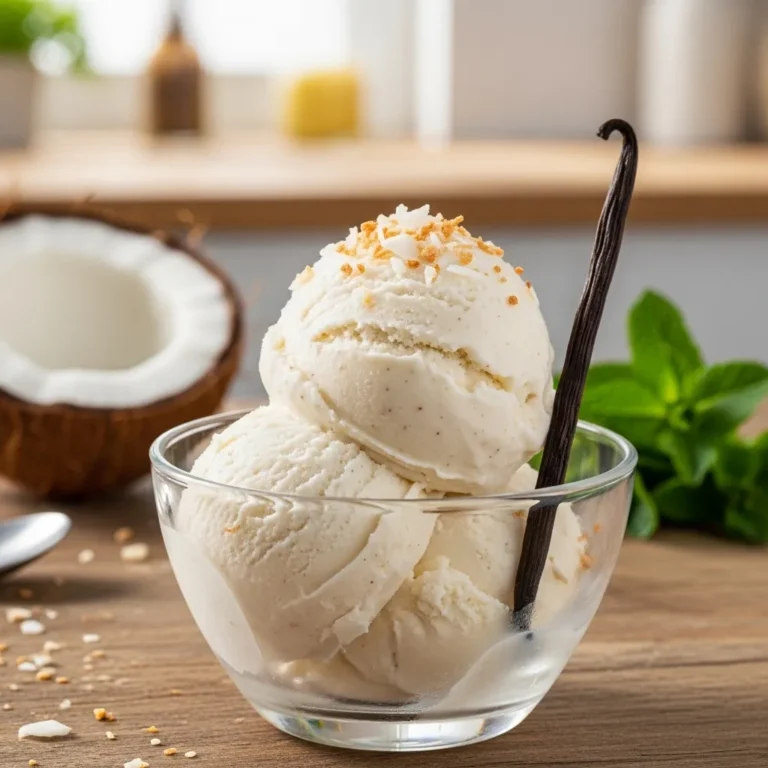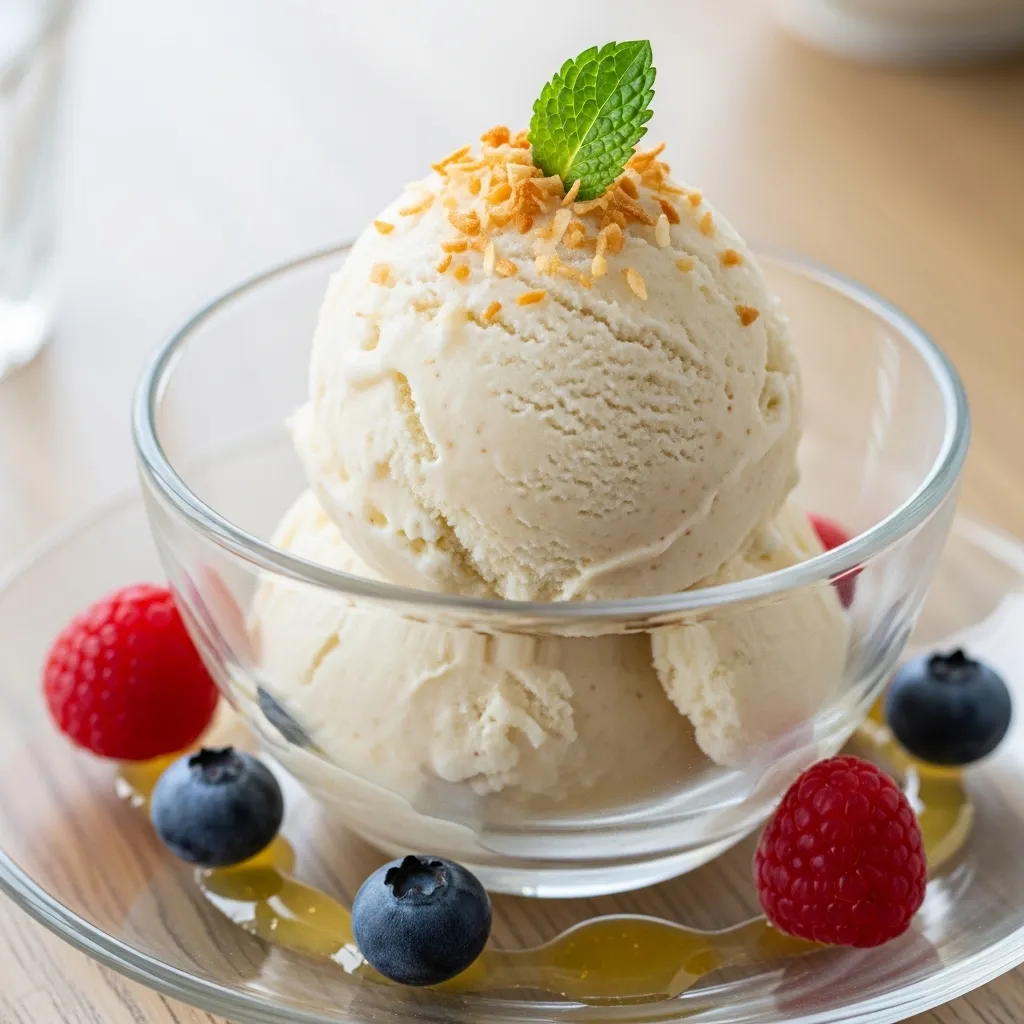
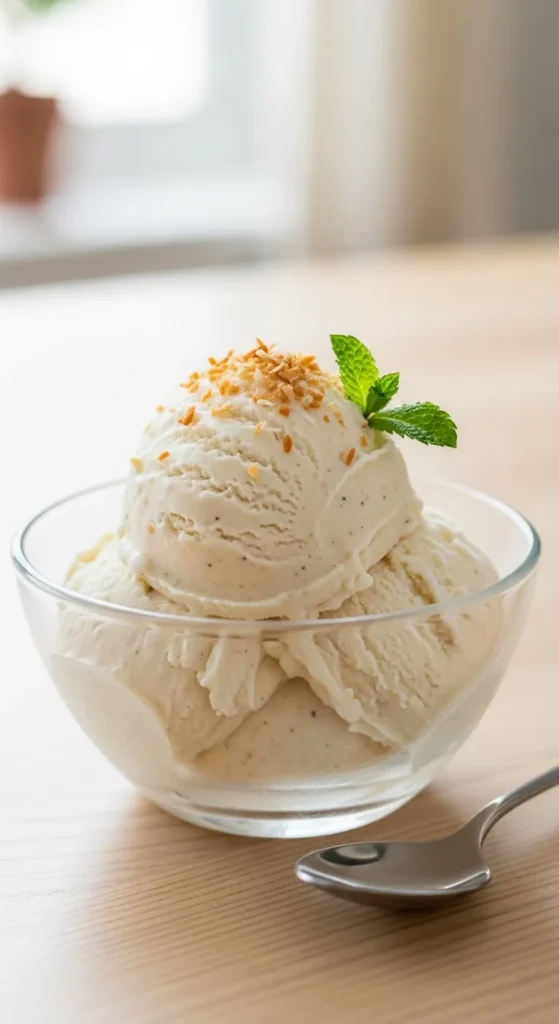
How to Make Vegan Ice Cream with Coconut Milk
So you’re craving ice cream but also trying to be dairy-free, plant-based, or just mildly dramatic about lactose? Same. The good news: you don’t need a cow, an ice cream truck, or a culinary degree to make ridiculously creamy vegan ice cream at home. All you need is coconut milk, a freezer, and about five minutes of actual effort. Yes, really.
Let’s make magic happen.
Why This Recipe is Awesome
First of all, it’s creamy without cream. Coconut milk does all the heavy lifting here, and it does it beautifully. No weird chalky texture. No icy sadness. Just smooth, scoopable happiness.
Second, it’s ridiculously simple. We’re talking stir, chill, churn (or not), freeze. That’s it. It’s basically foolproof even I didn’t mess it up.
Third, you control everything. Sweetness? Adjust it. Flavor? Go wild. Vanilla bean? Chocolate swirl? Toasted coconut? You’re the boss now.
And bonus: it’s naturally dairy-free, vegan, and perfect for anyone who wants dessert without the post-ice-cream regret. We love a guilt-free queen.
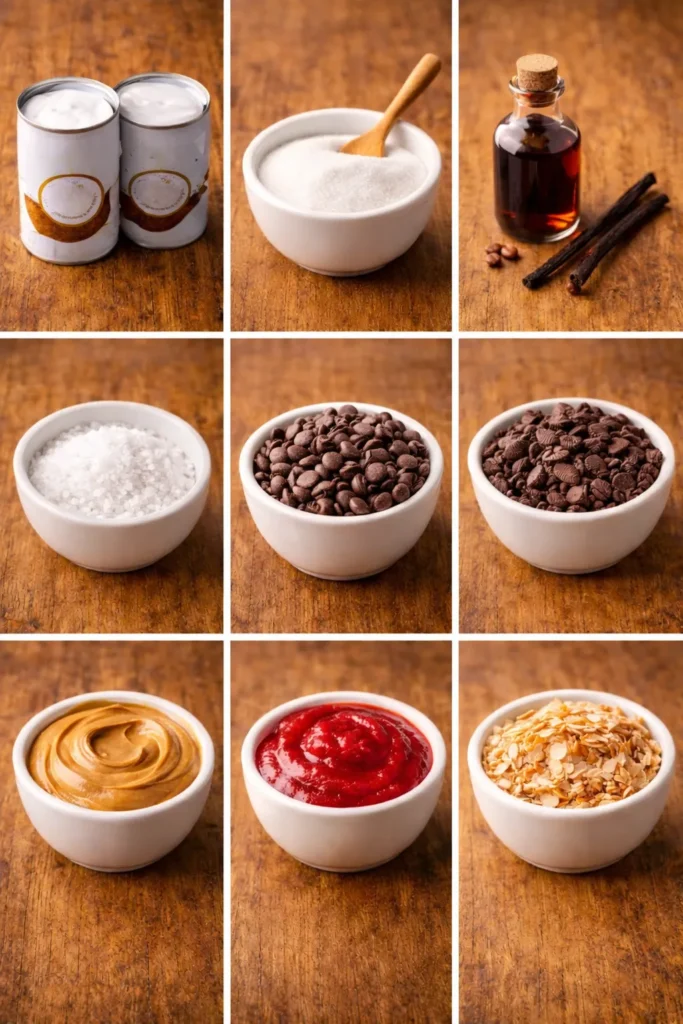
Ingredients You’ll Need
Keep it simple. No 27-step ingredient list here.
- 2 cans (13–14 oz each) full-fat coconut milk – Full-fat only. This is not the time for “light.”
- ½ to ¾ cup sugar – White sugar, cane sugar, or maple syrup. Your call.
- 1 tablespoon pure vanilla extract – The good stuff, not the mystery liquid.
- Pinch of salt – Makes everything taste better. Science.
- Optional add-ins:
- Chocolate chips
- Crushed cookies
- Peanut butter swirl
- Fresh fruit puree
- Toasted coconut flakes
Key tip: Use full-fat canned coconut milk. The carton version from the fridge aisle will betray you.
Step-by-Step Instructions

1. Chill the Coconut Milk (Optional but Smart)
Pop the cans in the fridge for a few hours. This helps the cream thicken up and makes the texture richer. If you forget? Not the end of the world but chilling helps.
2. Mix It All Together
Open the cans and scoop everything cream and liquid into a bowl. Add sugar, vanilla, and salt. Whisk until smooth and fully combined.
Taste it. Too sweet? Adjust. Not sweet enough? Add more. You’re in control here.
3. Heat (Optional but Helpful)
If your sugar isn’t dissolving well, gently warm the mixture in a saucepan over low heat. Don’t boil it. Just warm enough to dissolve the sugar completely.
Let it cool completely before moving on. Warm ice cream base + freezer = icy crystals. We don’t want that.
4. Chill Again
Pour the mixture into a container and refrigerate for at least 2–4 hours. Overnight is even better.
Cold base = creamier results. This step matters more than you think.
5. Churn (If You Have an Ice Cream Maker)
Pour the chilled mixture into your ice cream maker and churn according to the manufacturer’s instructions. Usually about 20–25 minutes.
It’ll look like soft serve when it’s ready. Honestly, you could stop here and eat it. No judgment.
6. No Ice Cream Maker? No Problem.
Pour the mixture into a shallow freezer-safe dish. Freeze for 45 minutes.
Take it out and stir vigorously with a fork or whisk to break up ice crystals. Repeat every 30–45 minutes for about 3–4 hours. Yes, it’s a little extra work but it works.
7. Final Freeze
Once thick and creamy, let it freeze until scoopable. Usually 2–3 more hours.
Before serving, let it sit at room temperature for 5–10 minutes. Coconut milk ice cream freezes hard, so patience helps.
Common Mistakes to Avoid
Let’s save you from heartbreak.
Using light coconut milk.
This will give you icy disappointment. Full-fat or nothing.
Skipping the chilling step.
Warm mixture straight into the freezer? Congrats, you made a coconut popsicle block.
Not dissolving the sugar fully.
Crunchy sugar in ice cream is not a fun surprise. Stir properly.
Overloading with mix-ins too early.
Add chunks and swirls at the end of churning. Otherwise, they sink like they’re abandoning ship.
Expecting it to scoop like store-bought immediately.
Vegan ice cream firms up more. Let it soften slightly before scooping. Rookie mistake avoided.
Alternatives & Substitutions
Want to switch things up? Let’s do it.
Sweetener swaps:
- Maple syrup for a deeper flavor.
- Agave for smooth sweetness.
- Coconut sugar for caramel vibes.
IMO, maple syrup gives it a cozy flavor that feels fancy with zero effort.
Flavor upgrades:
- Add ¼ cup cocoa powder for chocolate.
- Stir in espresso powder for a mocha twist.
- Blend in strawberries or mango for fruity magic.
Extra creaminess hack:
Add 1–2 tablespoons of cornstarch slurry (cornstarch + water) and gently heat it into the base. This thickens the mixture and reduces iciness.
No coconut flavor fan?
Add strong vanilla, cocoa, or nut butter to mask it. Coconut becomes subtle, not dominant.
FYI: You can also mix half coconut milk and half cashew cream for a milder taste. It’s chef-level but still easy.
Final Thoughts
Making vegan ice cream with coconut milk is almost suspiciously easy. Stir a few ingredients, chill, freeze, and boom you’ve got creamy, dairy-free dessert magic sitting in your freezer.
You don’t need fancy tools. You don’t need complicated ingredients. You just need a can opener and a little patience.
Now go impress someone or just yourself with your homemade vegan ice cream skills. Scoop it high, add ridiculous toppings, and enjoy every creamy bite.