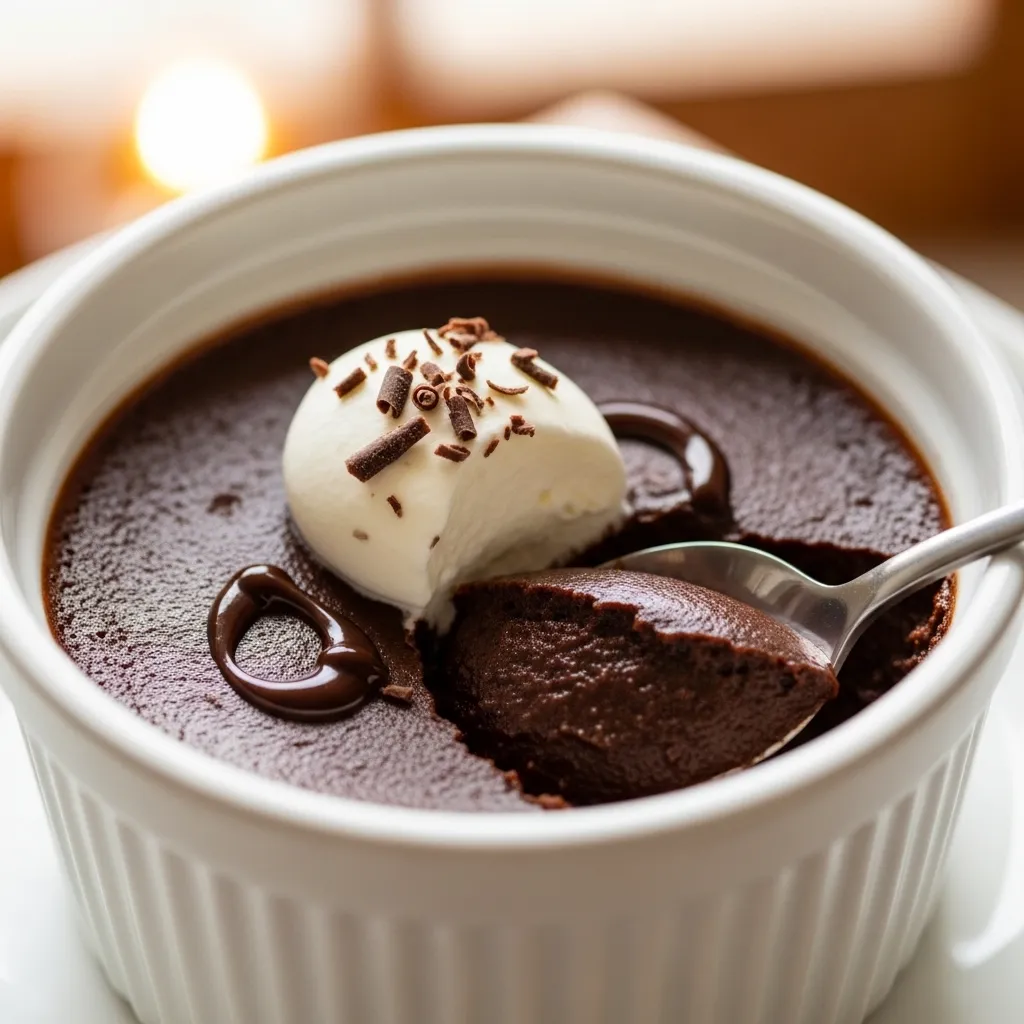
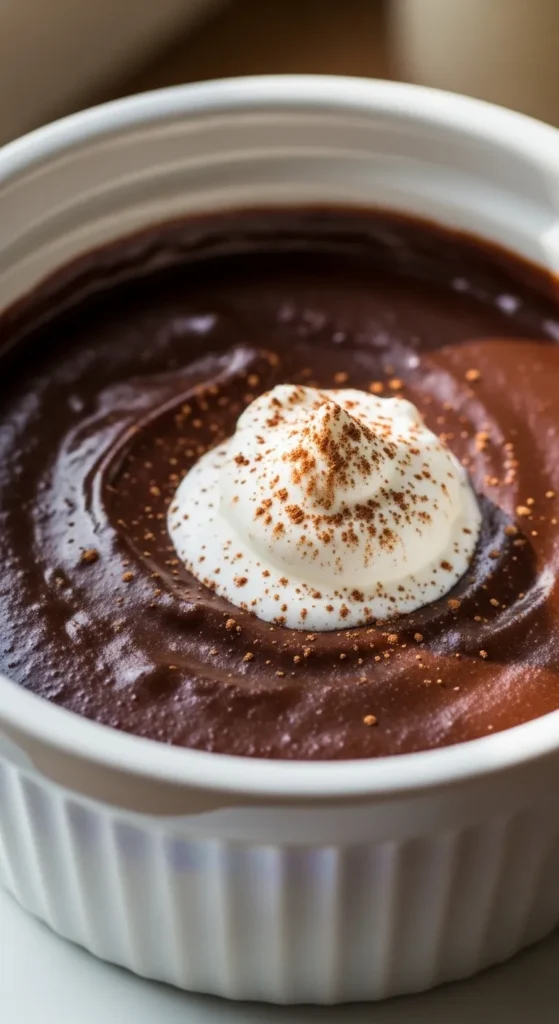
Microwave Chocolate Pudding
There is a specific kind of nostalgia attached to chocolate pudding. For many, it evokes memories of lunchboxes, cafeteria trays, or those little plastic cups in the back of the fridge. But real, stovetop chocolate pudding, the kind made with tempered eggs, scalded milk, and constant, rhythmic whisking, is a labor of love that most of us don’t have the energy for at 10:00 PM on a Tuesday. Enter the Microwave Chocolate Pudding. This is not a “mug cake” in disguise; it is a true, silky, stove-quality custard that utilizes the focused energy of a microwave to thicken starch and melt chocolate into a glossy, decadent cream. It is the ultimate shortcut for the dessert purist. By understanding the physics of how a microwave interacts with milk and cornstarch, you can create a pudding that is indistinguishable from the traditional version in about one-tenth of the time.
The Science of the “Zap-Thickening”
To make a successful pudding, you need a thickener, usually cornstarch or egg yolks. In this microwave version, we rely on cornstarch. Starch molecules are like tiny, tightly wound balls of yarn. When they are heated in the presence of liquid (milk), they begin to “gelatinize.” They absorb the liquid, swell up, and eventually burst, creating a thick, interconnected web that turns runny milk into creamy pudding. In a microwave, this happens rapidly. Unlike a stovetop, where the heat comes from the bottom and requires constant stirring to prevent burning, the microwave heats the liquid throughout. However, because starch can settle at the bottom of the bowl, the “stop-and-stir” method is the secret to success. This prevents lumps and ensures that the heat is distributed evenly, resulting in a perfectly smooth, glass-like finish.
Ingredients: Simple Staples, Sophisticated Results
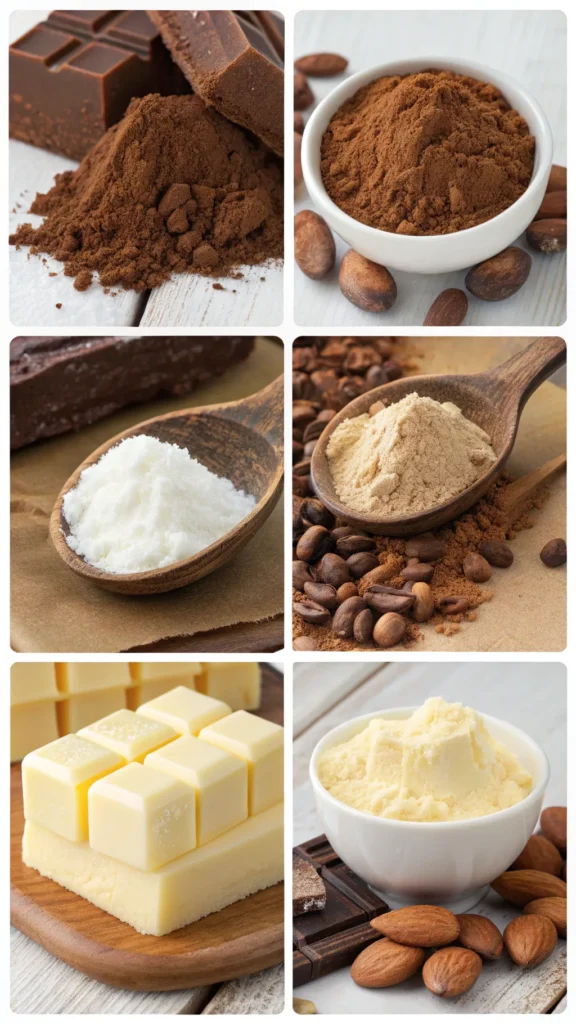
The beauty of this recipe lies in its simplicity. You likely have every single one of these ingredients in your pantry right now.
- 2 cups Whole Milk: You can use 2% or almond milk, but whole milk provides the richest, most velvety mouthfeel.
- ½ cup Granulated Sugar: To sweeten the cocoa.
- 1/3 cup Unsweetened Cocoa Powder: Use a high-quality Dutch-processed cocoa for a deeper, darker flavor.
- 3 tbsp Cornstarch: Our primary thickening agent.
- ¼ tsp Salt: Crucial for balancing the sugar and making the chocolate “pop.”
- 1 tsp Vanilla Extract: Added at the end to preserve its delicate aroma.
- 1 tbsp Unsalted Butter: The “pro” secret. Stirring in a pat of butter at the end adds a professional gloss and a silkier texture.
Step-by-Step Instructions
- The Dry Mix: In a large, microwave-safe glass bowl (ensure it’s at least twice the volume of the liquid to prevent boil-overs), whisk together the sugar, cocoa powder, cornstarch, and salt. Breaking up the lumps of cocoa now saves you a headache later.
- The Slurry: Gradually pour in about ½ cup of the milk. Whisk until it forms a smooth, thick paste. This “slurry” method ensures you won’t have dry pockets of cornstarch in your finished pudding.
- The Integration: Whisk in the remaining milk until the mixture is uniform. It will look very thin and watery at this stage—don’t panic!
- The First Zap: Microwave on high for 2 minutes.
- The Stir: Remove the bowl (use oven mitts, it will be hot!) and whisk vigorously. The mixture will still be liquid, but you might see a few thickened streaks.
- The Second Zap: Microwave for another 2 minutes.
- The Thickening: At this point, the pudding should be starting to bubble around the edges and look significantly thicker. Whisk again.Pro Tip: If it hasn’t reached a “heavy cream” consistency yet, microwave in 30-second increments, whisking between each, until it coats the back of a spoon.
- The Finish: Once thick, remove from the microwave and immediately whisk in the vanilla extract and the cold pat of butter. The butter will melt into the pudding, giving it a beautiful shine.
- The Chill: You can eat it warm (it’s delicious!), but for the classic texture, pour it into individual ramekins. To prevent a “skin” from forming on top, press a piece of plastic wrap directly onto the surface of the pudding while it’s hot. Chill for at least 2 hours.
Troubleshooting & Tips
- The Lumpy Pudding: If your pudding comes out lumpy, it usually means it wasn’t whisked enough during the cooking process. You can often fix this by running the warm pudding through a fine-mesh sieve or giving it a quick whirl with an immersion blender.
- The Boil-Over: Milk expands rapidly when it boils in a microwave. Always use a bowl that looks “too big” for the recipe to avoid a messy cleanup.
- The “Skin” Debate: Some people love the chewy skin that forms on top of chocolate pudding; others hate it. If you love it, leave the bowl uncovered in the fridge. If you hate it, use the plastic wrap trick mentioned above.
Flavor Variations to Explore
- Dark Chocolate Espresso: Add 1 teaspoon of instant espresso powder to the dry ingredients. It won’t make it taste like coffee, but it will make the chocolate taste three times more intense.
- Mexican Hot Chocolate: Add ½ teaspoon of cinnamon and a tiny pinch of cayenne pepper for a spicy, warming kick.
- Chocolate Peanut Butter: Swirl in 2 tablespoons of creamy peanut butter once the pudding is finished cooking.
- Coconut Chocolate: Substitute the whole milk for full-fat canned coconut milk for a tropical, dairy-free indulgence.
Final Thoughts
The Microwave Chocolate Pudding is a testament to the idea that “fast” doesn’t have to mean “low quality.” It is a sophisticated, home-cooked dessert that respects your time. It’s the kind of recipe that makes you feel like a kitchen wizard, turning a bowl of cold milk and powder into a decadent, five-star treat in under five minutes. Whether you’re topping it with a dollop of whipped cream, a few fresh raspberries, or just eating it straight from the bowl with a big spoon, this pudding is guaranteed to hit the spot.