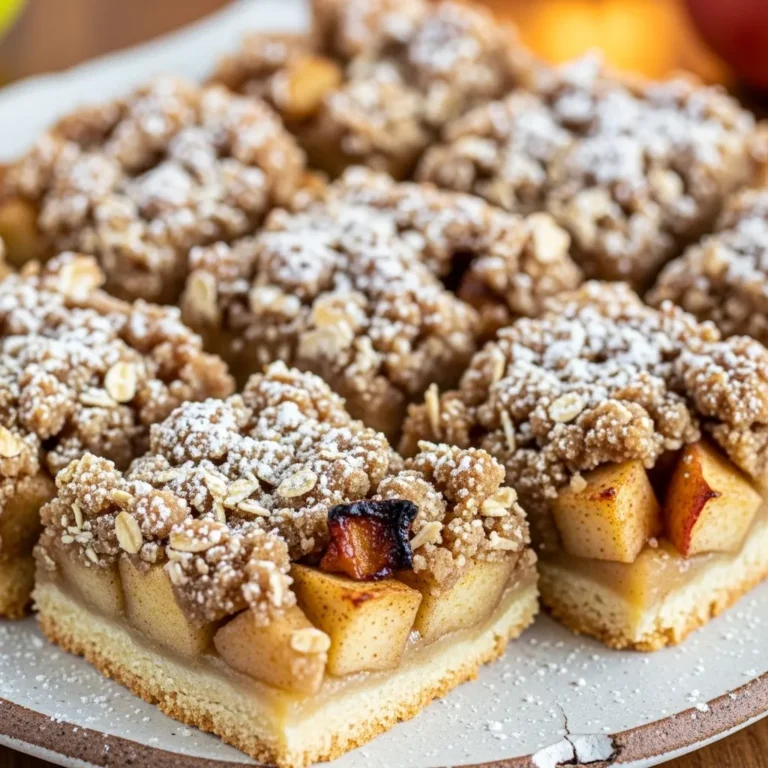
Old-Fashioned Apple Crisp – A Healthy Easter Dessert Everyone Loves
Old-fashioned apple crisp feels like the dessert equivalent of calling your grandma just to hear her voice. It’s simple, comforting, and never tries too hard to impress. I make this when I want something warm, cozy, and deeply familiar without pulling out every bowl in my kitchen. Ever notice how some desserts just feel right the moment they hit the oven?
Why Old-Fashioned Always Wins
Old-fashioned apple crisp works because it respects tradition. It doesn’t rely on gimmicks or over-the-top sweetness. Instead, it focuses on balance, texture, and honest flavor. I’ve tried modern versions with all kinds of extras, but I always come back to this one. Sometimes simple really does know best.
- Familiar, comforting flavors
- Easy preparation
- Crowd-pleasing results
What Makes It Truly Old-Fashioned
This isn’t the overly sweet, dessert-bar version. Old-fashioned apple crisp uses modest sugar, real butter, and warm spices without overpowering the apples. The topping stays crumbly, not cakey. It tastes like something baked on a quiet afternoon, not rushed or overthought.
- Real butter only
- No heavy sauces
- Balanced sweetness
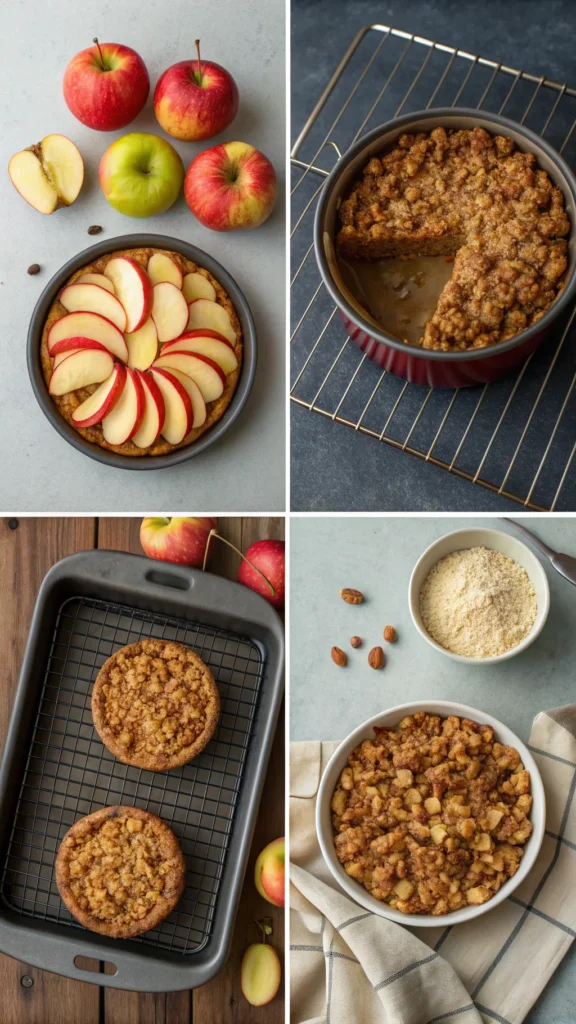
Choosing the Right Apples Matters
The apples do most of the work here, so picking the right ones changes everything. Firm apples hold their shape and soften slowly as they bake. Soft apples turn mushy fast, which ruins the texture. I always mix varieties because one-note apple crisp feels flat.
- Granny Smith for tartness
- Honeycrisp for sweetness
- Fuji or Braeburn for balance
Simple Ingredients, No Surprises

Old-fashioned apple crisp uses ingredients you probably already have. That’s part of the charm. No complicated blends. No hard-to-find nonsense. Just pantry-friendly basics that work together naturally. Every ingredient has a job, and none of them try to steal the show.
- Fresh apples
- Granulated sugar
- Brown sugar
- Cinnamon
- Nutmeg
- Lemon juice
- Rolled oats
- All-purpose flour
- Unsalted butter
- Salt
Preparing the Apple Filling
I peel and slice the apples evenly so they bake at the same rate. Then I toss them with sugar, spices, lemon juice, and a small amount of flour to help thicken the juices. This step sets the foundation for everything else. Letting the apples sit for a few minutes helps the flavors mingle before baking.
- Even slicing
- Light coating of spices
- Brief resting time
Getting the Sweetness Just Right
Old-fashioned apple crisp shouldn’t taste like candy. The apples already bring natural sweetness, so I keep the sugar restrained. The brown sugar adds warmth without overpowering the fruit. If you taste the filling before baking and smile, you’re doing it right.
- Moderate sugar levels
- Balance tart and sweet
- Let apples shine
Making the Classic Crisp Topping
The topping defines apple crisp, so texture matters. I mix oats, flour, brown sugar, and salt first, then cut in cold butter until clumps form. I stop mixing as soon as it looks crumbly. Overmixing turns crisp topping into dough, and nobody wants that.
- Cold butter works best
- Crumbly texture
- Visible butter pieces
Assembling Without Overthinking
I spread the apples evenly in the baking dish and sprinkle the topping loosely on top. I never press it down. Loose topping creates crispy peaks and buttery pockets. This step feels casual, and that’s exactly how it should feel.
- Even apple layer
- Loose topping
- No packing
Baking for That Golden Finish
I bake until the topping turns deep golden brown and the apples bubble around the edges. Bubbling means the filling has thickened properly. If the top browns too fast, foil saves the day. Your kitchen will smell unreal at this stage, just saying.
- Bake until bubbling
- Watch topping color
- Tent with foil if needed
Cooling Time Is Not Optional
Old-fashioned apple crisp needs time to rest before serving. Cutting in too soon releases hot juices and breaks the structure. I wait at least 20 minutes. Warm is perfect, molten is not.
- Rest before serving
- Filling thickens as it cools
- Better texture
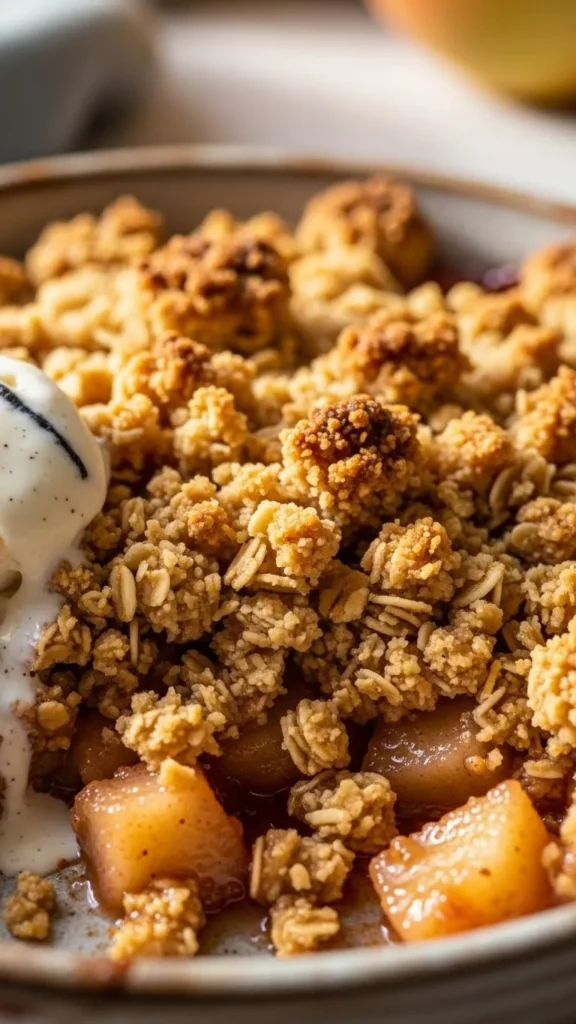
Texture and Flavor You Should Expect

The apples turn soft but keep their shape. The topping stays crisp on top and buttery underneath. Each bite gives warmth, crunch, and gentle sweetness. Nothing should feel soggy or dry.
- Tender apples
- Crunchy topping
- Balanced spice
Common Old-Fashioned Apple Crisp Mistakes
Most mistakes come from rushing. Underbaking leaves watery filling. Too much butter makes greasy topping. Soft apples ruin the structure. I learned these lessons the hard way so you don’t have to.
- Using soft apple varieties
- Overmixing the topping
- Skipping cooling time
Serving It the Classic Way
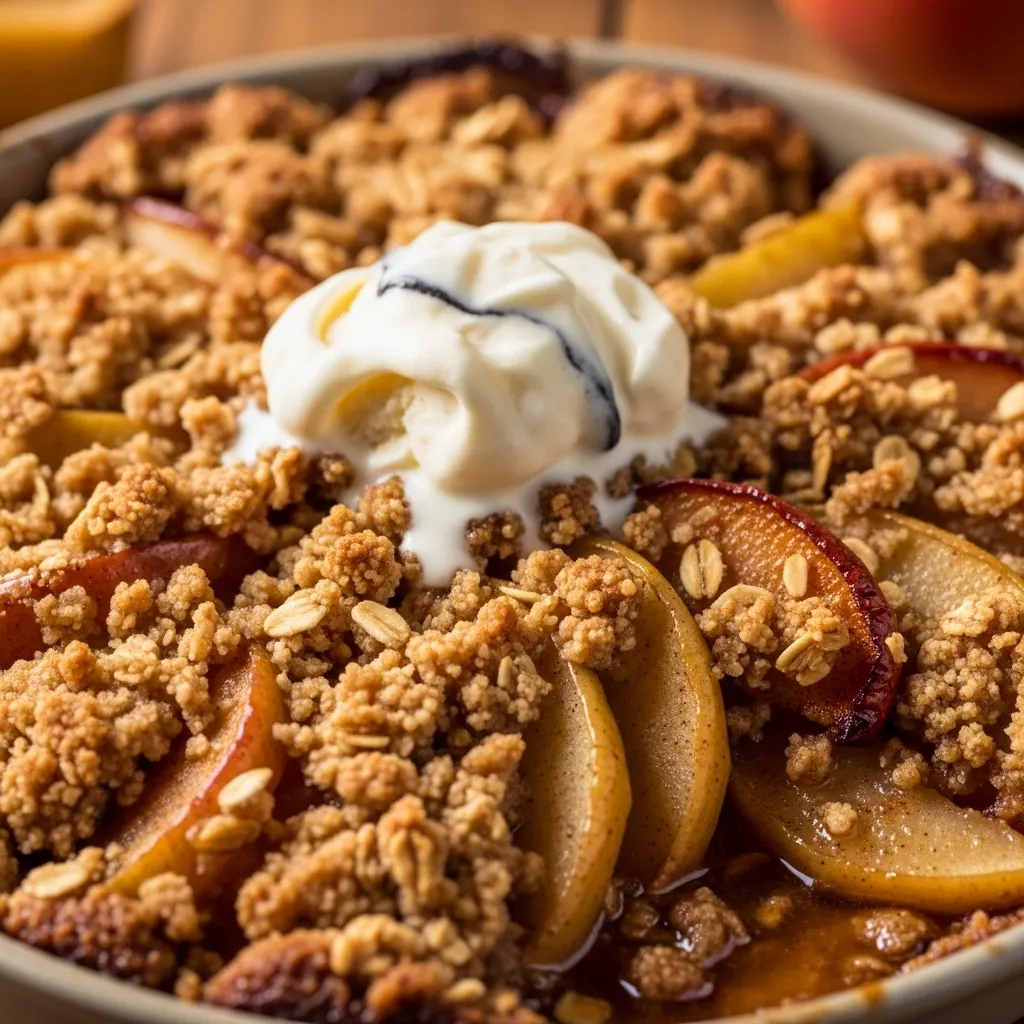
Old-fashioned apple crisp tastes incredible on its own, but toppings make it extra special. Vanilla ice cream melts into the warm crisp perfectly. Whipped cream works too if you want something lighter. Keep it simple and let the crisp lead.
- Vanilla ice cream
- Light whipped cream
- No heavy sauces
Storage and Reheating Tips
Apple crisp stores well in the fridge for several days. The topping softens slightly, but the flavor stays solid. Reheating in the oven brings back some crunch. Microwaving works in a pinch, but the oven does it better.
- Refrigerate leftovers
- Reheat gently
- Best within three days
Who This Dessert Is Perfect For
Old-fashioned apple crisp fits every situation. Weeknight dessert, holiday table, potluck contribution, it handles all of it. People who love comforting, not-too-sweet desserts always go back for seconds. It’s reliable, cozy, and quietly impressive.
- Family dinners
- Holiday meals
- Comfort dessert lovers
Conclusion
Old-fashioned apple crisp proves that timeless recipes never go out of style. It delivers comfort, warmth, and familiar flavor without asking for much effort. Every spoonful feels like home, even if you’ve never made it before. If you want a dessert that feels cozy, dependable, and deeply satisfying, old-fashioned apple crisp always shows up and delivers.