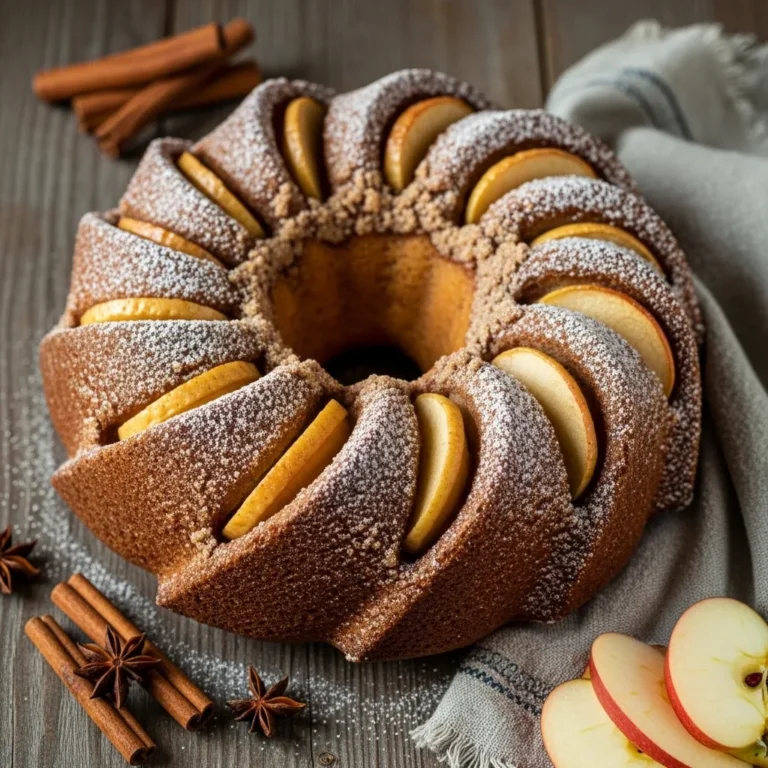
Old-Fashioned Apple Pie

Old-fashioned apple pie feels like stepping into a kitchen where time slows down on purpose. It smells like butter, apples, and patience, which already puts it ahead of most desserts. I make this pie when I want something familiar and grounding, not flashy or trendy. Ever notice how the simplest desserts tend to stick with us the longest?
Why Old-Fashioned Apple Pie Never Goes Out of Style
Old-fashioned apple pie doesn’t chase trends because it doesn’t need to. It relies on balance, texture, and warmth to win people over. Every bite tastes like intention, not experimentation. That’s exactly why it keeps showing up at tables year after year.
- Familiar flavors that never feel boring
- Balanced sweetness and spice
- Comfort-driven, not trend-driven
What Makes It Truly Old-Fashioned
This version focuses on apples, butter, and gentle spice instead of overload. Old-fashioned means no heavy thickeners masking flavor and no extreme sweetness drowning the fruit. The apples stay front and center where they belong.
- Minimal spices
- Natural apple flavor
- Simple thickening approach
Choosing Apples the Traditional Way
Old-school bakers didn’t rely on one apple, and neither should you. Mixing apples gives better texture and depth. Some soften, some hold shape, and together they create balance. That combination matters more than fancy techniques.
- Granny Smith for structure
- Golden Delicious for softness
- Jonathan or Braeburn for balance
Ingredients That Keep It Honest
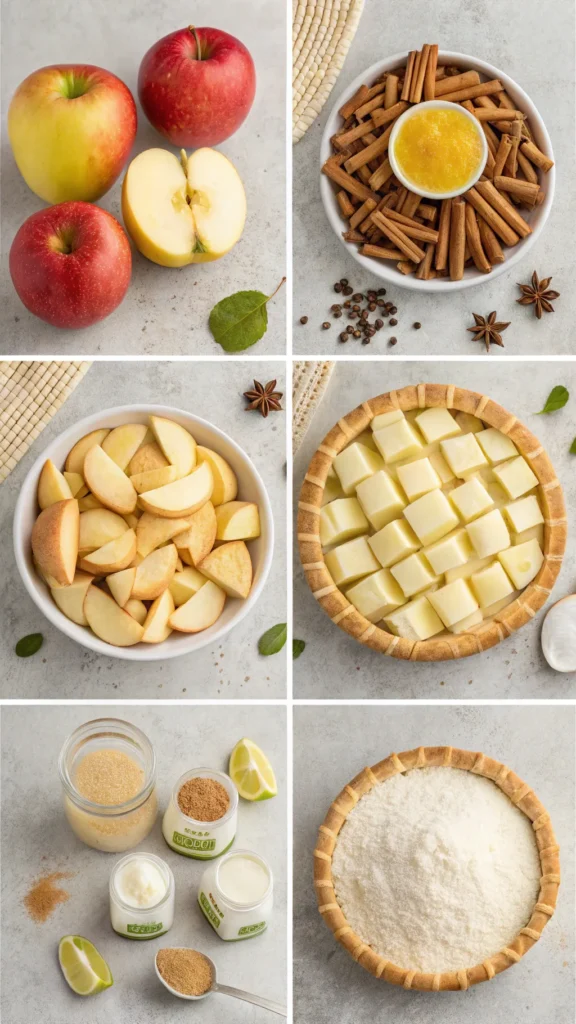
Old-fashioned apple pie doesn’t ask for much. Each ingredient plays a clear role, and skipping one shows immediately. This is not the place for substitutes that “almost” work. I trust simple pantry staples here. They’ve carried this recipe for generations for a reason.
For the Crust (makes top and bottom):
- 2 ½ cups all-purpose flour
- 1 teaspoon salt
- 1 cup unsalted butter, cold and cubed
- 6–8 tablespoons ice water
For the Filling:
- 6–7 cups peeled, cored, and sliced apples (Granny Smith or Honeycrisp)
- ¾ cup granulated sugar
- ¼ cup brown sugar
- 2 tablespoons all-purpose flour
- 1 teaspoon ground cinnamon
- ¼ teaspoon ground nutmeg
- 1 tablespoon lemon juice
- 1 teaspoon vanilla extract
For Assembly:
- 1 egg, beaten (for egg wash)
- 1 tablespoon granulated sugar (for sprinkling)
Step-by-Step Instructions for Old-Fashioned Apple Pie
1. Prepare the pie crust:
In a large bowl, mix flour and salt. Cut in cold cubed butter using a pastry cutter or your fingers until the mixture resembles coarse crumbs. Gradually add ice water, 1 tablespoon at a time, until the dough comes together. Divide into two discs, wrap in plastic, and refrigerate for at least 1 hour.
2. Prepare the filling:
In a large bowl, combine sliced apples, granulated sugar, brown sugar, flour, cinnamon, nutmeg, lemon juice, and vanilla extract. Toss until the apples are evenly coated.
3. Roll out the dough:
On a lightly floured surface, roll out one disc of dough into a circle slightly larger than your pie pan. Carefully transfer to a 9-inch pie pan, pressing gently into the bottom and sides.
4. Add the filling:
Spoon the spiced apple mixture evenly into the crust, mounding slightly in the center.
5. Top crust:
Roll out the second disc of dough and place over the filling. Trim any excess dough and crimp edges to seal. Cut a few small slits in the top crust to allow steam to escape.
6. Apply egg wash:
Brush the top crust with the beaten egg and sprinkle with granulated sugar for a golden, glossy finish.
7. Bake the pie:
Preheat oven to 425°F (220°C). Bake for 20 minutes, then reduce the temperature to 375°F (190°C) and bake for an additional 35–40 minutes, or until the crust is golden and the filling is bubbly. Cover edges with foil if they brown too quickly.
8. Cool and serve:
Allow the pie to cool for at least 2 hours before slicing. Serve warm or at room temperature, optionally with vanilla ice cream or whipped cream.
The Crust: Where Tradition Really Shows
A good old-fashioned pie crust feels flaky, tender, and sturdy enough to hold its filling. I prefer homemade crust here because it fits the spirit of the recipe. That said, store-bought still works if handled carefully.
- Keep butter cold
- Handle dough gently
- Chill before baking
Preparing the Apples the Classic Way
I peel and slice the apples evenly so they cook at the same pace. Thick slices stay firm, thin slices soften nicely, so balance matters. I toss them gently with sugar, spice, lemon juice, and flour. Letting the apples rest for a few minutes helps draw out juice. That step improves texture later. Skipping it usually leads to watery filling.
- Slice apples evenly
- Toss gently to coat
- Let filling rest briefly
Sweetness Without Overdoing It
Old-fashioned apple pie shouldn’t taste like candy. The apples should shine, supported by sugar instead of buried under it. I always taste the filling before baking. If the apples taste good raw, they’ll taste better baked. Trust your taste buds more than numbers.
- Balance white and brown sugar
- Adjust based on apple sweetness
- Taste before assembling
Assembling the Pie with Confidence
I roll out the bottom crust and fit it gently into the pie dish. No stretching, just easing it into place. Then I pile in the apples, mounding slightly in the center. Apples shrink as they bake, so height matters. I dot the filling with butter because butter fixes many problems.
- Ease crust into dish
- Mound filling slightly
- Dot with butter evenly
Top Crust Choices the Old-School Way
A full top crust feels most traditional here. Slits allow steam to escape and prevent sogginess. Lattice looks nice, but classic feels right for this recipe. I go with instinct over rules. Old-fashioned baking trusts intuition.
- Full crust with steam vents
- Secure edges firmly
- Keep design simple
Sealing and Finishing the Pie
Crimping the edges seals everything in and prevents leaks. I brush the top with egg wash for color and sprinkle a bit of sugar for crunch. These small details matter more than people think. They turn a good pie into a beautiful one. And yes, presentation still counts.
- Crimp edges well
- Brush with egg wash
- Sprinkle sugar lightly
Baking It the Traditional Way
I start the pie at a higher temperature to set the crust. Then I lower the heat so the filling cooks evenly. Covering the edges prevents burning while the center finishes. The pie tells you when it’s done by bubbling thick juices. No bubbles, no finish.
- Start hot, then reduce heat
- Shield crust edges if needed
- Look for bubbling filling
Cooling Is Part of the Recipe
Cooling isn’t optional, even though it feels unfair. Cutting too early turns the filling into soup. Cooling lets everything set properly and improves texture. I wait at least two hours. It’s worth every minute.
- Cool fully before slicing
- Avoid rushing this step
- Use a sharp knife
Texture and Flavor Expectations
Old-fashioned apple pie should feel tender, not mushy. The apples hold shape but yield easily. The filling feels thick, glossy, and juicy without running. Every bite should feel warm, spiced, and balanced. Nothing should overpower.
- Tender apples with bite
- Thick, cohesive filling
- Flaky, sturdy crust
Common Old-Fashioned Apple Pie Mistakes
Most mistakes come from impatience. Undercooked filling, soggy crust, and bland flavor all trace back to rushing or skipping steps. This recipe rewards attention. I learned these lessons the hard way, so you don’t have to.
- Cutting too early
- Using only one apple type
- Skipping filling rest time
Storage the Traditional Way

I store apple pie loosely covered at room temperature for a day or two. Refrigeration works for longer storage, but I always reheat before serving. Warm pie tastes correct, cold pie tastes unfinished. Freezing also works surprisingly well if wrapped tightly.
- Room temperature for short storage
- Refrigerate after two days
- Reheat before serving
Who This Pie Is Perfect For
Old-fashioned apple pie fits every kind of gathering. Holidays, family dinners, or quiet weekends all benefit from it. It feels nostalgic without feeling outdated. If you want a dessert that brings people together quietly, this does that job beautifully.
- Holiday tables
- Family meals
- Comfort baking days
Conclusion
Old-fashioned apple pie doesn’t try to impress, and that’s exactly why it does. It delivers comfort, balance, and familiarity in every slice. Each bite feels intentional and grounded. Bake it once, and it quietly becomes part of your tradition. Some recipes don’t need improvement, and this one proves it every time.